В операционной системе Windows есть функция общего доступа к файлам. На одном компьютере можно настроить общую папку Windows, которая будет доступна всем компьютерам в локальной сети. Это реализуется с помощью протокола SMB, который имеет несколько версий. В Linux можно открывать и создавать общие папки с помощью Samba.
Сервер Samba поддерживает все версии протокола SMB. Однако могут возникнуть некоторые проблемы совместимости. В этой статье я расскажу, как получить доступ к общей папке Windows в Linux, используя популярные графические окружения рабочего стола и командную строку. Статья написана на основе Ubuntu 22.04 и Kubuntu 22.04, но должна быть актуальна и для других дистрибутивов.
Содержание статьи
Почему это может не работать?
В старых версиях дистрибутивов Linux и Windows 7 всё работало нормально, поскольку они использовали протокол SMB1. Однако потом произошло несколько изменений. В 2017 году появился вирус Wannacry, который эксплуатировал уязвимости в протоколе SMB1. В результате в современных версиях Windows поддержка SMB1 была отключена, и теперь по умолчанию используется SMB3. разработчики Samba также отключили поддержку SMB1, начиная с версии 4.11. Однако в SMB2 и SMB3 отсутствует поддержка обнаружения устройств в локальной сети.
В целом, в этом больше нет необходимости, поскольку существует протокол обнаружения сети под названием Zeroconf. В Linux используется его открытая реализация - Avahi. Серверы Linux и сетевые хранилища NAS могут анонсировать себя в локальной сети с помощью этого протокола. Таким образом, нет необходимости поддерживать эту функциональность в SMB. Однако в Microsoft решили использовать свой собственный протокол под названием WS-Discovery, и именно с этого начались проблемы.
На момент написания этой статьи в системе Linux есть проблемы с обнаружением общих ресурсов Windows в локальной сети. Файловый менеджер Nautilus в GNOME вообще не поддерживает WS-Discovery, а также нет готовых к использованию консольных утилит. Текущий статус реализации поддержки WS-Discovery можно отслеживать в этом обсуждении GVFS. Немного лучше ситуация обстоит с KDE, в 2020 году команда KDE добавила поддержку этого протокола в файловый менеджер Dolphin, используя kdsoap-ws-discovery-client.
Позже появилась программа для KDE под названием Smb4k, которая может обнаруживать сетевые ресурсы с помощью Avahi и протокола WS-Discovery, но её нужно компилировать со специальной опцией. Таким образом, в GNOME открыть общую папку Windows можно только зная IP-адрес компьютера, на котором она находится. В то время как в KDE делать это немного удобнее.
Общий доступ к сетевой папке Windows в Linux
Настройка общей папки в Windows
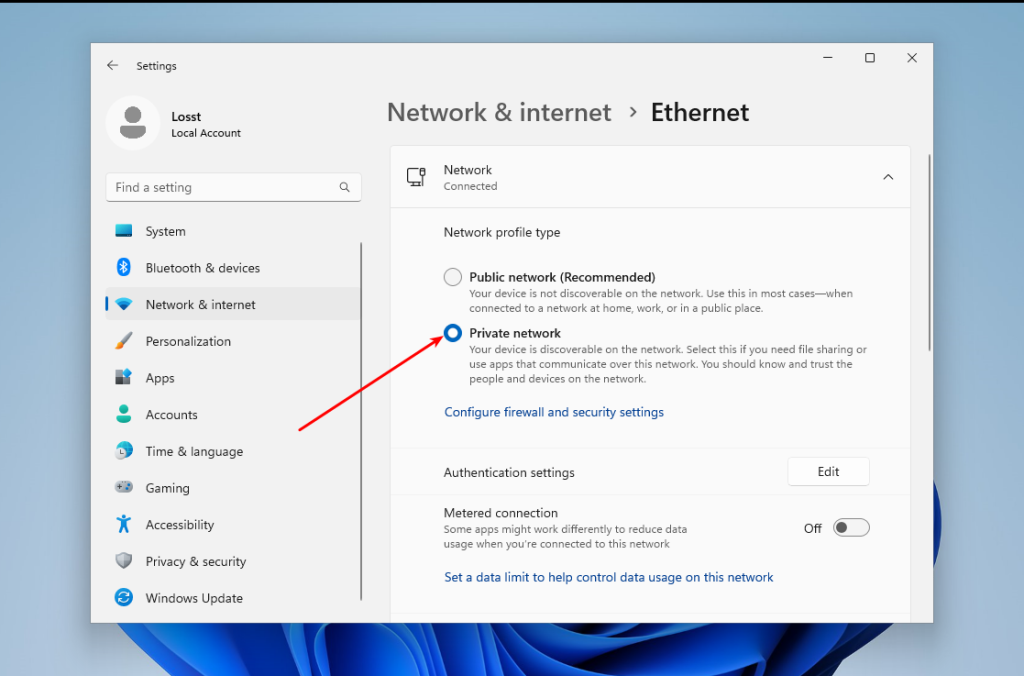
Раньше достаточно было просто открыть Проводник и включить там общий доступ к файлам. Но теперь это больше не работает. Сначала нужно сделать вашу текущую сеть приватной в Windows. По умолчанию только приватные сети считаются безопасными, и компьютеры с Windows могут быть обнаружены только в них. Для этого откройте Параметры -> Сеть и Интернет -> Ethernet и выберите Тип сетевого профиля -> Приватная сеть:
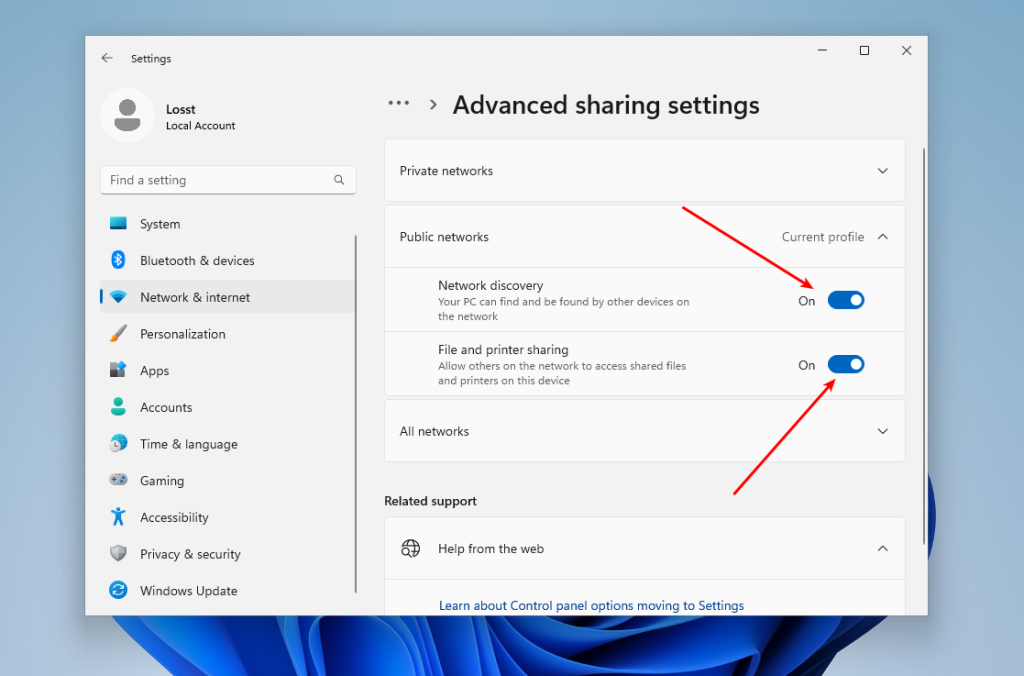
Если ваша текущая сеть беспроводная, нужно сделать то же самое. Затем вернитесь назад и выберите Дополнительные параметры общего доступа. В этом окне включите Сетевое обнаружение и Общий доступ к файлам и принтерам:
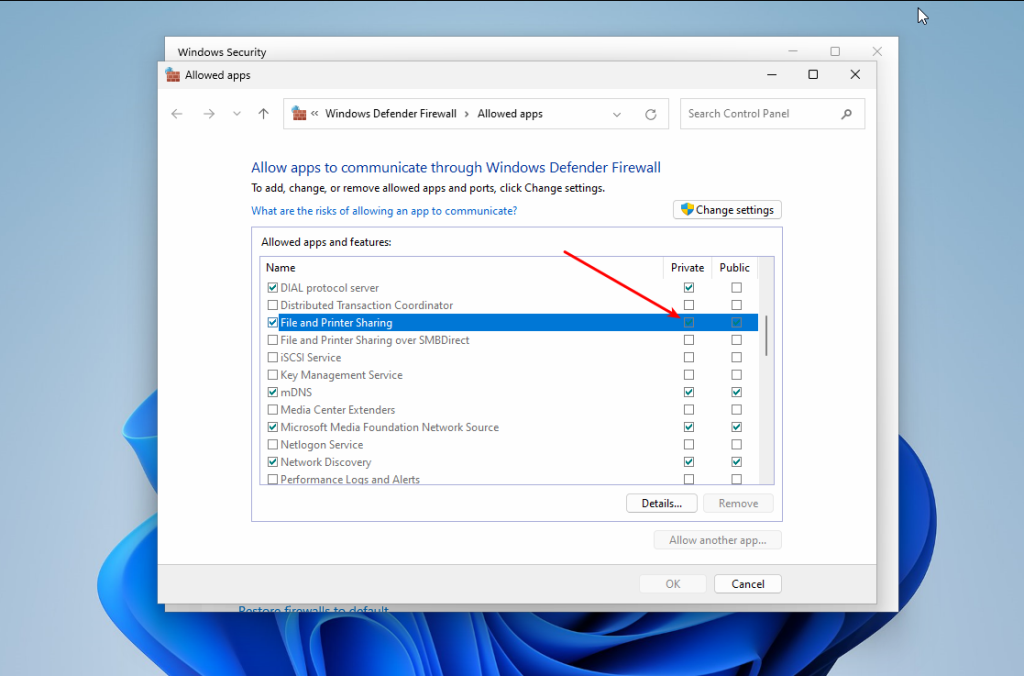
Наконец, нужно убедиться, что брандмауэр настроен правильно и разрешает SMB-подключения. Для этого вернитесь в главное меню Параметры, затем откройте Конфиденциальность и безопасность -> Брандмауэр и защита сети. Нажмите на Разрешить приложение через брандмауэр:

Убедитесь, что Общий доступ к файлам и принтерам и Сетевое обнаружение включены для Приватных сетей:
Готово. Теперь можно перейти к вашей системе Linux.
Поиск общих ресурсов в терминале Linux
Хотя для работы с WS-Discovery нет инструментов командной строки, вы можете попробовать найти устройства с общими ресурсами с помощью Nmap. Эта программа не может искать ресурсы так, как это делает Avahi, но она может помочь найти IP-адреса с открытым портом 445. Этот порт используется протоколом SMB. Для этого вам нужно установить следующие пакеты (Ubuntu):
sudo apt install nmap smbclient
Или Fedora:
sudo dnf install nmap samba-client
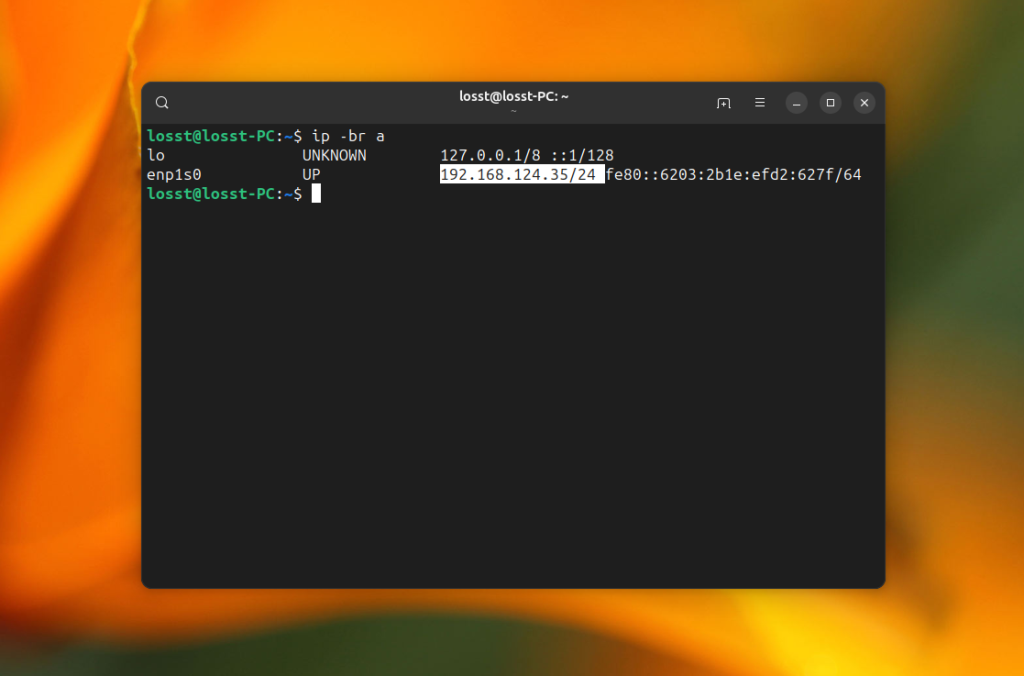
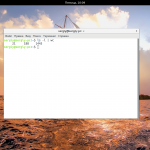
Также вам нужно определить диапазон IP-адресов вашей локальной сети. Вы можете взять ваш IP-адрес и маску и просто заменить четвертую цифру на ноль. Например:
ip -br a
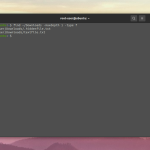
Команда для поиска будет выглядеть следующим образом. Замените 192.168.124.0/24 на диапазон адресов вашей локальной сети и выполните её в окне терминала с правами sudo:
nmap -p 445 --open -n -Pn 192.168.124.0/24
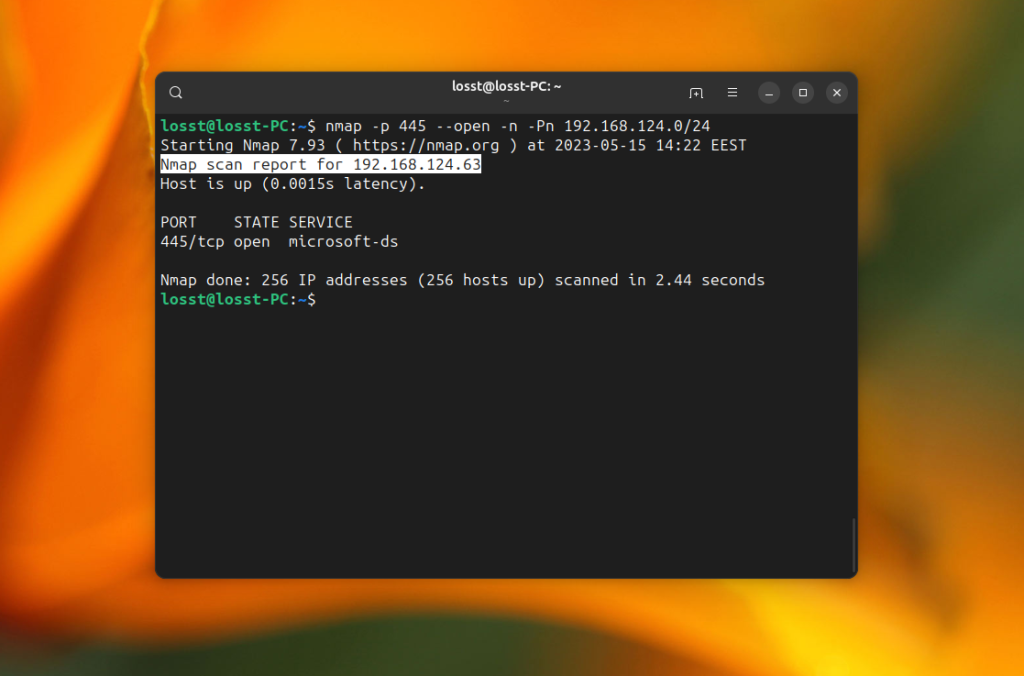
Опция -p указывает порт 445, опция -Pn отключает обнаружение по ICMP и считает все IP-адреса активными, -n отключает разрешение DNS-имён хостов. Выполнение команды может занять некоторое время, но в результате она найдёт хосты с открытым портом 445, если такие хосты существуют в вашей локальной сети:
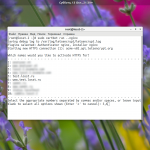
Это нельзя считать полноценным обнаружением сетевых ресурсов, но этот метод работает. Теперь вы можете использовать smbclient, чтобы увидеть, какие общие папки есть на найденном сервере. Например:
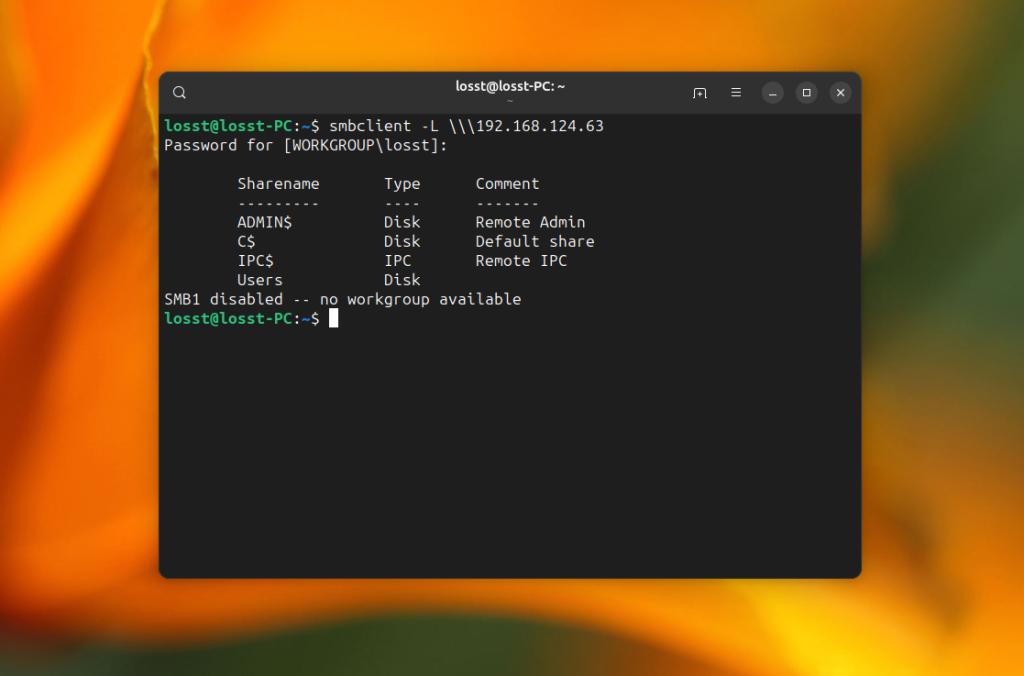
smbclient -L \192.168.124.63
Команда запросит у вас пароль для доступа к общему ресурсу. Обычно это пароль вашего пользователя Windows, после чего будут показаны все доступные общие папки:
Теперь давайте посмотрим, как эти папки монтировать.
Открытие общей папки в KDE Dolphin
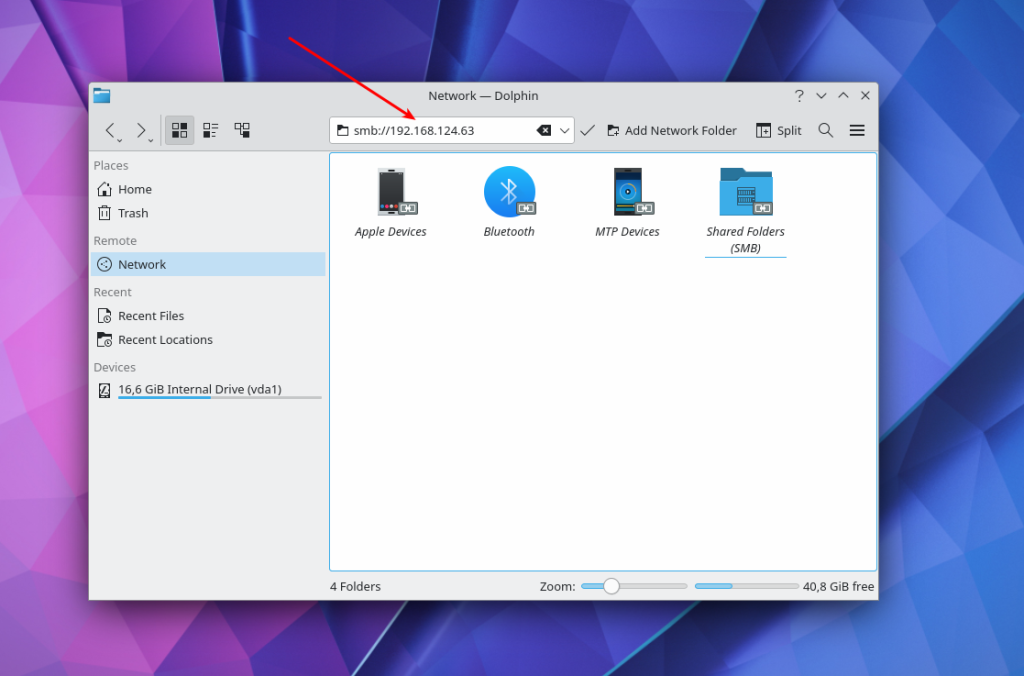
Чтобы открыть общую папку в KDE, вы можете использовать файловый менеджер Dolphin. Как я упоминал ранее, здесь вы можете увидеть все доступные компьютеры с сетевыми дисками в локальной сети. Для этого запустите Dolphin, затем откройте Сеть, а затем Общие папки (SMB):

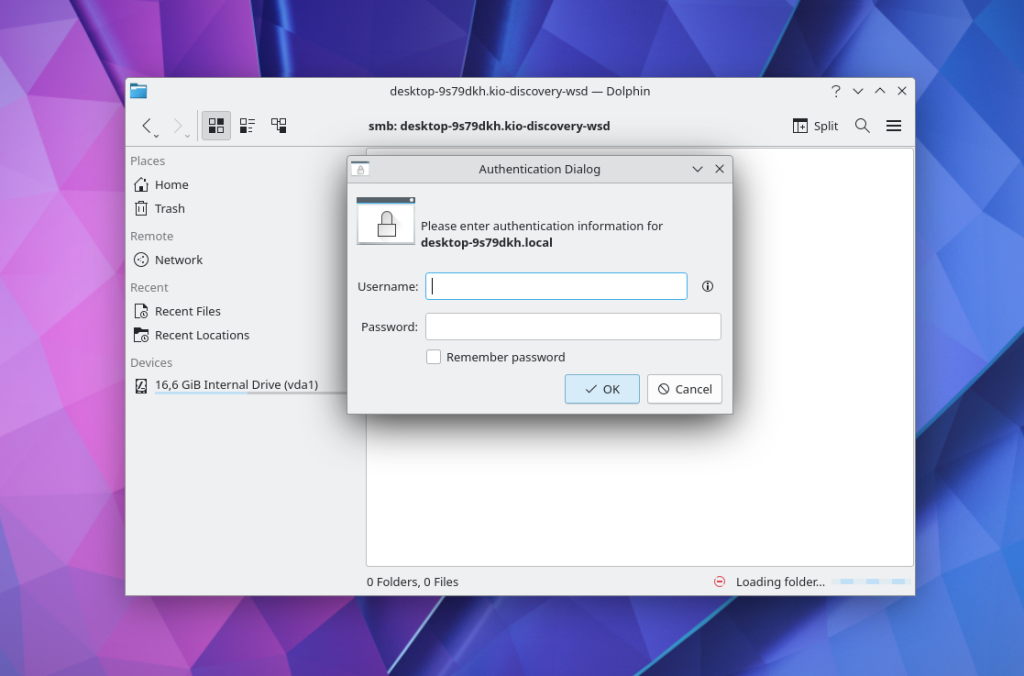
Нажмите на один из ресурсов и введите имя пользователя и пароль для просмотра доступных папок:
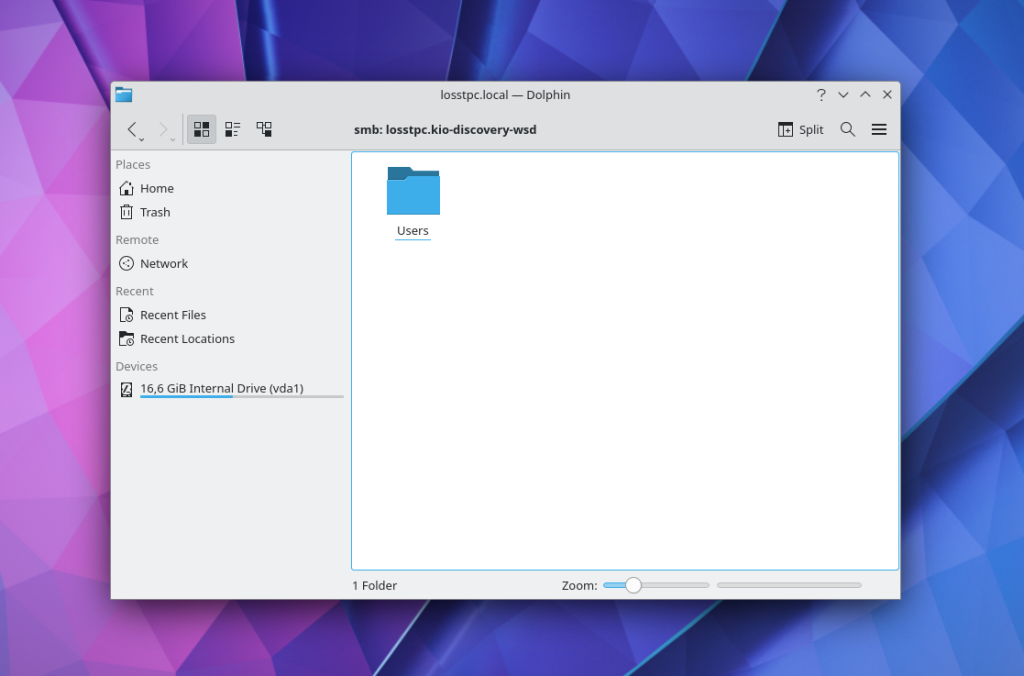
Вот так выглядят общие папки из Windows 11. Здесь вы можете найти файлы Windows:
Если сетевое обнаружение в вашем случае не работает, вы всё равно можете ввести IP-адрес ресурса в текстовое поле в верхней части окна и подключиться к нему. Например, smb://192.168.124.63/
Открытие общей папки в GNOME Nautilus
Если вы хотите подключиться к общей папке Windows через графический интерфейс GNOME, вы можете использовать файловый менеджер Nautilus. Откройте Другие места и найдите внизу окна надпись Подключиться к серверу и поле для ввода адреса.
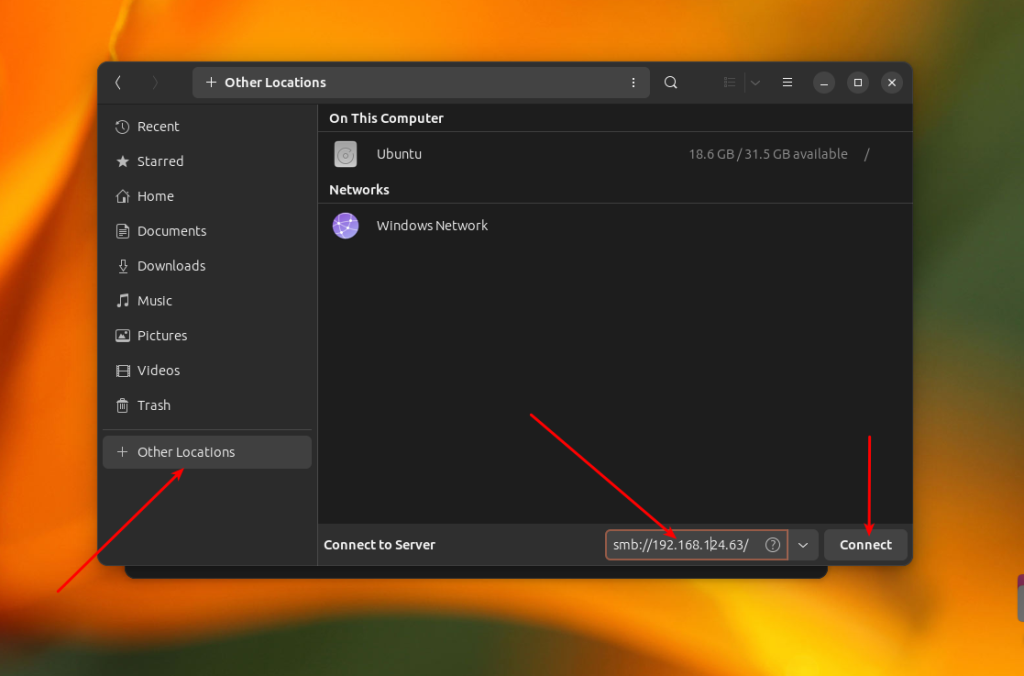
Нет смысла открывать пункт Сеть Windows, поскольку GVFS, используемый в GNOME для монтирования дисков, не поддерживает протокол WS-Discovery. Чтобы подключиться к удаленному общему ресурсу Windows, расположенному на сервере с IP 192.168.124.63, введите этот адрес и нажмите кнопку Подключиться:
smb://192.168.124.63
В следующем окне необходимо ввести пароль, после чего вы сможете просматривать файлы общей папки:
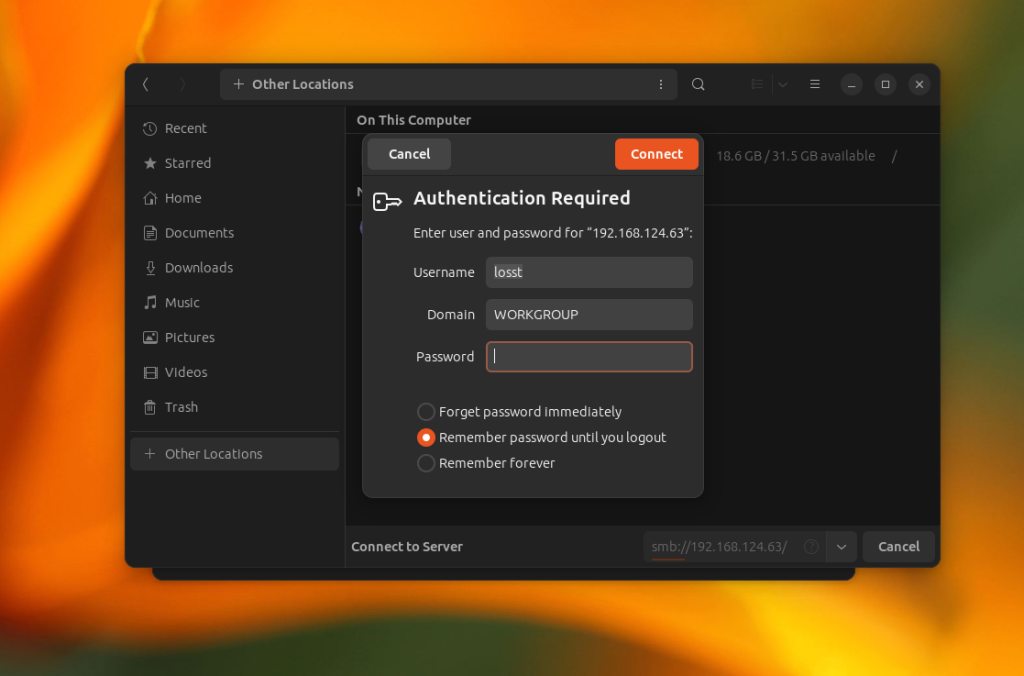
После этого вы сможете просматривать ваши папки Windows.

Кроме того, вы можете использовать ярлык в сайдбаре Natulius для доступа к уже подключенному удаленному ресурсу.
Монтирование общей папки в терминале
Если вы хотите смонтировать общий ресурс Windows с помощью терминала, вы можете использовать cifs-utils и команду mount. Сначала установите пакет cifs-utils. Команда для Ubuntu:
sudo apt install cifs-utils
В Fedora:
sudo dnf install cifs-utils
Теперь вы можете выполнить команду mount, указав тип файловой системы cifs и параметр username. Обратите внимание, что нельзя монтировать корень общего ресурса cifs, необходимо добавить какую-либо папку в путь. Например, Users на 192.168.124.63:
sudo mount -t cifs -o username=losst //192.168.124.63/Users /mnt/
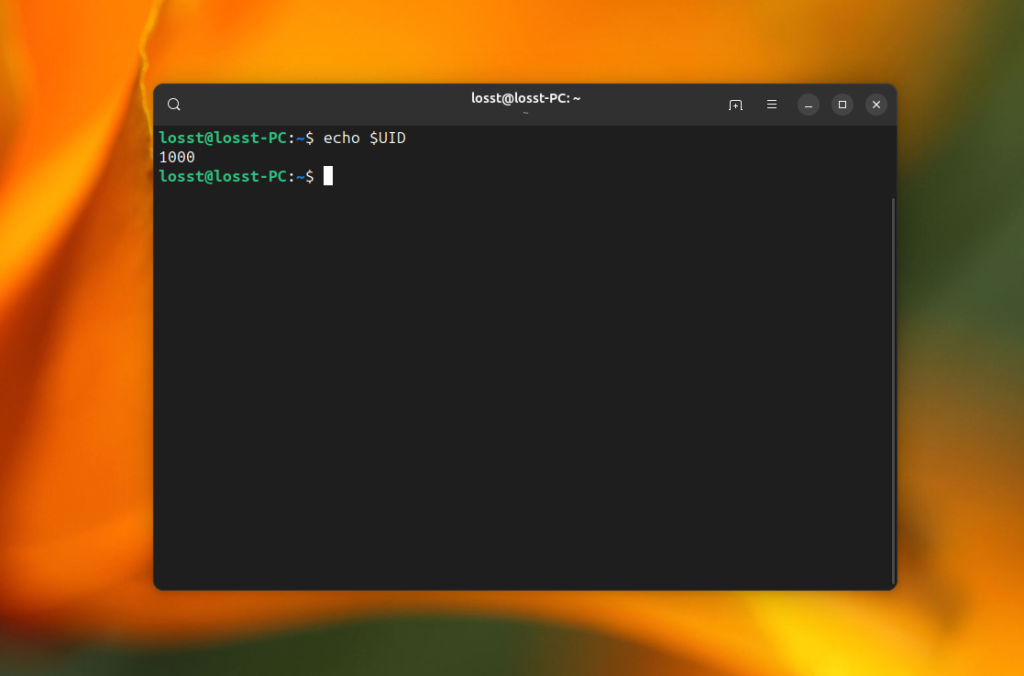
Если вы хотите иметь доступ на запись к общей папке Windows, необходимо добавить параметр uid с идентификатором вашего пользователя. Для первого пользователя это обычно 1000:
sudo mount -t cifs -o username=losst,uid=1000 //192.168.124.63/Users /mnt/
Вы можете посмотреть идентификатор текущего пользователя в переменной окружения UID:
echo $UID
Если вы хотите автоматически монтировать общий ресурс при запуске системы, необходимо сохранить имя пользователя и пароль в файле учетных данных, например, /etc/share/windows-credentials. К примеру:
sudo mkdir -p /etc/share/
username=losst
password=password
domain=workgroup
И затем добавьте следующую строку в файл /etc/fstab:
//192.168.124.63/Users /mnt/share cifs credentials=/etc/share/windows-credentials,uid=1000,nofail 0 0
Параметр nofail необходим, чтобы позволить компьютеру загружаться, даже если удаленная папка не может быть смонтирована. После этого перезагрузите настройки systemd:
sudo systemctl daemon-reload
Создайте директорию точки монтирования:
sudo mkdir -p /mnt/share
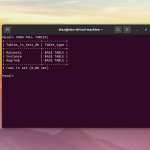
Вы можете проверить работоспособность с помощью следующей команды:
sudo mount /mnt/share
Если все в порядке, вы сможете увидеть содержимое смонтированного общего ресурса в папке /mnt/share:
Выводы
В этой статье мы рассмотрели, как подключить сетевую папку Windows в Linux, используя графический интерфейс или терминал. Несмотря на некоторые сложности, этот способ может быть довольно эффективным. Знаете ли вы другие приложения или скрипты, которые могут помочь в этом? Поделитесь их названиями в комментариях ниже.
Мой любимый способ был в файло-менеджере Caja (который штатный в оболочке Mate) -> File -> Connect to server.. -> Type -> Windows share, правда постоянно проблема была верно внести в формы окошка путь к шаре в правильном формате (вечно забывал со слэшем/без слэша/с двойным слэшем -- https://postimg.su/image/k7gw5uuZ/Screenshot_20251003_221201.png ). Благодаря статье узнал что в Наутилусе Гномчика есть ещё более кошерный способ (однострочник с smb://..), теперь буду пожалуй пользоваться им, спасибо
Самая большая проблема в КДЕ это запрос пароля, для подключения к шаре. На шаре нет никаких паролей, но КДЕ (долфин) упорно отказывается заходить в шары, и просит пароль. Даже если пароль ввести хоть от текущего пользователя, хоть root, хоть даже произвольный иногда подключается, но ладом не работает, достаточно обновить содержимое каталога и снова запрос пароля хоть сохраняй, хоть нет. Соответственно загрузка файлов оттуда тоже раз на раз.
А вот если смонтировать шару на папку через mount.cifs, да пароль спросит, но примет произвольный, тогда все стабильно и надежно работает, единственное неудобство при этом - необходимость перемонтировать при смене каталога.
Вот до сих пор не могу понять, почему в КДЕ настолько хреновая поддержка SMB, это ведь один из самых популярных протоколов файлообмена в домашних сетях, да даже и в корпоративных.
Пенять на кривизну протокола SMB нет смысла, это не в нем проблема, поскольку есть решения, которые нормально работают. Это именно проблема пользовательских приложений.
Linux, к сожалению, как был не для людей, так и остался поделкой для энтузиастов. Хотя бы взять эту статью, ведь если бы все работало как надо и интуитивно, необходимости бы в ней и не было вовсе.