Утилита loginctl входит в набор утилит systemd для управления системой. Она позволяет управлять запущенными сессиями пользователей, смотреть список активных пользователей, блокировать экран или вообще завершать сессии, завершать процессы пользователей и многое другое.
Раньше для всего этого приходилось использовать несколько утилит и конфигурационных файлов, а теперь всё находится в одном месте. В этой статье мы рассмотрим как пользоваться loginctl, также для чего эта утилита может пригодится.
Содержание статьи
Основы loginctl
Утилита loginctl позволяет взаимодействовать со всем, что касается авторизации пользователей. В официальной документации сказано, что loginctl предназначена для контроля менеджера входа в систему systemd-logind. Утилита оперирует такими сущностями:
- Пользователь (user) - любой пользователь зарегистрированный в системе;
- Сессия (session) - активная авторизация пользователя в системе. Каждый вход, за исключением sudo и su, считается новой сессией. Вы можете авторизоваться в нескольких TTY, по SSH или в графическом менеджере входа, это всё будут новые сессии;
- Место (seat) - эта концепция позволяет подключить к компьютеру несколько пар мышек, клавиатур, мониторов и использовать его несколькими пользователями одновременно. Обычно эта возможность не используется и утилита показывает только одно рабочее место.
А теперь, давайте посмотрим на синтаксис и доступные опции loginctl.
Синтаксис и опции loginctl
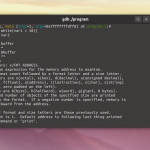
Синтаксис утилиты довольно простой:
$ loginctl опции команда аргументы
Вот основные команды, которые вы можете использовать:
- list-sessions - вывести список сессий;
- session-status <id> - выводит состояние сессии, дату авторизации, информацию об основных запущенных сервисах и процессах;
- show-session <id> - выводит настройки сессии;
- activate <id> - позволяет переключится на указанную сессию;
- lock-session <id> - блокирует экран для указанной сессии, если ID сессии не задан, блокирует экран для текущей сессии;
- unlock-session <id> - разблокирует экран для указанной сессии;
- kill-session <id> - позволяет завершить сессию, или отправить определённый сигнал всем процессам;
- terminate-session <id> позволяет завершить указанную сессию;
- list-users - выводит список пользователей, которые авторизованы в данный момент;
- user-status <id> - похоже на session-status, выводит дату авторизации, состояние и все запущенные процессы в виде дерева;
- show-user <id> - выводит информацию о пользователе и его текущей сессии без запущенных процессов;
- terminate-user <id> - завершает все сессии пользователя и все его процессы;
- kill-user <id> - отправляет сигнал всем процессам пользователя, по умолчанию будет отправлен SIGTERM;
- list-seats - выводит список рабочих мест;
- seat-status <id> - выводит все процессы запущенные в рамках указанного рабочего места;
- show-seat <id> - выводит настройки рабочего места;
- terminate-seat <id> - завершает все процессы рабочего места.
Настойка рабочих мест не будет рассматриваться в этой статье, поэтому я даже не буду приводить команды для неё. Обрате внимание, что многие команды будут работать только для сессий с графическим интерфейсом, например lock-session или unlock-session не поддерживается для TTY или SSH сессий. А теперь давайте рассмотрим примеры.
Как пользоваться loginctl
1. Информация о сессиях
Вы можете посмотреть все активные сессии пользователей с помощью команды list-sessions:
loginctl list-sessions
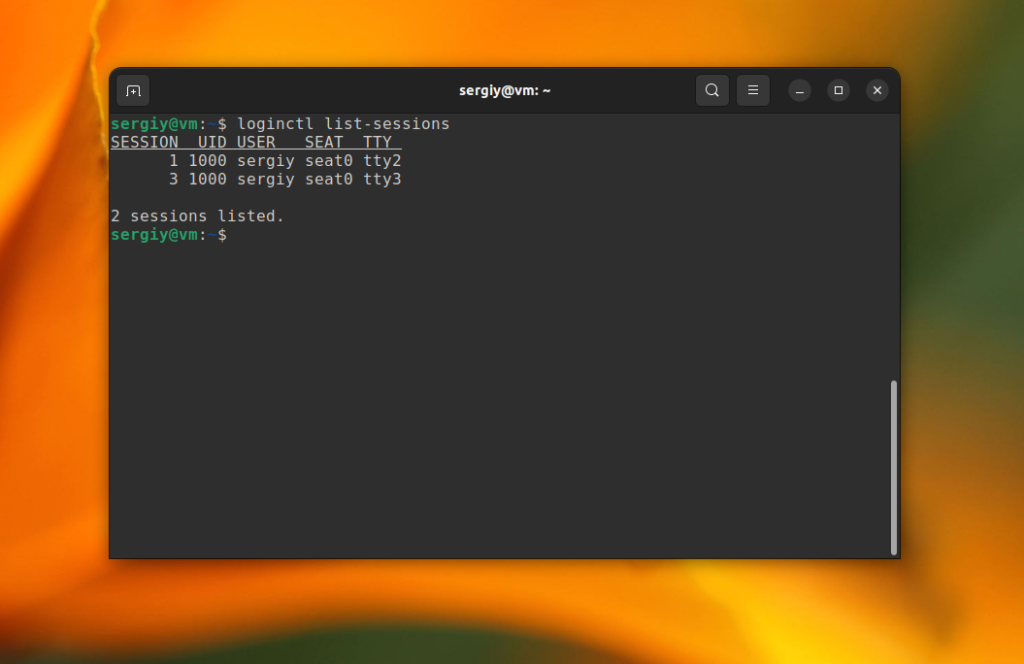
В данном случае есть две сессии. Первая автовход в графический интерфейс, где запущен Gnome, вторая консольная сессия в TTY3. Здесь по каждой сессии отображается только её идентификатор, имя пользователя и TTY, в которой запущена сессия. Для того чтобы узнать более подробную информацию о каждой сессии используйте команду session-status. Вот так выглядит сессия в графическом интерфейсе:
loginctl session-status 1
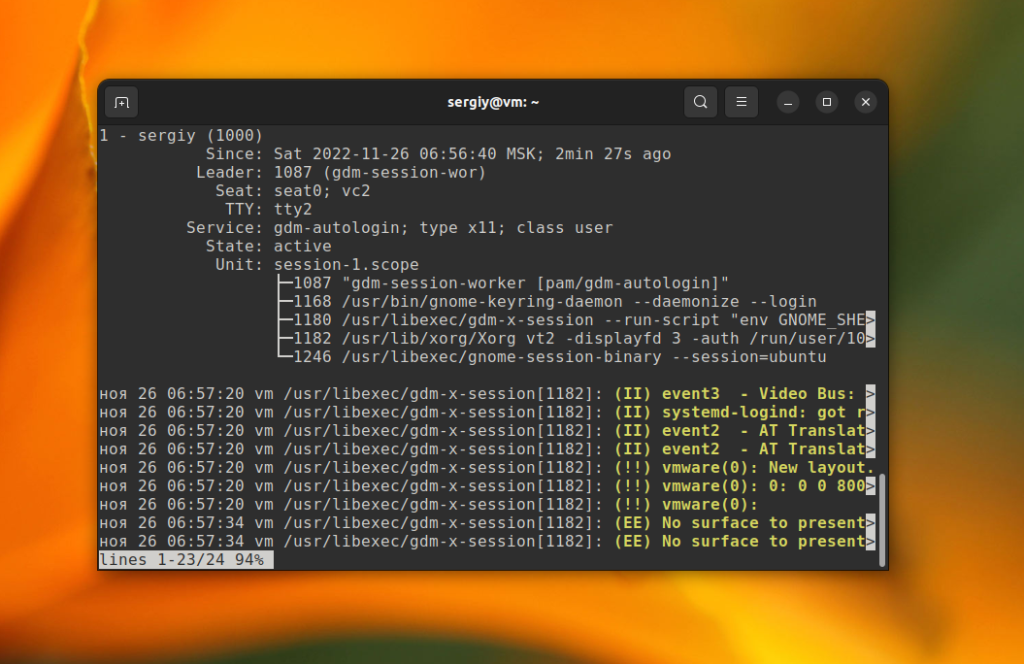
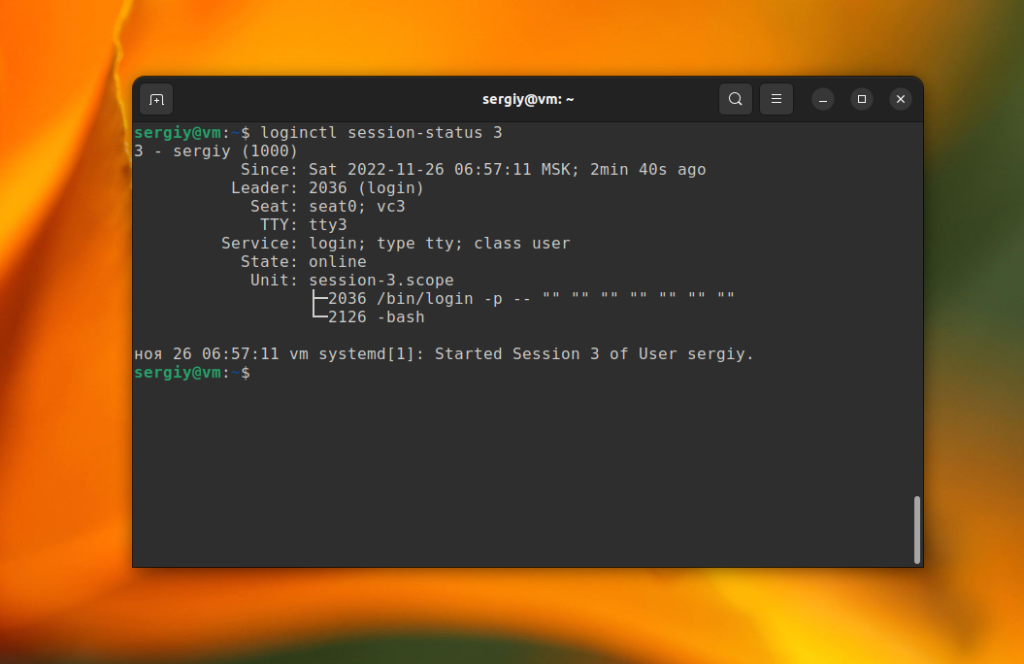
Здесь видно когда была запущена сессия, её тип, в данном случае X11, а также основные процессы. Консольная сессия в TTY выглядит вот так:
loginctl session-status 3
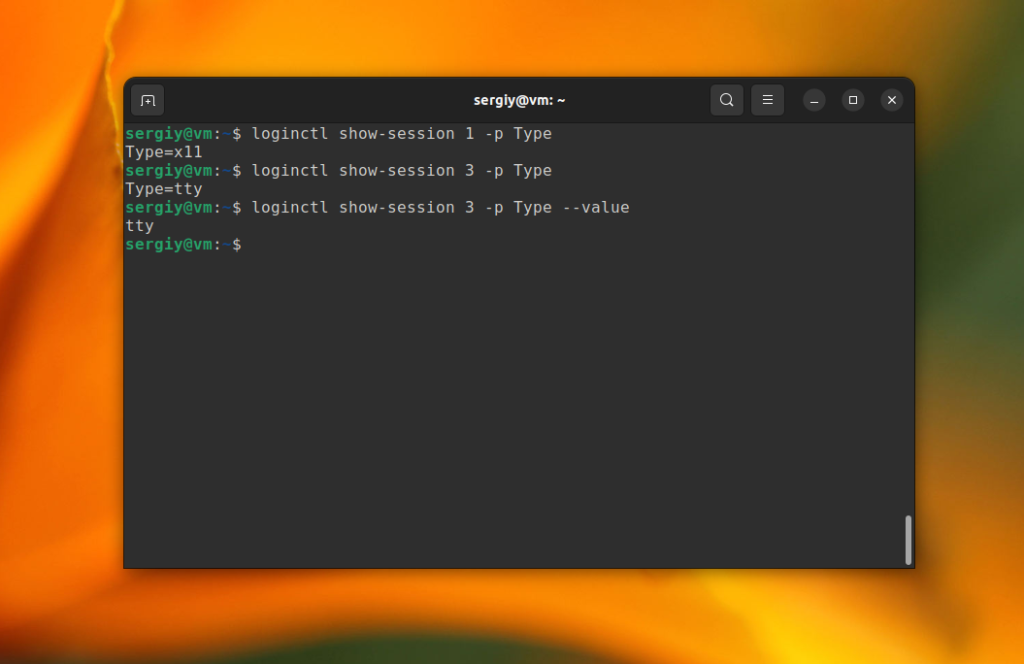
Если вы хотите посмотреть настройки сессии без информации о процессах используйте команду show-session:
loginctl show-session 1
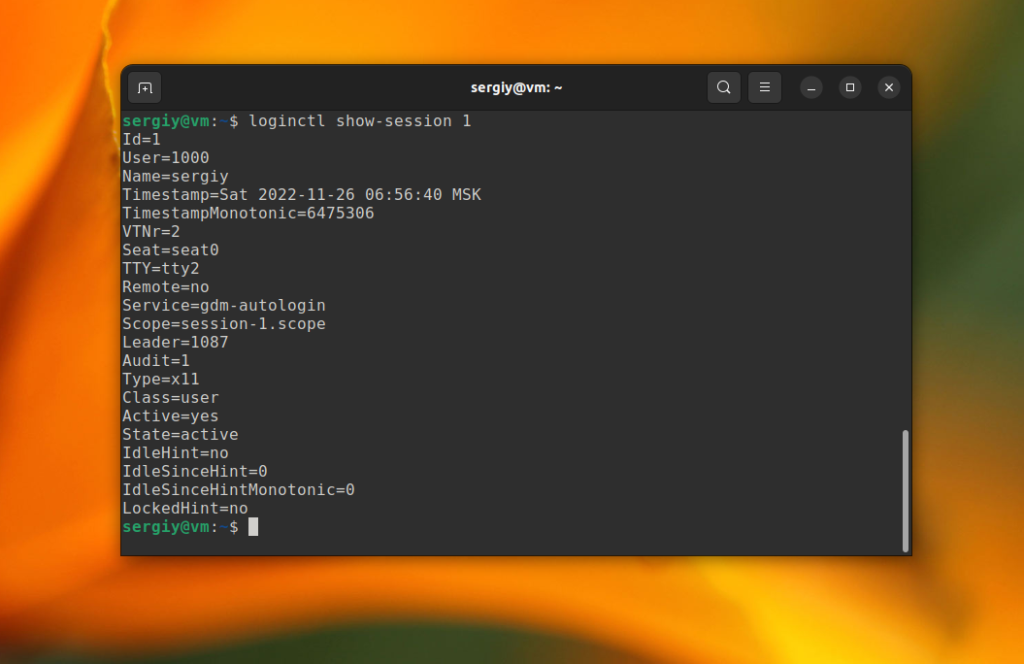
Для этой команды можно указать какую именно информацию вы хотите получить с помощью опции -p или --property. Например, для того чтобы получить только тип используйте такую команду:
loginctl show-session 1 --p Type
Для того чтобы получить только значение, без названия свойства используйте опцию --value:
loginctl show-session 1 --p Type --value
2. Информация о пользователях
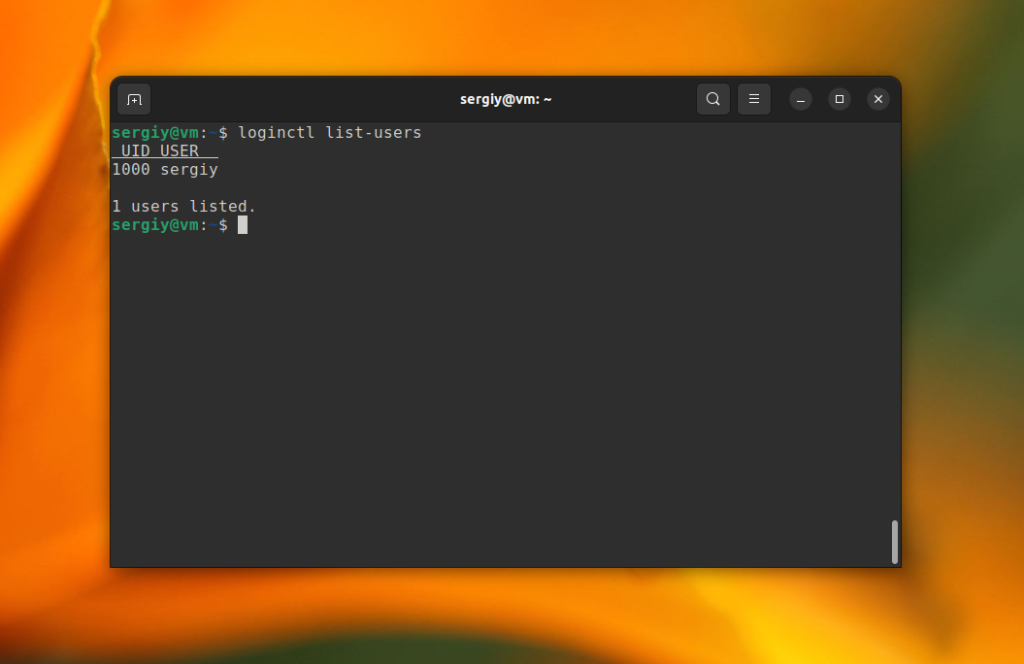
Просмотр информации о пользователях работает примерно так же, как и просмотр информации о сессиях. Вы можете посмотреть список всех авторизованных пользователей с помощью такой команды:
loginctl list-users
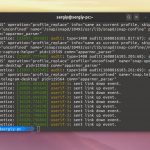
С помощью команды user-status можно посмотреть подробности и каждом пользователе. Причём здесь будут именно подробности о его сессиях, а не данные пользователя:
loginctl user-status 1000
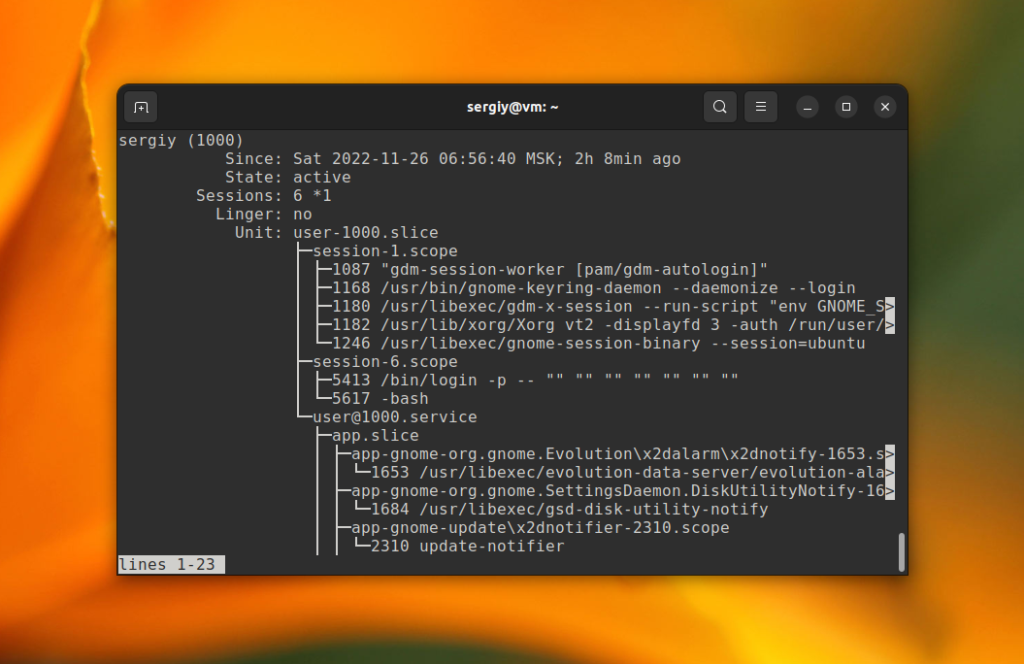
В поле Sessions выводятся идентификаторы всех сессий пользователя, причём активная сессия будет отмечена звездочкой. Ниже выводятся Systemd сервисы запущенные от имени этого пользователя и запущенные ими процессы. По умолчанию список процессов может быть сокращён. Если вы хотите видеть все процессы используйте опцию -l или --full:
loginctl user-status 1000 --full
Для того чтобы утилита выводила всю информацию сразу без пагинации используйте опцию --no-pager:
loginctl user-status 1000 --no-pager
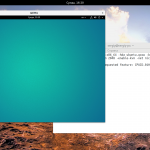
3. Переключение на другую сессию
Вы можете переключаться между сессиями используя графический интерфейс, например в Gnome или KDE. Но если вы хотите сделать это в терминале, то нужно использовать loginctl. Например, для того чтобы переключится в сессию с идентификатором 3 используйте команду:
loginctl activate 3
А там вы можете переключится обратно. Это может быть удобнее чем переключаться по TTY с помощью горячих клавиш. Переключившись вы можете заблокировать экран для предыдущей сессии. Для этого используйте команду lock-session. Например:
loginctl lock-session 1
4. Завершение сессий и процессов
С помощью команд kill-user или kill-session можно завершать процессы, которые запущены от имени пользователя или только определённой сессии. Эти команды работают аналогично консольной утилите kill, а значит с помощью них можно не только завершить процесс, но и отправить ему какой-либо сигнал. Если команде kill-session передать только идентификатор сессии, то она просто завершит её:
loginctl kill-session 3
Но вы можете отправить какой-либо другой сигнал с помощью опции --signal. По умолчанию отправляется сигнал SIGTERM. Например, для того чтобы передать сигнал SIGKILL используйте команду:
loginctl kill-session 3 --signal SIGKILL
Аналогичная команда существует и для завершения всех процессов пользователя - kill-user. Кроме того есть команда session-terminate. Она делает практически то же самое только не позволяет выбирать сигнал и сразу же завершает все процессы:
loginctl terminate-session 3
5. Автозапуск сервисов пользователя
В Systemd есть поддержка сервисов, запускаемых от имени пользователя. Этими сервисами можно управлять без использования sudo и это довольно удобно. Окружения рабочего стола, например, Gnome уже давно используют эту возможность. Это такие сервисы, для управления которыми используется команда systemctl с опцией --user. Обычно, такие сервисы запускаются когда пользователь авторизуется в системе и останавливаются при выходе. Но иногда возникает необходимость сделать так, чтобы процессы пользователя запускались при загрузке системы, до его авторизации и не завершались с завершением сессии. Вы можете настроить это с помощью loginctl.
Например, для того чтобы это настроить для пользователя sergiy необходимо использовать такую команду loginctl:
loginctl enable-linger sergiy
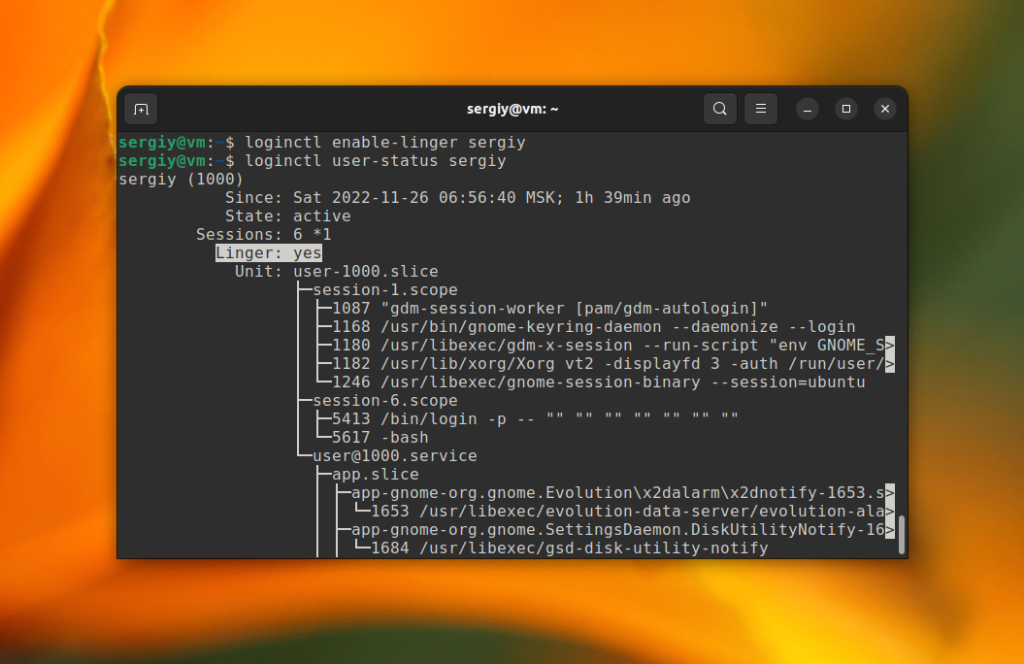
Посмотреть состояние этого параметра можно с помощью команды user-status. Для отключения используйте команду disable-linger:
loginctl disable-linger sergiy
Выводы
В этой статье мы рассмотрели как пользоваться loginctl для просмотра информации о сессиях и авторизованных пользователях, а также как завершать сессии пользователей. Как видите утилита довольно проста в использовании и позволяет сделать всё в одном месте.

А вот интересно, существует ли способ узнать что сейчас делает пользователь в своем терминале... Ну то есть получить список его .bash_history до того как он запишется в файл, что происходит только при завершении его сессии. Мы рут, пользователь - юзер. Когда то искал способ но так и не нашел, а после вашей статьи вспомнилось.
можно настроить чтобы .bash_history можно читать в рантайме