Конец апреля 2023 года означает выход новой версии Ubuntu - Ubuntu 23.04. Этот релиз не имеет долгосрочной поддержки, поэтому может быть менее стабильным. Тем не менее, он включает в себя несколько долгожданных улучшений, таких как новый Flutter установщик и GNOME 44. Новая версия GNOME предлагает обновленное меню быстрого доступа, переработанную конфигурацию мыши и тачпада, древовидный вид папок в Nautilus и встроенную поддержку WireGuard в графическом интерфейсе.
В этой статье я расскажу, как установить Ubuntu 23.04 на ПК или ноутбук, используя новый установщик. Эта статья будет полезна начинающим пользователям или тем, кто хочет узнать, как выглядит новый установщик.
Содержание статьи
Системные требования
Минимальные системные требования Ubuntu возрастают от одной версии к другой. Последняя версия требует как минимум 25 ГБ дискового пространства и USB-накопитель на 8 ГБ. Вот подробные требования к оборудованию:
| Название | Значение |
|---|---|
| Процессор | двухядерный, 2 ГГц |
| Оперативная память | 4 Гб |
| Расширение экрана | 1024x768 |
| Место на диске | 25 Гб |
Это минимальные требования, но учтите, что snap-приложения занимают много места на диске. Поэтому я рекомендую выделить как минимум 80 Гб для корневой файловой системы.
Подготовка к установке
Шаг 1. Загрузка образа
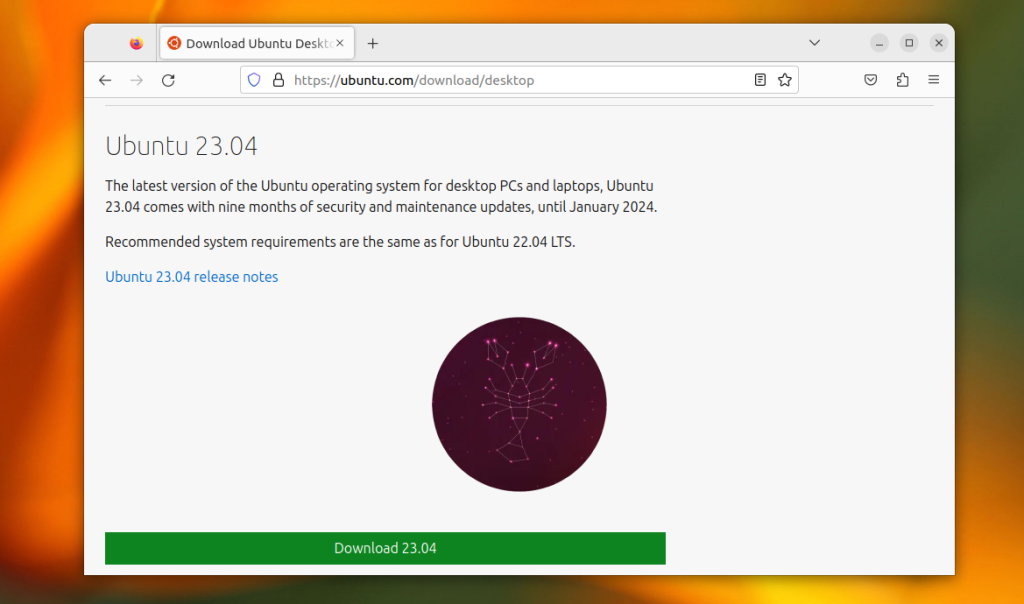
Вы можете загрузить установочный образ Ubuntu на официальном сайте. Откройте раздел Download, найдите Ubuntu Desktop и выберите версию 23.04:
Шаг 2. Запись образа на USB-накопитель
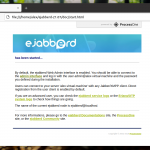
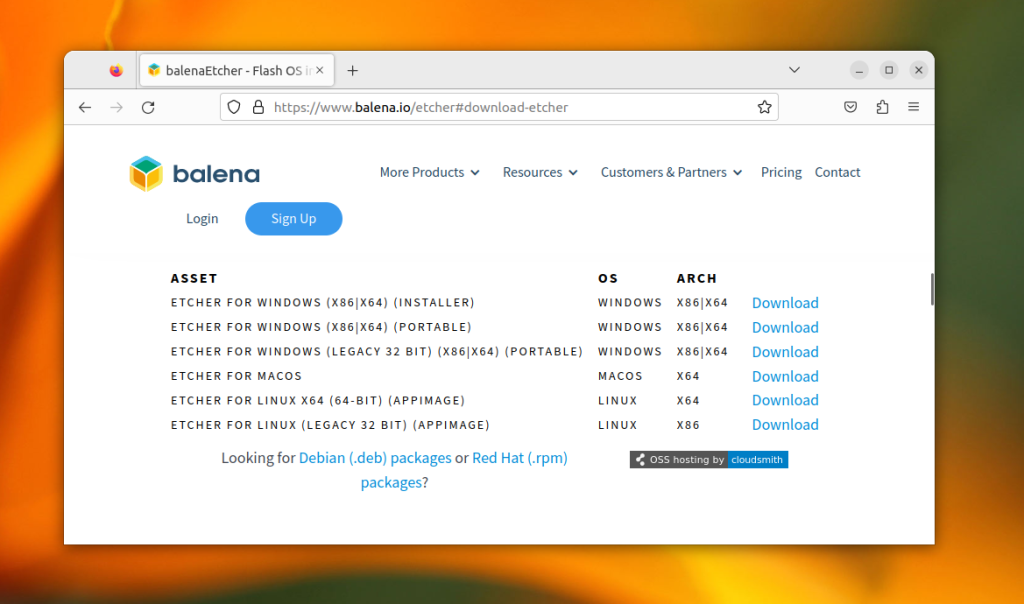
Самый популярный инструмент для записи Linux-образов - balenaEtcher. Он может использоваться в Linux, Windows или macOS. Вы можете скачать его с официального сайта. Если вы используете Linux, самый простой способ получить Etcher в любом дистрибутиве - это скачать AppImage пакет.
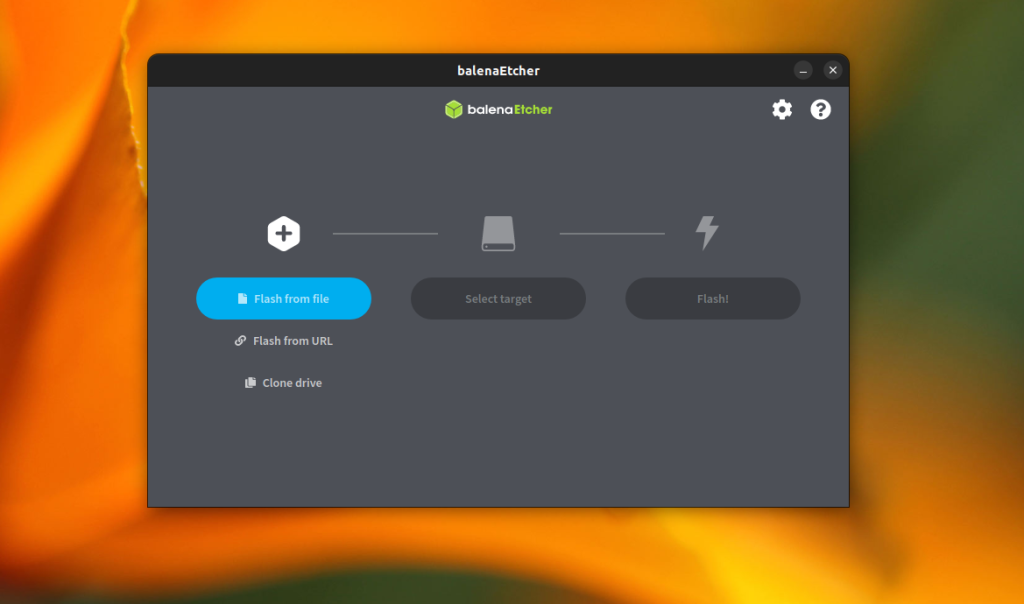
Когда пакет будет загружен, запустите приложение, выберите образ Ubuntu 23.04, укажите ваш USB-накопитель и нажмите кнопку Flash!:
Приложение запишет образ и проверит его контрольные суммы. Когда процесс записи будет завершен, вы можете перезагрузить компьютер.
Шаг 3. Загрузка установщика Ubuntu
Большинство современных ПК и ноутбуков с UEFI имеют меню загрузки, которое можно использовать для выбора загрузочного диска. Просто удерживайте клавишу F12 во время запуска, а затем выберите ваш USB-накопитель в меню быстрой загрузки. Если это не работает, вы можете открыть настройки BIOS/UEFI, используя клавиши F2, F10 или Del, и выбрать устройство для загрузки там. Я не буду показывать, как это сделать в этой статье, поскольку процесс сильно зависит от производителя материнской платы.
После этого вы увидите загрузчик Ubuntu, где следует выбрать Try or Install Ubuntu (Попробовать или установить Ubuntu):
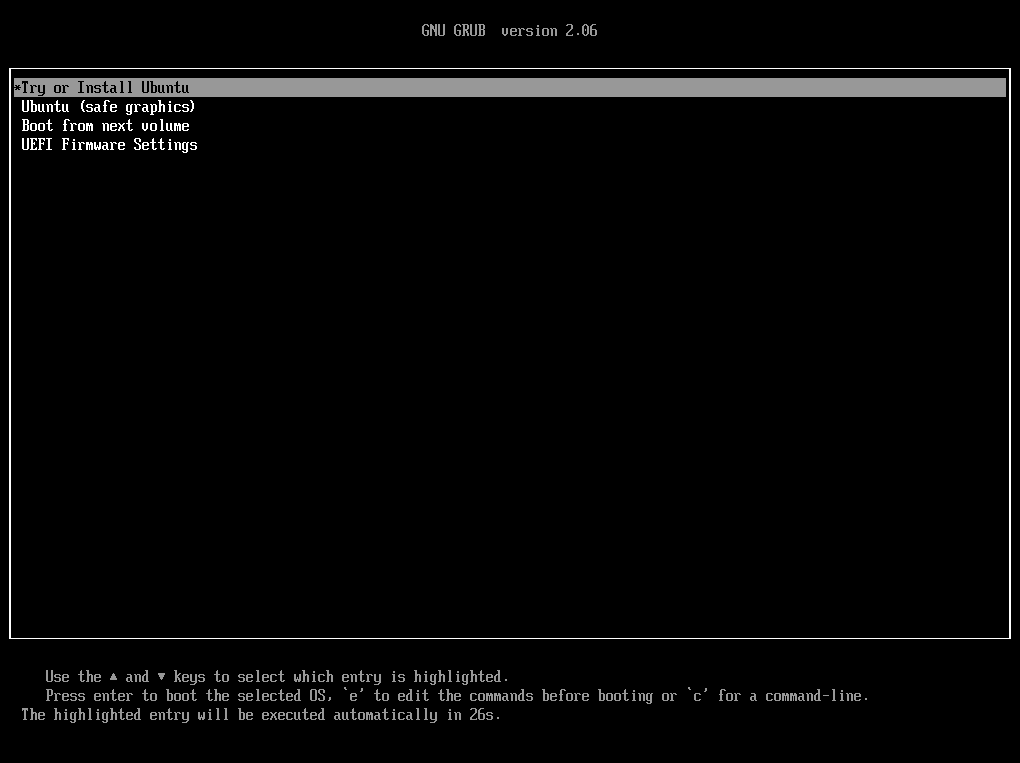
Экран загрузки выглядит следующим образом:
Установка Ubuntu 23.04
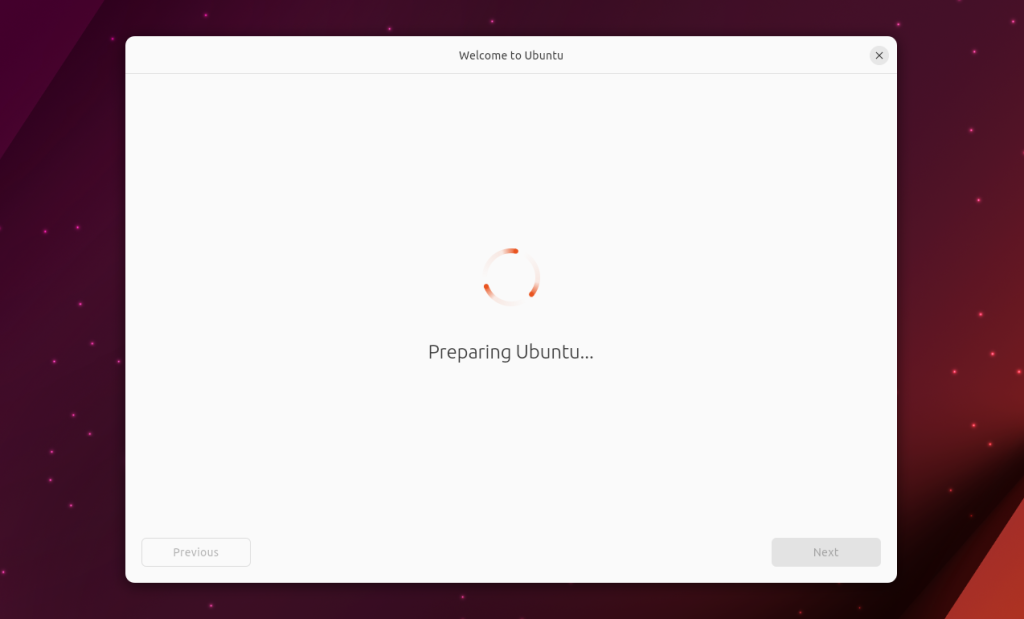
Шаг 1. Запуск программы установки
Программа установки запустится автоматически после загрузки компьютера:
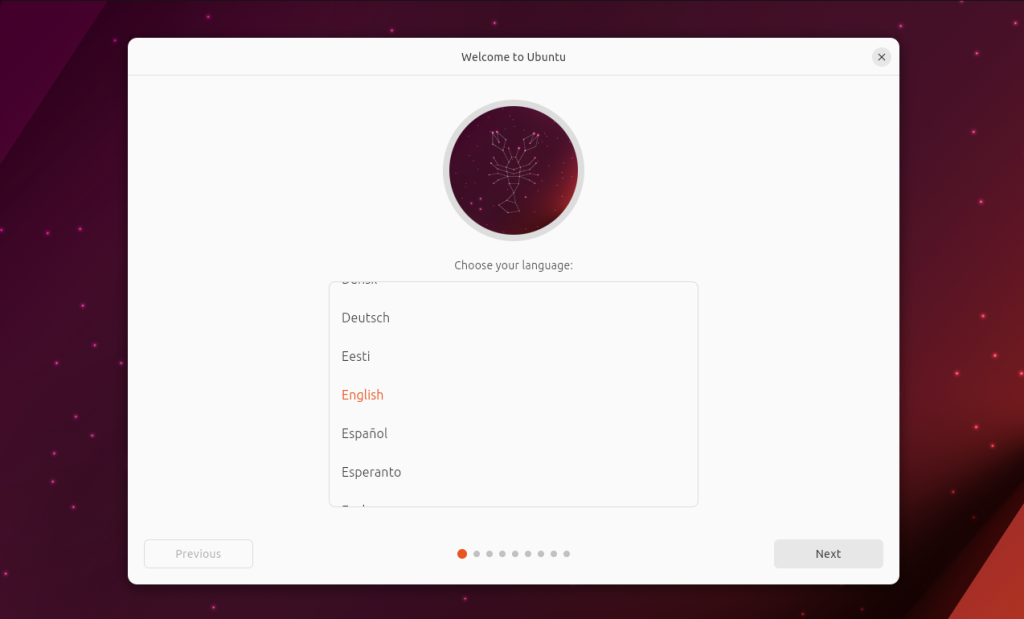
Шаг 2. Выберите язык
На этом шаге вам нужно выбрать язык для установщика и вашей системы. По умолчанию используется английский:
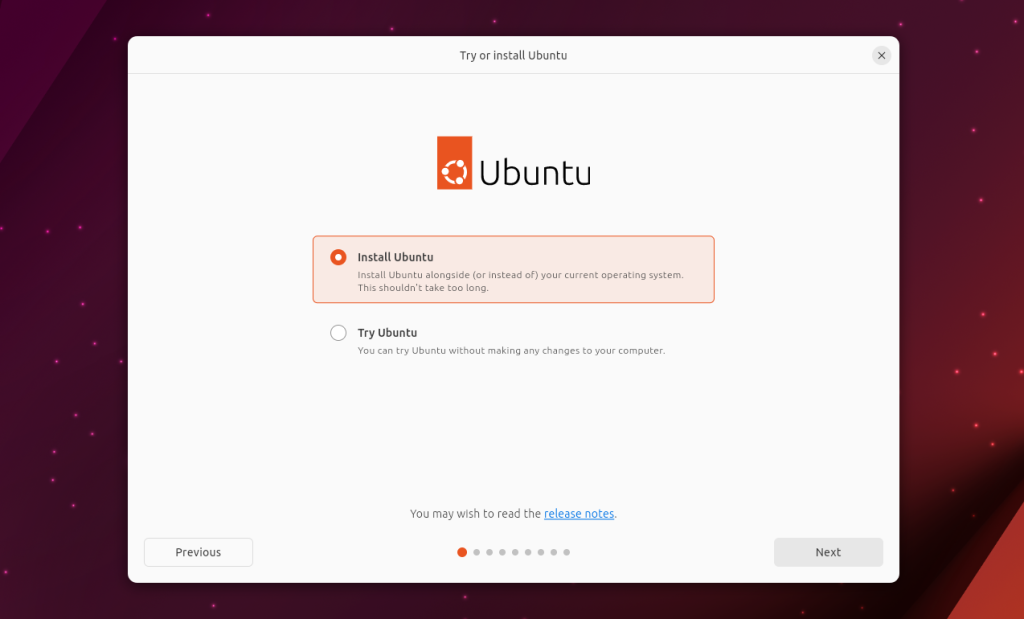
Шаг 3. Начало установки
На данном этапе вы можете войти в Live-окружение и попробовать Ubuntu без внесения каких-либо изменений на ваш компьютер. Однако, если вы хотите установить систему, выберите Install Ubuntu и нажмите кнопку Next:
Шаг 4. Добавление раскладки клавиатуры
По умолчанию доступна только английская раскладка клавиатуры. В этом окне вы можете добавить дополнительные раскладки. Например, немецкую:
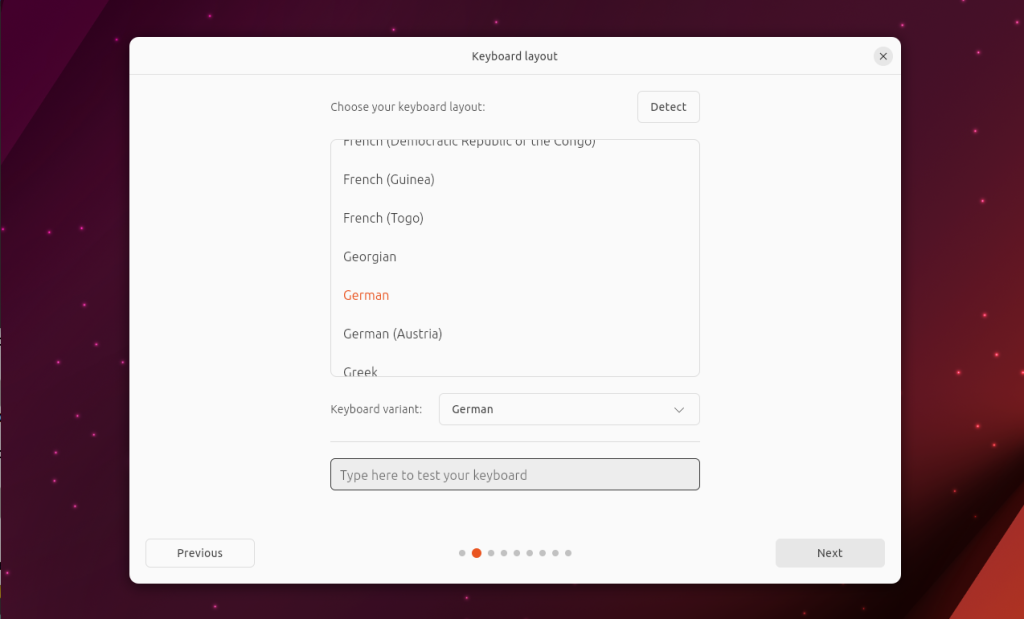
Ести так сделать, то в вашей системе будут доступны как английская, так и немецкая раскладки.
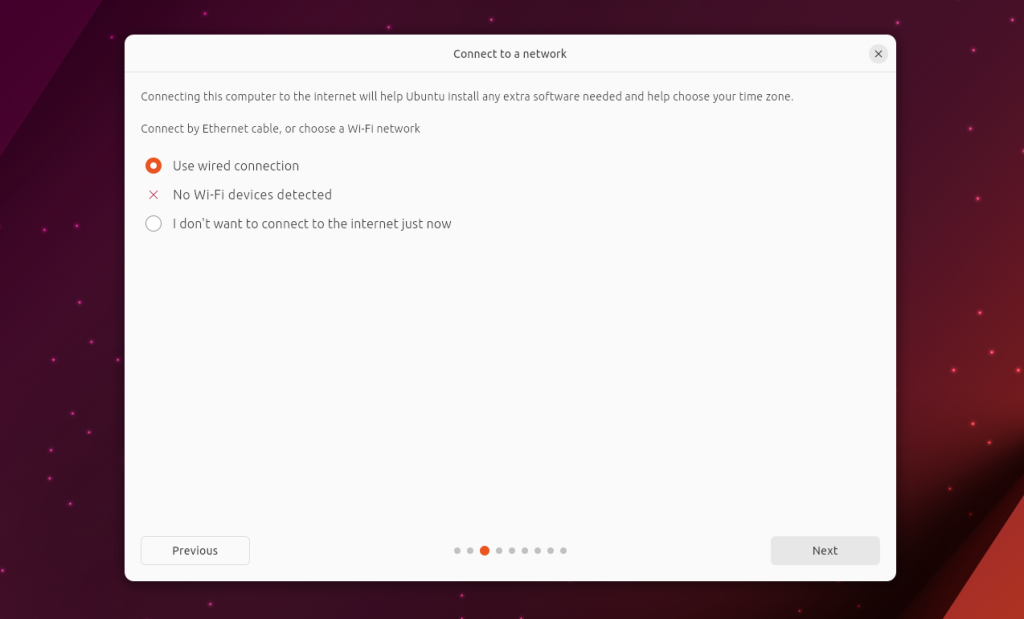
Шаг 5. Подключение к сети
Если вы используете проводное подключение к интернету, этот шаг можно пропустить. Здесь установщик предлагает подключиться к беспроводной точке доступа, чтобы иметь возможность загружать дополнительные драйверы и обновления во время процесса установки:
Шаг 6. Приложения и обновления
Здесь вы можете выбрать между Normal Installation или Minimal Installation установкой. Опция минимальной установки позволяет установить только самое важное программное обеспечение, а остальные необходимые приложения добавить позже вручную. Преимущество нового установщика в том, что он устанавливает только выбранные вами пакеты, в отличие от старого установщика, который устанавливал всё подряд, а затем удалял ненужные пакеты.
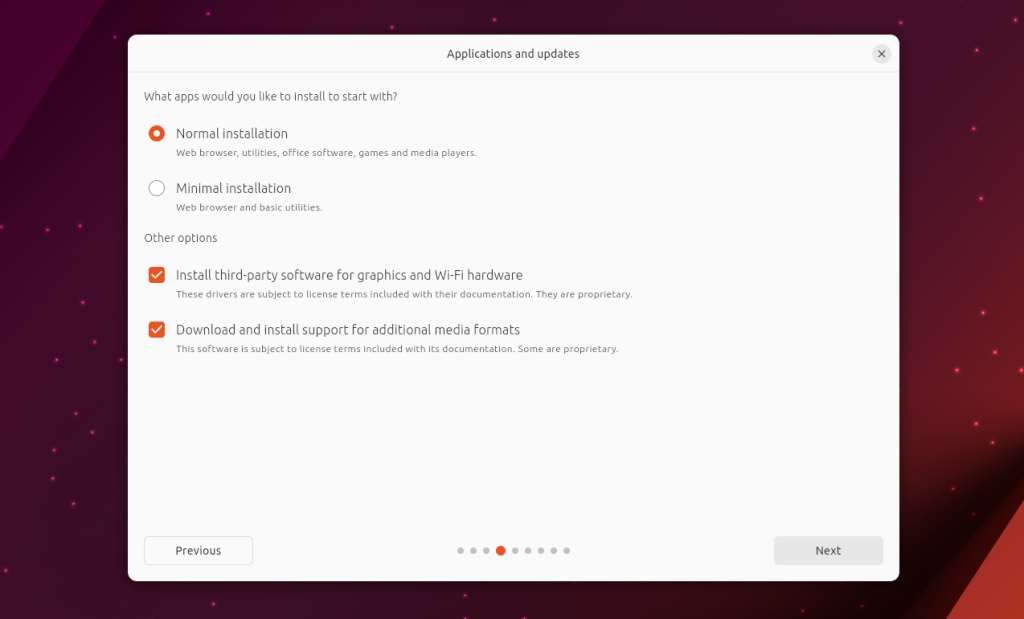
Также здесь вы можете включить загрузку и установку сторонних драйверов и кодеков для дополнительных медиа-форматов. Я рекомендую это сделать.
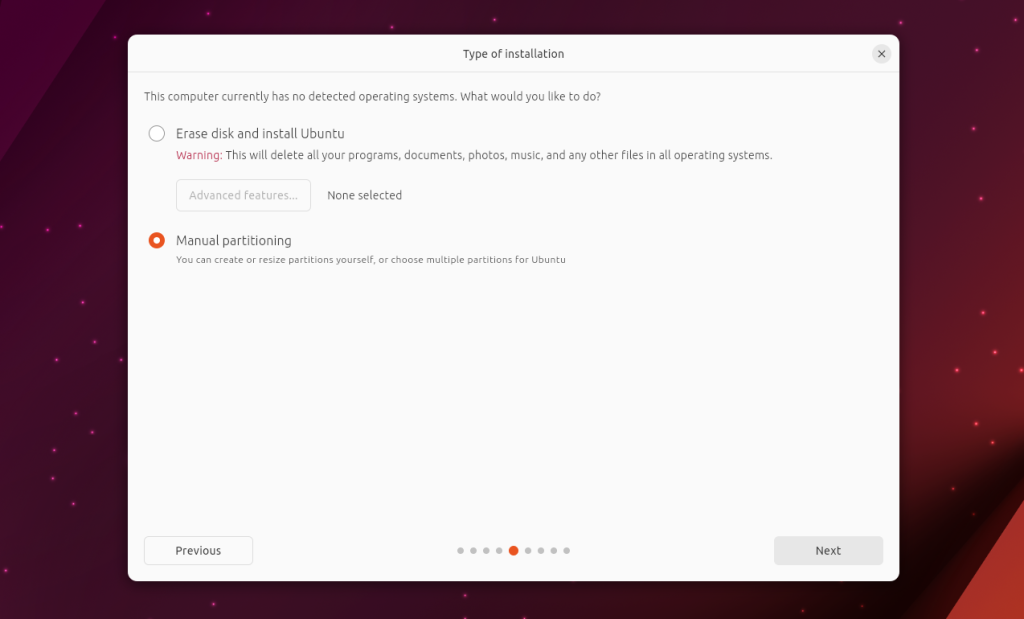
Шаг 7. Разметка диска
Установщик может автоматически стереть всё что есть на диске и установить Ubuntu. Для этого оставьте пункт по умолчанию - Erase disk and install Ubuntu. Ещё можно автоматически установить Ubuntu параллельно с другой операционной системой. Однако я предпочитаю выполнять разметку диска вручную, так как это дает больше контроля над процессом. Для этого выберите опцию Manual Partitioning:
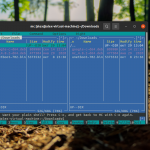
После нажатия кнопки Next вы увидите ваши диски и свободное пространство на них.
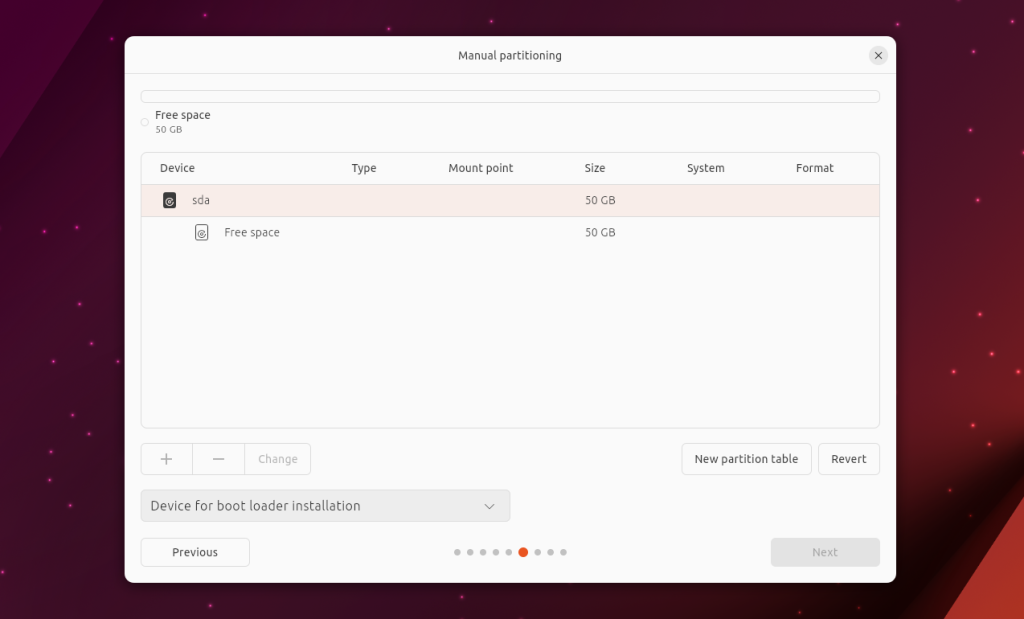
Здесь вы можете удалять существующие разделы и создавать новые, но это не лучшее решение для управления разделами. Если вы хотите установить Ubuntu параллельно с Windows или другим дистрибутивом Linux, сначала подготовьте свободное место с помощью GParted или другого приложения, как описано в статье Как установить Linux рядом с Windows.
Теперь давайте рассмотрим, какие разделы нам нужно создать. Я предполагаю, что вы используете современный компьютер с UEFI и таблицей разделов GPT, поэтому вам не нужно создавать отдельный загрузочный раздел для Grub, но вам понадобится раздел EFI, если у вас его еще нет. Также вам нужен корневой раздел для операционной системы и домашний раздел для ваших файлов. Раньше рекомендовалось создавать раздел подкачки (swap), но теперь Ubuntu может создать файл подкачки на корневом разделе. Это позволяет отключать его, перемещать на другой диск или изменять его размер. Я считаю, что создание файла подкачки - более гибкий способ. Вот рекомендуемые размеры и настройки для разделов
- Раздел EFI может быть небольшим, там хранится несколько версия ядра Linux и конфигурационные файлы Grub. Ubuntu создает этот раздел автоматически и выделяет 1ГБ.
- Корневой раздел должен быть не менее 25 Гб, но как я говорил ранее, snap-пакеты требуют много дискового пространства, поскольку они содержат все необходимые зависимости, упакованные в пакет, а система хранит несколько версий одного и того же пакета в качестве резервной копии. Поэтому я рекомендую выделить 80-100 Гб для корневого раздела.
- Домашний раздел будет использоваться для ваших файлов. Обычно это самый большой раздел в системе. Вы можете выделить для него всё оставшееся свободное место после создания двух предыдущих разделов.
На скриншотах ниже размеры разделов могут отличаться, поскольку это виртуальная машина. А ещё учитывайте, что новый установщик не поддерживает ZFS. Если вы хотите использовать эту файловую систему, вам следует использовать образ со старым установщиком.
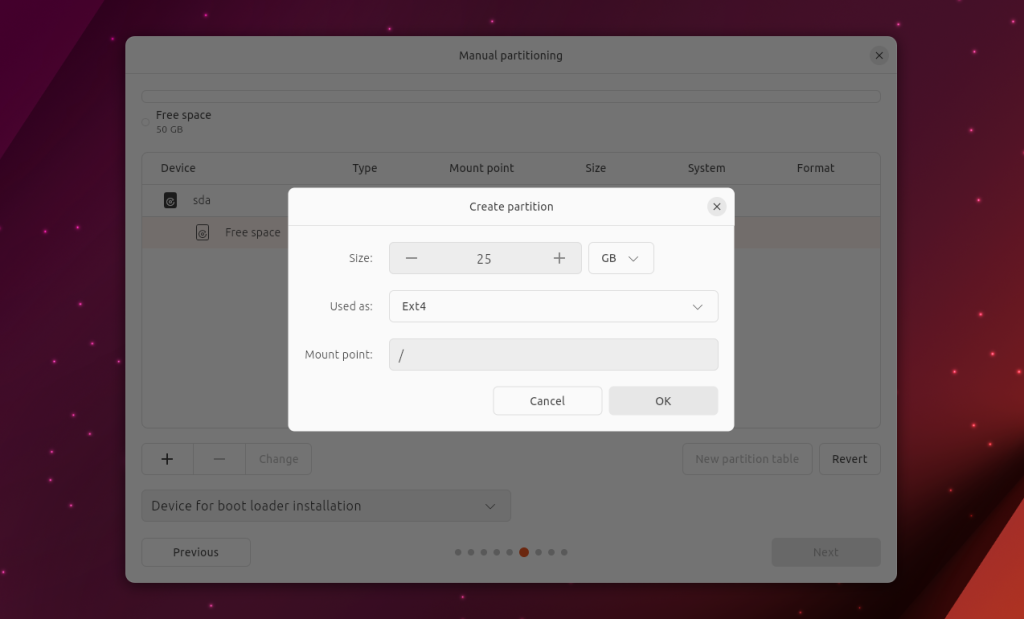
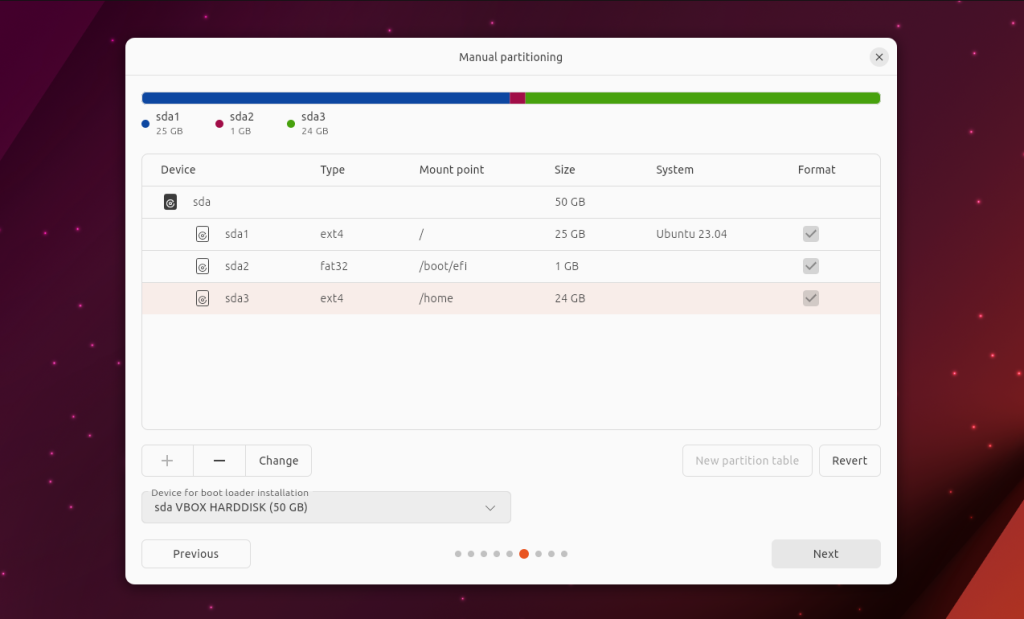
Шаг 8. Создание корневого раздела
Сначала создадим корневой раздел. Выберите Free space (Свободное пространство) и нажмите кнопку +. После этого укажите размер раздела, например, 25 ГБ, и / в качестве точки монтирования. Вы можете использовать файловые системы Ext4, Btrfs или XFS. Но я рекомендую использовать Ext4, поскольку она проверена временем и наиболее стабильна.
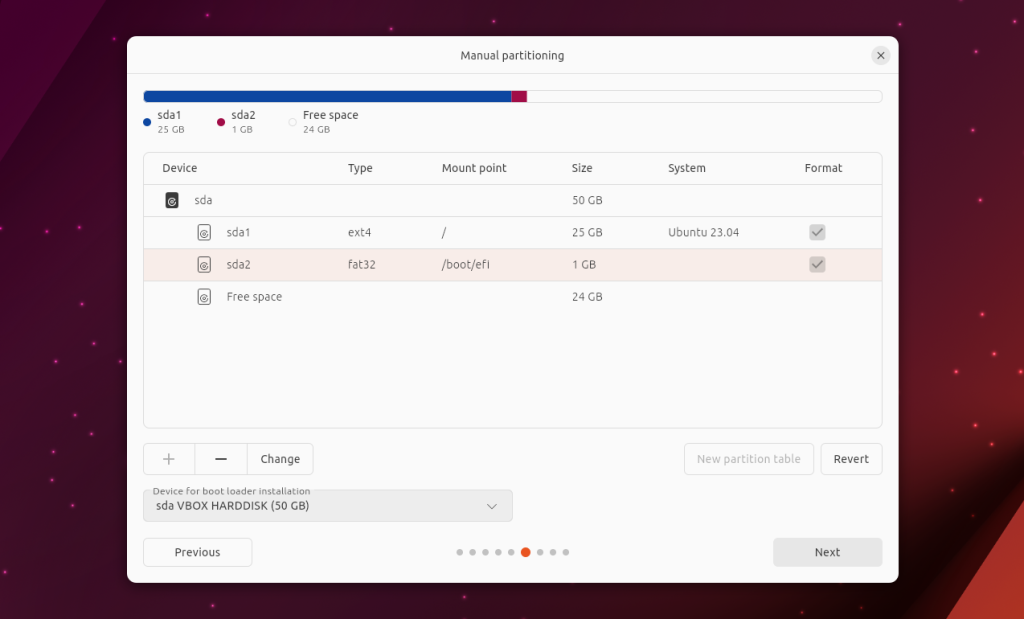
После этого вы увидите новый раздел в списке. Еще одна интересная особенность заключается в том, что новый установщик автоматически создает раздел EFI, если вы используете системы с EFI, поэтому вам не нужно делать это вручную. Это напоминает мне то, как Windows автоматически создает раздел восстановления во время разметки диска, и это очень удобно.
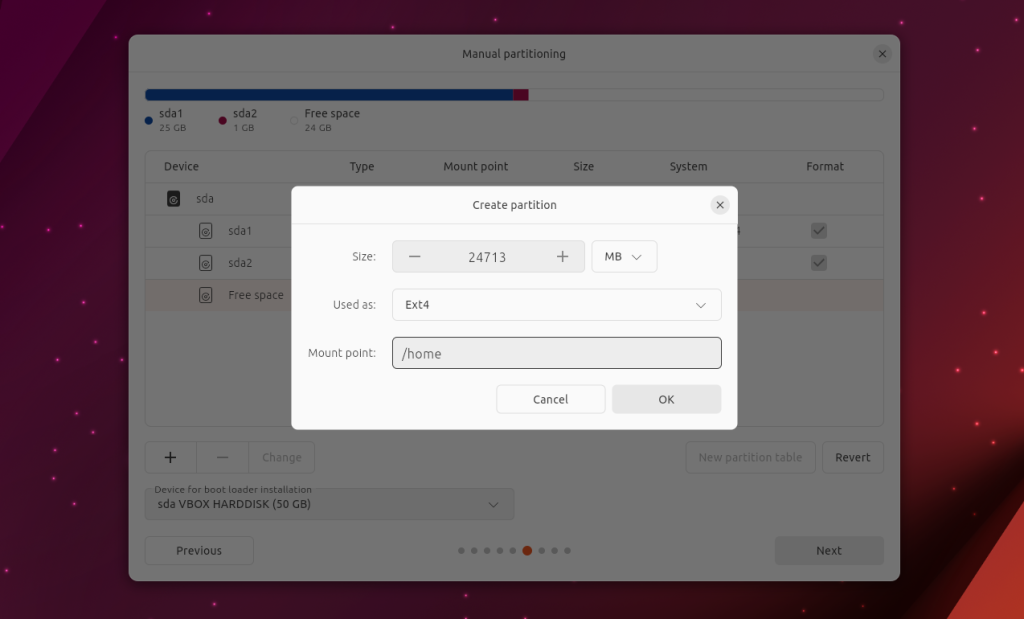
Шаг 9. Создание домашнего раздела
После этого выберите снова Free space и снова нажмите кнопку +, чтобы создать раздел для ваших данных. Выделите для него всё доступное пространство, выберите тип файловой системы (например, Ext4, как и для корневого раздела) и укажите /home в качестве точки монтирования.
Вот результат:
Шаг 10. Подтверждение установки
На этом этапе вы можете просмотреть изменения в системе хранения и подтвердить, что всё в порядке, нажав кнопку Install:
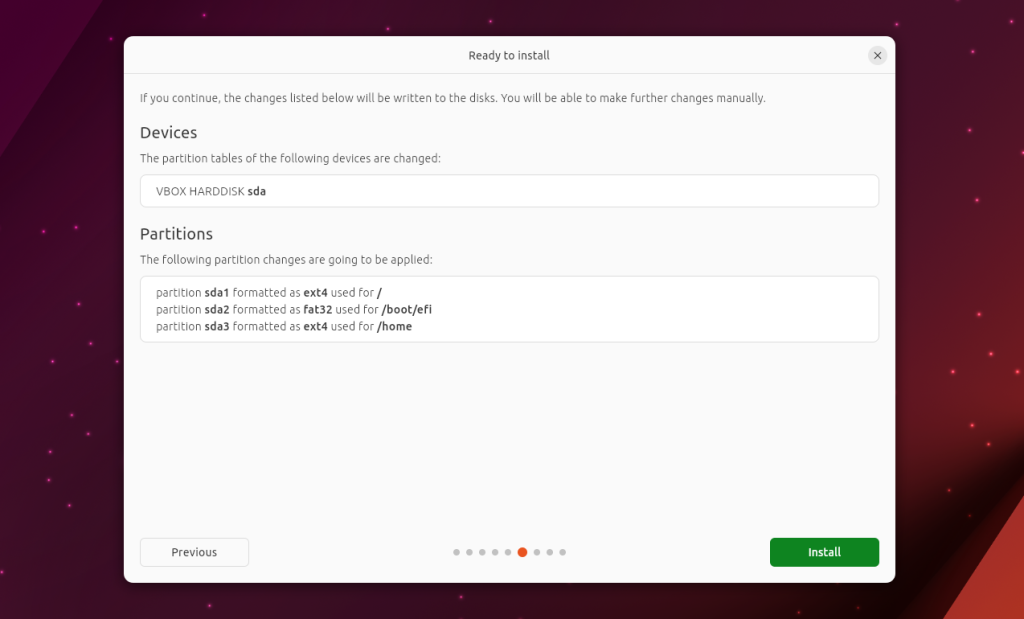
В этот момент начинается процесс установки, однако вам необходимо настроить ещё несколько параметров.
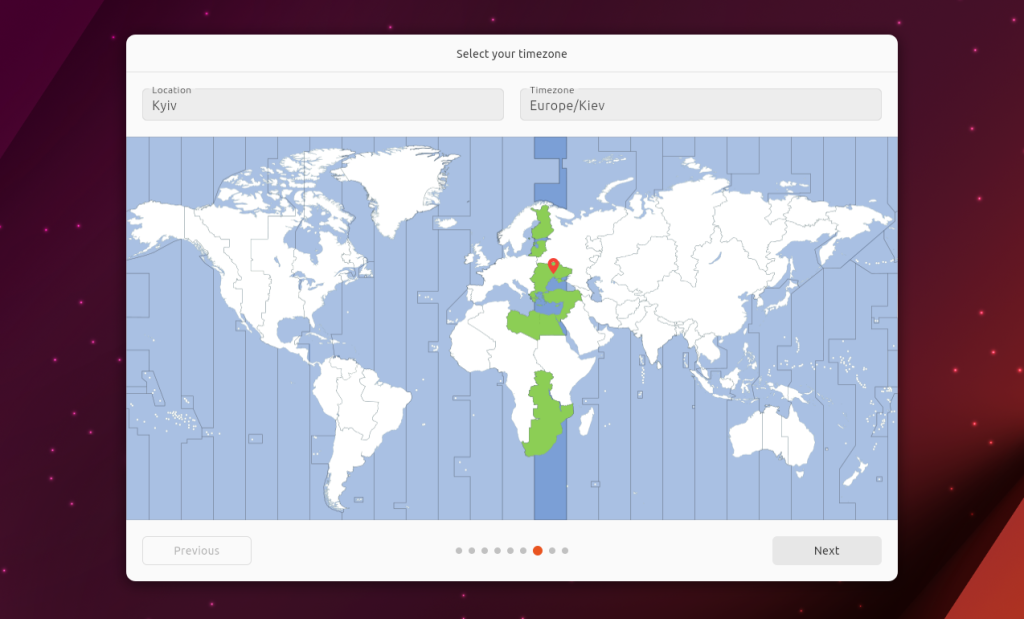
Шаг 11. Выбор часового пояса
После этого вам необходимо выбрать ваше местоположение для настройки часового пояса:
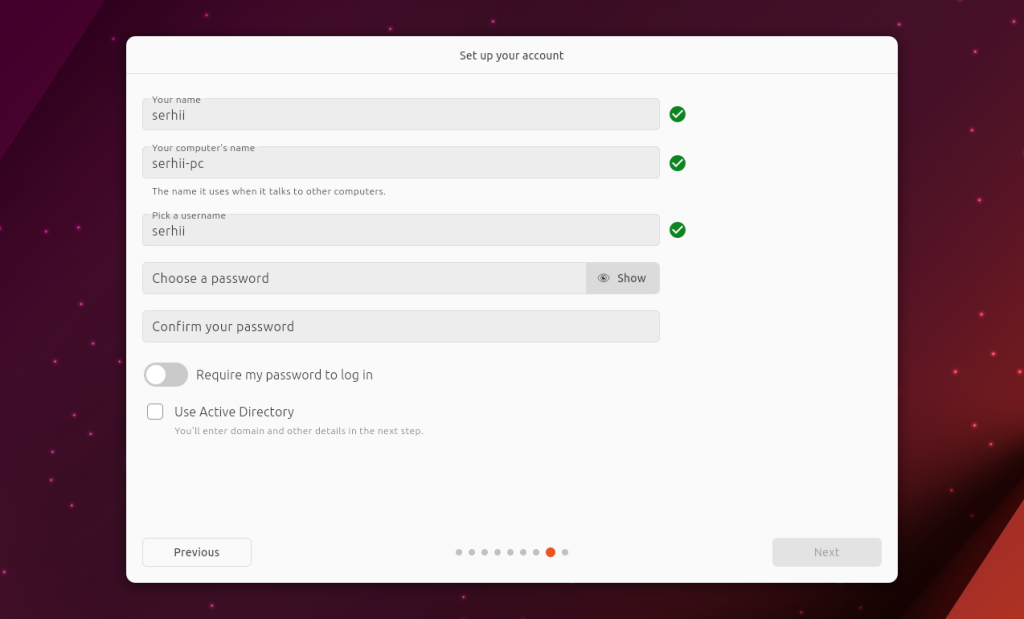
Шаг 12. Настройка учетной записи
Здесь вы можете создать свою учетную запись и настроить имя компьютера. Пароль должен быть достаточно надежным. Ещё здесь вы можете отключить запрос пароля при входе в систему:
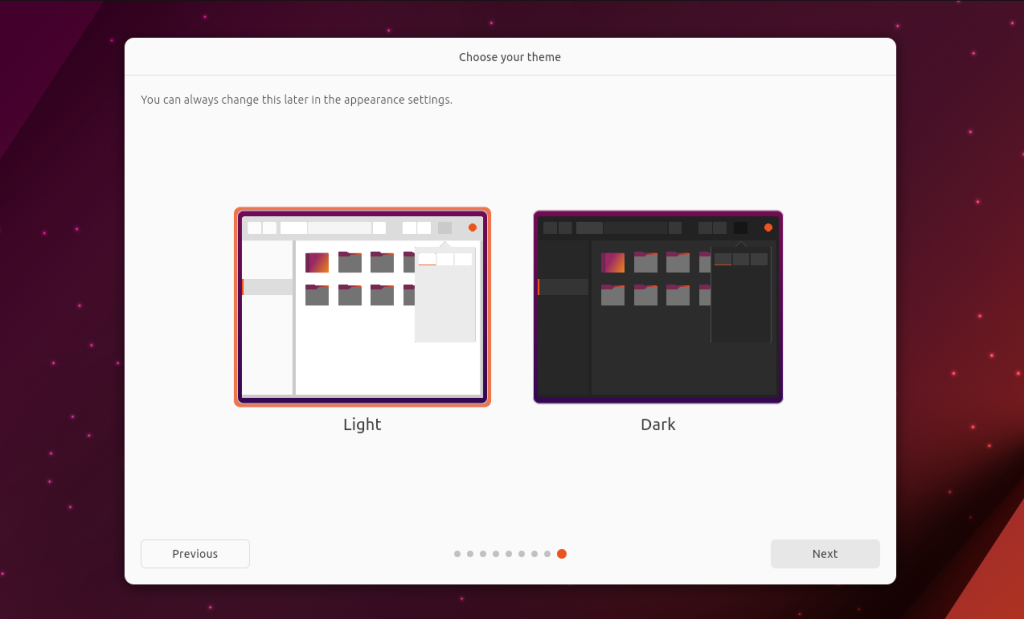
Шаг 12. Выбор темы
В отличие от старого установщика, новый позволяет выбрать тему оформления во время установки. Вы можете выбрать между светлой и тёмной темой:
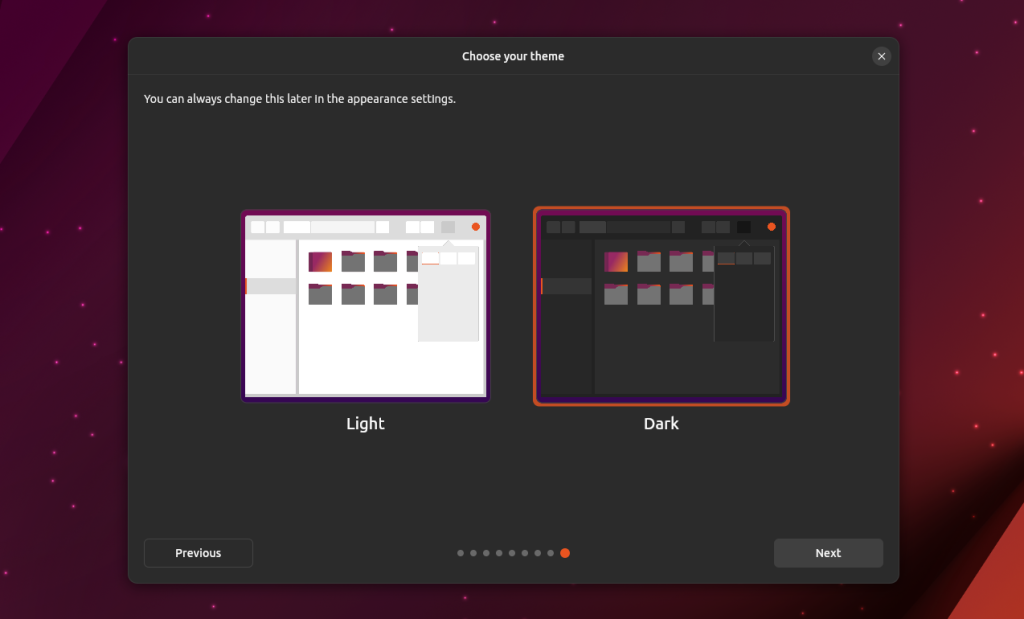
Тёмная тема выглядит так:
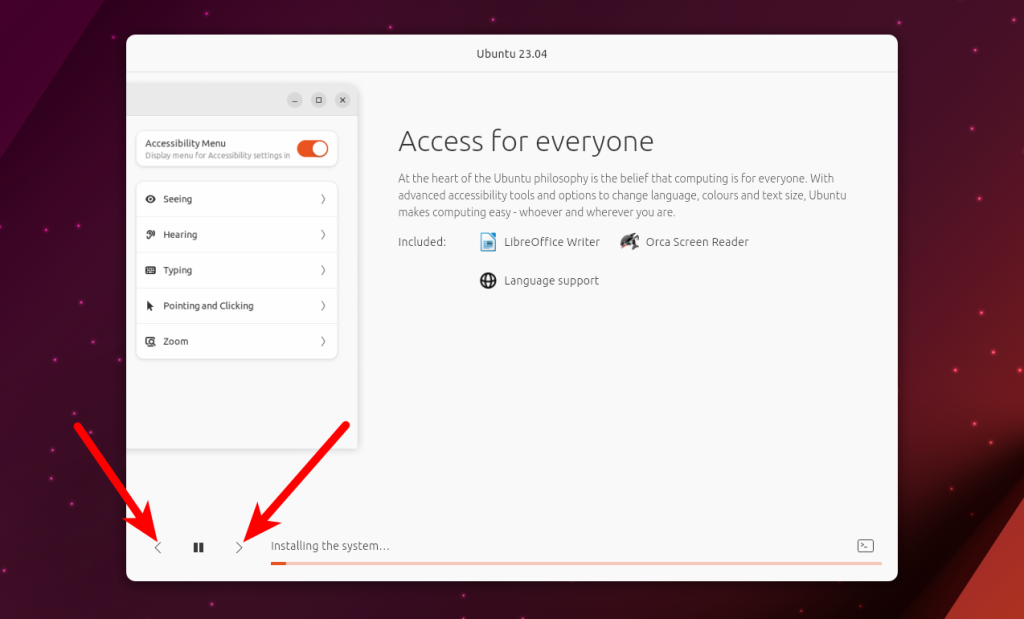
Шаг 13. Установка
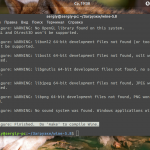
Теперь нужно дождаться завершения процесса установки. Если вы используете SSD-накопитель, система установиться довольно быстро. Пока вы ждете, можно ознакомиться со слайдами, содержащими информацию о новом релизе. Для прокрутки слайдов можно использовать кнопки со стрелками в левом нижнем углу:
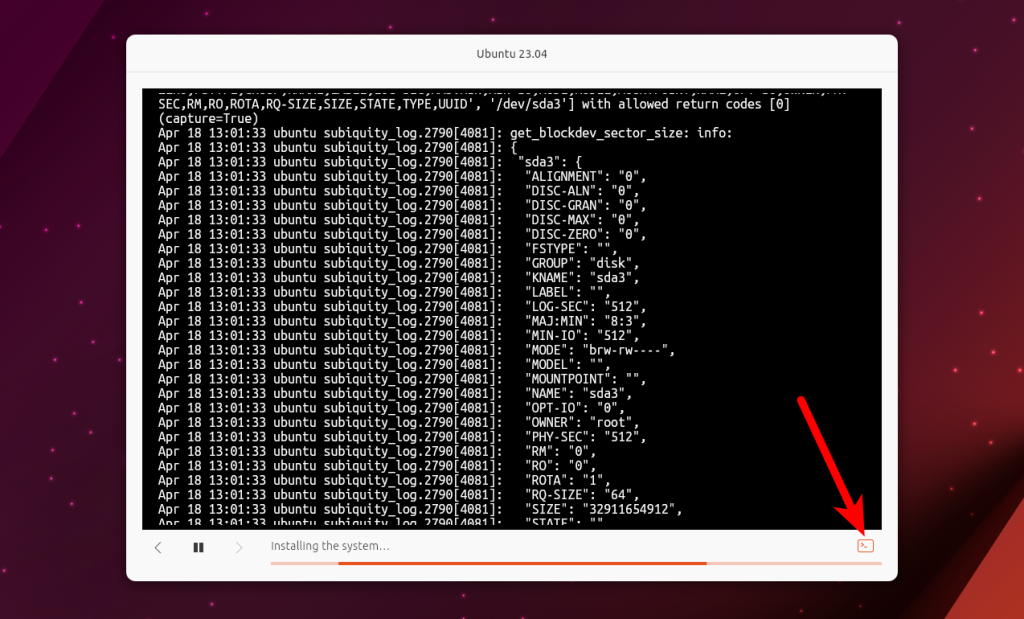
Кроме того, новый установщик предоставляет более удобный способ наблюдать за процессом установки в терминале. Вы можете нажать кнопку терминала в правом нижнем углу, и вместо слайдов появится окно терминала:
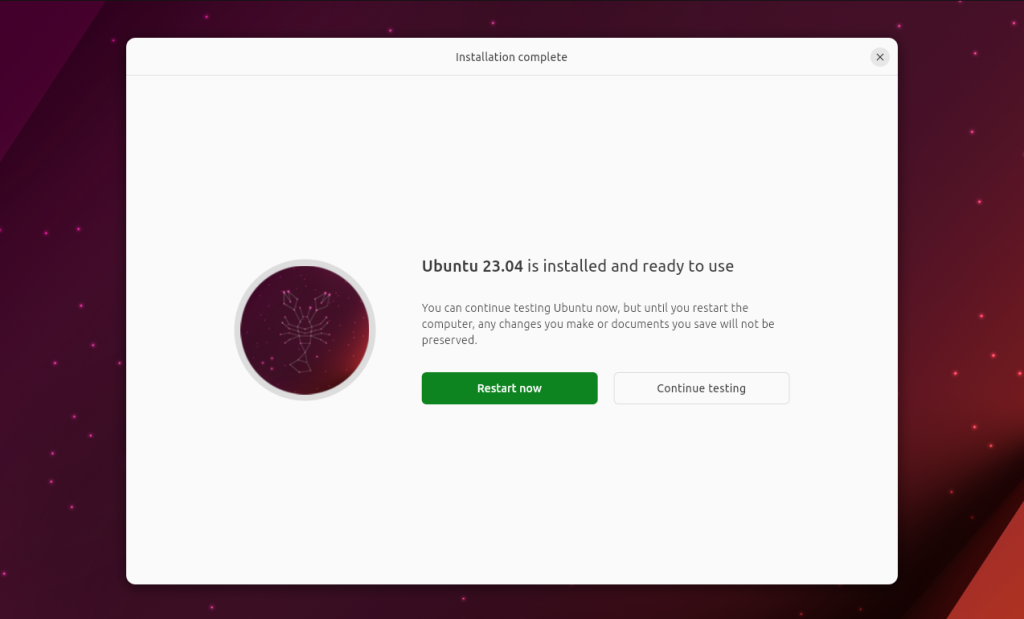
Шаг 14. Перезагрузка
Когда процесс установки завершен, вы можете перезагрузить компьютер и загрузить новую систему:
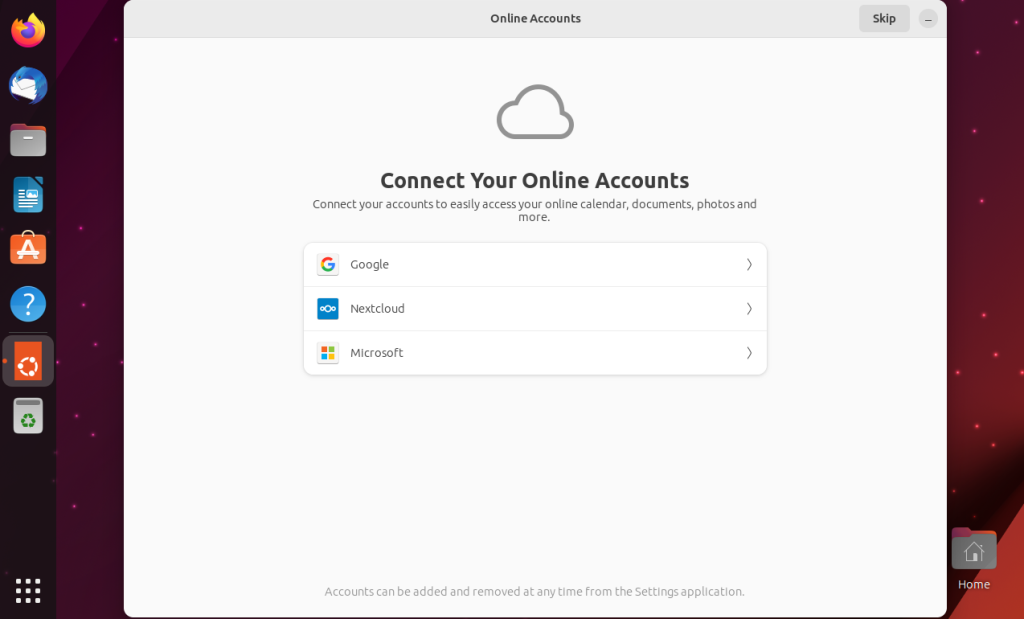
Шаг 15. Подключение учетных записей
При первой загрузке система откроет мастер быстрой настройки. На первом шаге вы можете подключить онлайн-аккаунты, например, Google или Microsoft:
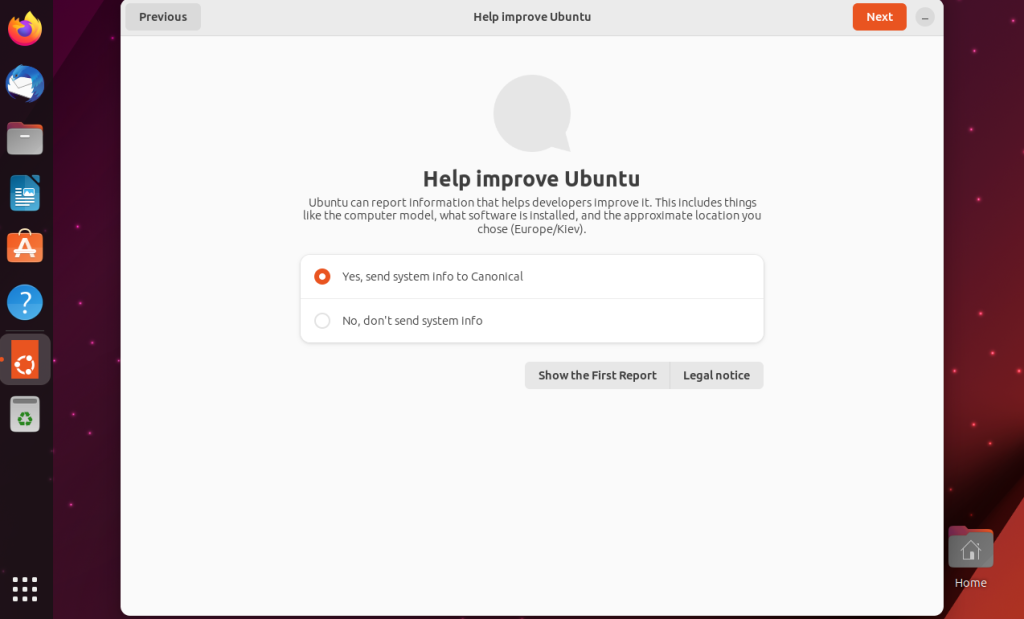
Шаг 16. Отправка данных в Canonical
На втором шаге вы можете отключить отправку отладочной информации в Canonical:
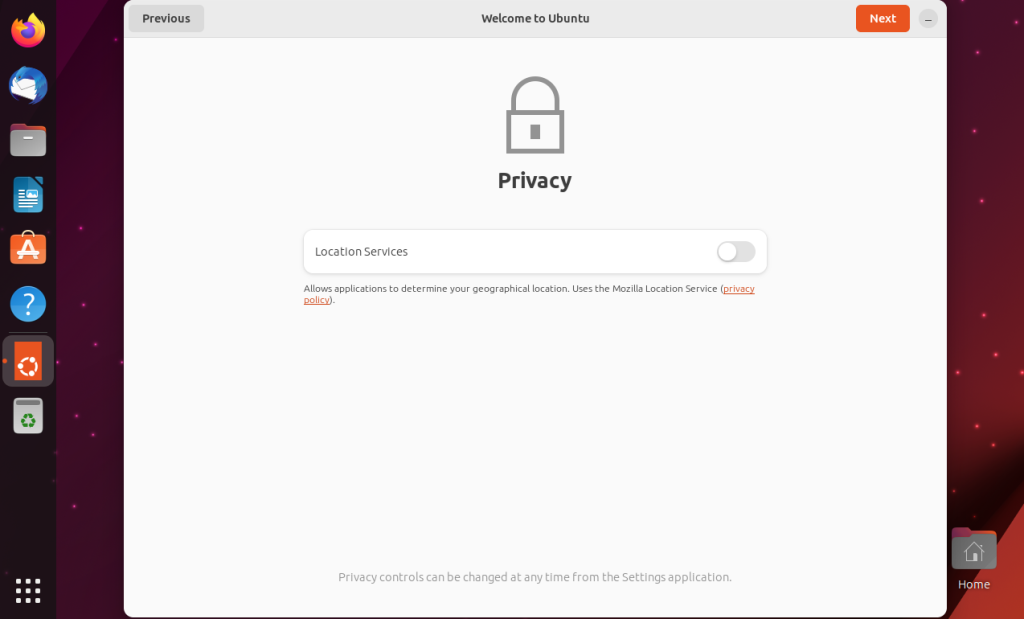
Шаг 17. Настройки геолокации
На этом шаге вы можете включить службы определения местоположения:
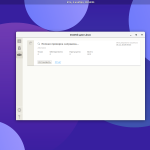
Шаг 18. Установка приложений
На последнем шаге вы можете установить несколько популярных приложений из Ubuntu Software. Например, VLC или Visual Studio Code:

Шаг 19. Завершение установки
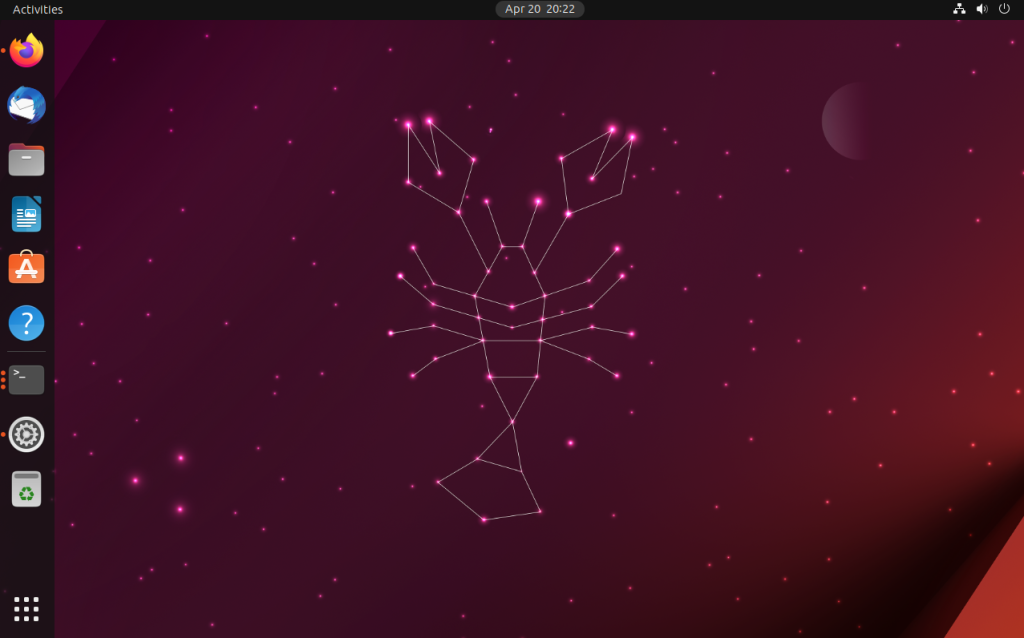
Теперь установка Ubuntu 23.04 завершена и вы можете её использовать. Стандартные обои Ubuntu 23.04 выглядят вот так:
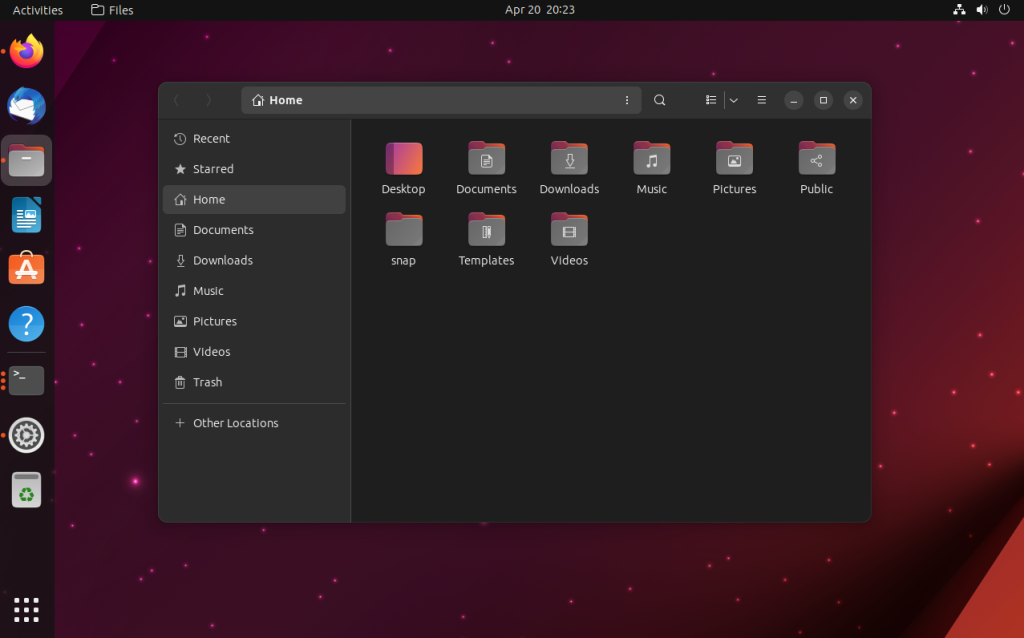
А так выглядит файловый менеджер с тёмной темой:
Выводы
В этой статье я показал, как установить Ubuntu 23.04 на ПК или ноутбук. Новый установщик имеет почти такой же порядок шагов как и старый, современный внешний вид и несколько небольших, но очень полезных улучшений, таких как автоматическое создание UEFI-раздела и действительно минимальная установка. В одной из следующих статей я опишу, как настроить систему после установки, чтобы сделать её более удобной.
Это не LTS-релиз, поэтому я не буду использовать его на своем ПК как минимум несколько месяцев после выпуска. Я подожду два-три месяца, пока Canonical исправит возможные ошибки, и только потом обновлю свою систему. А вы уже установили Ubuntu 23.04? Напишите в комментариях ниже.
Proton VPN — это сервис от создателей Proton Mail с надежным шифрованием и политикой нулевого хранения логов. Безопасно пользуйтесь интернетом, обходите географические ограничения и защищайте свои данные от слежки. Неограниченный трафик, серверы в 120+ странах и подключение до 10 устройств одновременно — для вашего спокойствия и цифровой свободы. Посмотреть детали