The remote desktop feature allows you to connect and control your PC remotely. For example, you can connect to your work PC when you are home, or you can connect to a remote work station that is available only in your work network.
In this article, I will show how to enable remote desktop in Ubuntu 22.04, 23.04, or 23.10. The current remote desktop implementation has some limitations due to Wayland, but it is totally usable.
Table of Contents
- What do you Need to Know?
- How to Enable Remote Desktop in Ubuntu 22.04 GUI
- How to Enable Gnome Remote Desktop in Command Line (alternative way)
- How to Connect to your Remote Desktop in Linux
- How to Access Remote Desktop in Windows
- How to Reset Gnome Remote Desktop
- Wrapping Up
What do you Need to Know?
Historically, there are two most popular remote desktop protocols: VNC and RDP.
- VNC stands for Virtual Network Computing. This technology was created by Olivetti & Oracle Research Lab in 1999, and the source code is available under GPL license. It is supported by all modern operating systems.
- RDP stands for Remote Desktop Protocol. This is a proprietary protocol that was developed by PictureTel in 1998 and then bought and popularized by Microsoft in the Windows OS. Meanwhile, there is also a free and open-source implementation of the RDP protocol that is actively maintained and has the name FreeRDP.
Ubuntu has a few different tools that implement these protocols, like x11vnc, realvnc, xrdp, etc. All those servers and clients work with Xorg. However, nowadays most distributions are switching to the Wayland display server protocol instead of Xorg. This is a new protocol with a different architecture, so most of the Xorg tools are not compatible with Wayland.
The only way to use remote desktop in Ubuntu and Wayland through local network at the moment of writing is through the Gnome Remote Desktop service, or G-R-D. The abbreviation by first letter of each word in a service name is widely used by GNOME developers, and I will use it in this article. This service allows you to share your screen via the RDP protocol using the FreeRDP backend. It does not support all features that were available in deprecated tools, but it is still actively developed.
For example, it supports connecting only to existing sessions and does not support the VNC protocol. The VNC protocol mark as deprecated and, there is no option to enable it in the GUI or in the command line since Ubuntu 22.10. However, this tool is actively maintained, and sooner or later it will be able to create new sessions. You can monitor the state of the new sessions creation feature in this issue. The VNC feature seems to not be supported at all. You can read discussion about it here.
Anyway, this service is provided natively in GNOME, so you don't need to install additional tools, and you can access the Ubuntu desktop remotely from Windows as well as from Linux since the service uses the RDP protocol that is compatible with Microsoft RDP.
How to Enable Remote Desktop in Ubuntu 22.04 GUI
You can manage remote desktop settings using the Ubuntu Settings application or the grdctl tool on the command line. However, you would better perform the first enabling using the GUI, because it is necessary to create keys for FreeRDP, and it is much easier in the GUI than in the command line.
1. Enable Remote Desktop
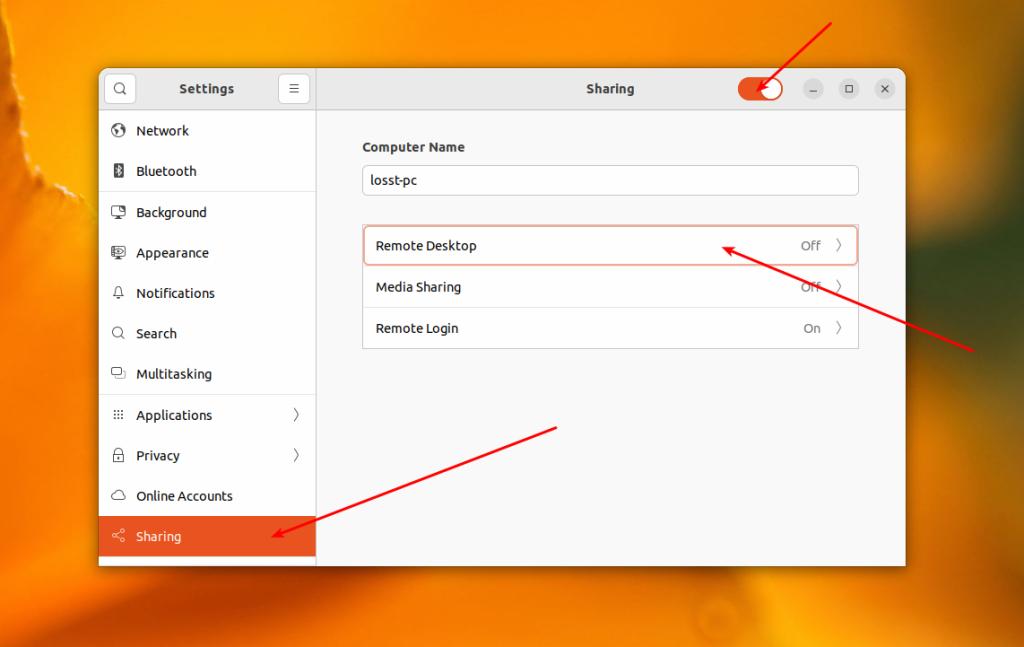
Open Settings -> Sharing -> Remote Desktop.
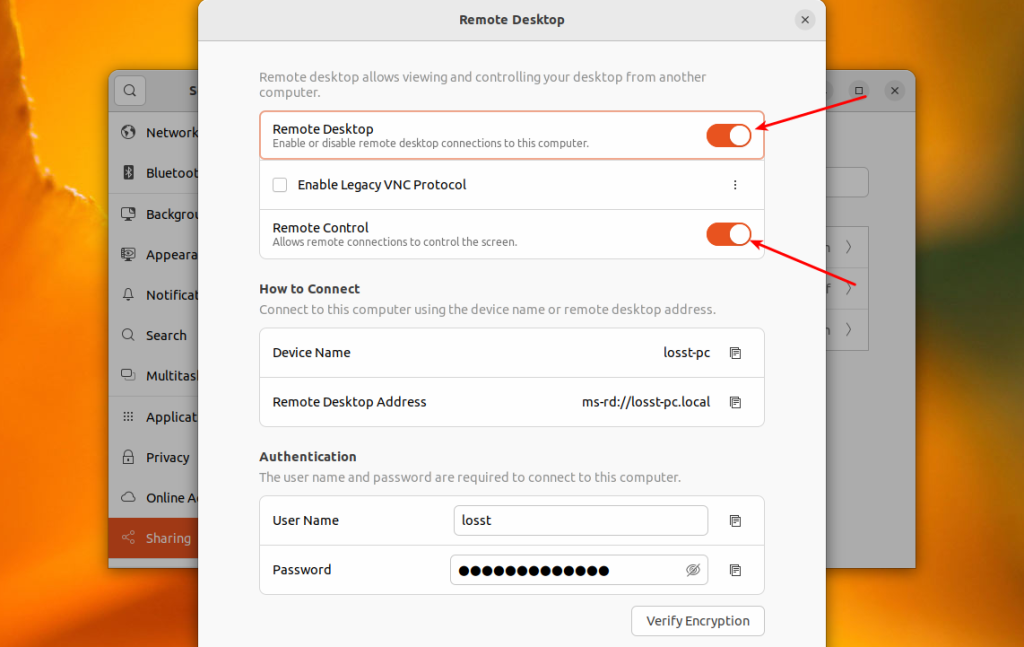
And then enable Remote Desktop and Remote Control switches:
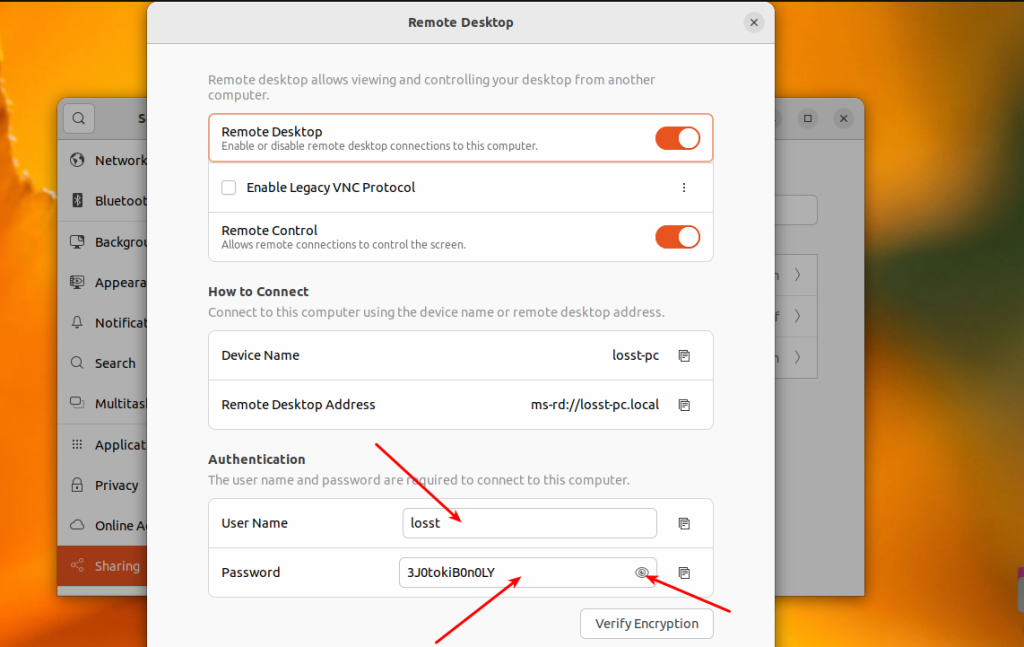
In the Authentication section, you can view or change your username and password:
2. Check Service Status
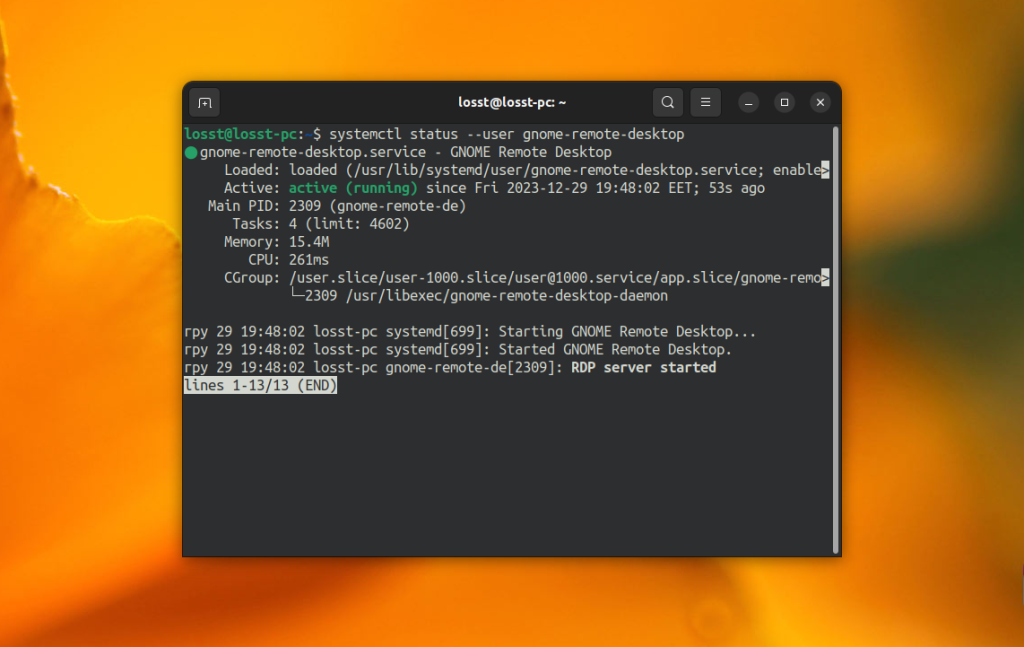
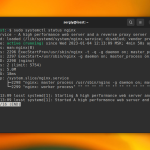
After that, you can ensure that gnome-remote-desktop service is running using the following command:
systemctl status --user gnome-remote-desktop
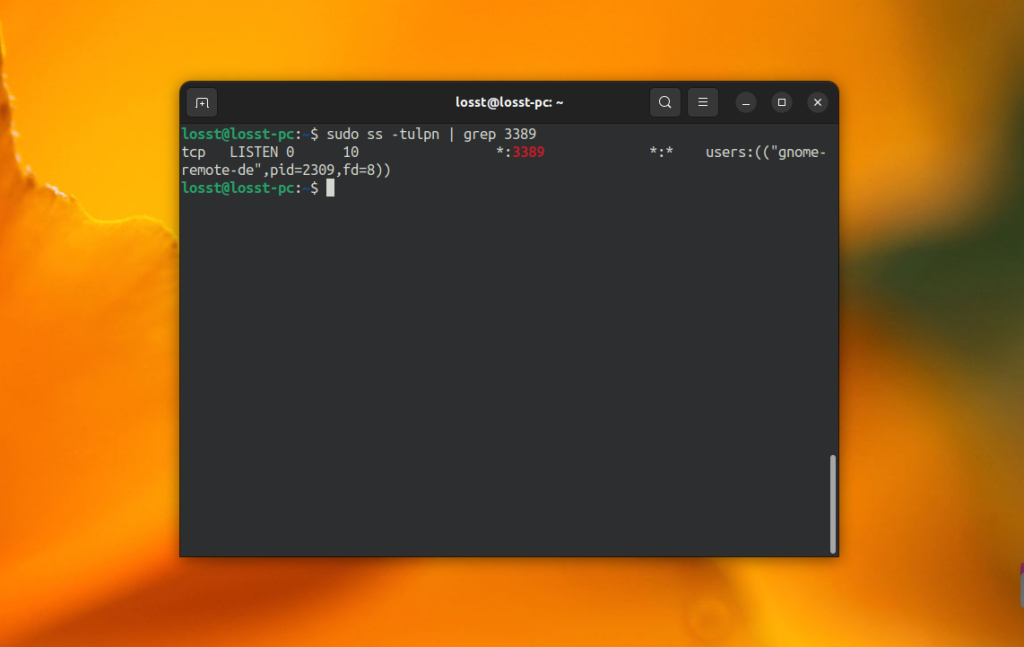
And then, ensure that the service is waiting for connections on port 3389:
ss -tulpn | grep 3389
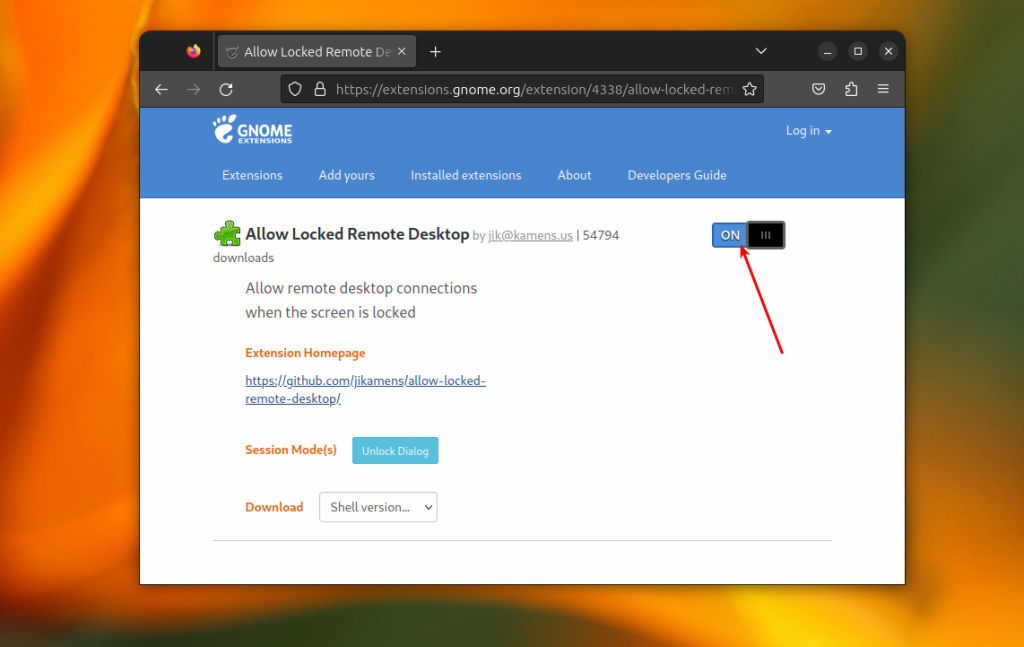
3. Install the Allow Locked Remote Desktop Extension
If the session is locked, you will not be able to connect to it. To fix this, you can install Allow Locked Remote Desktop extension.
4. Enable Auto Login
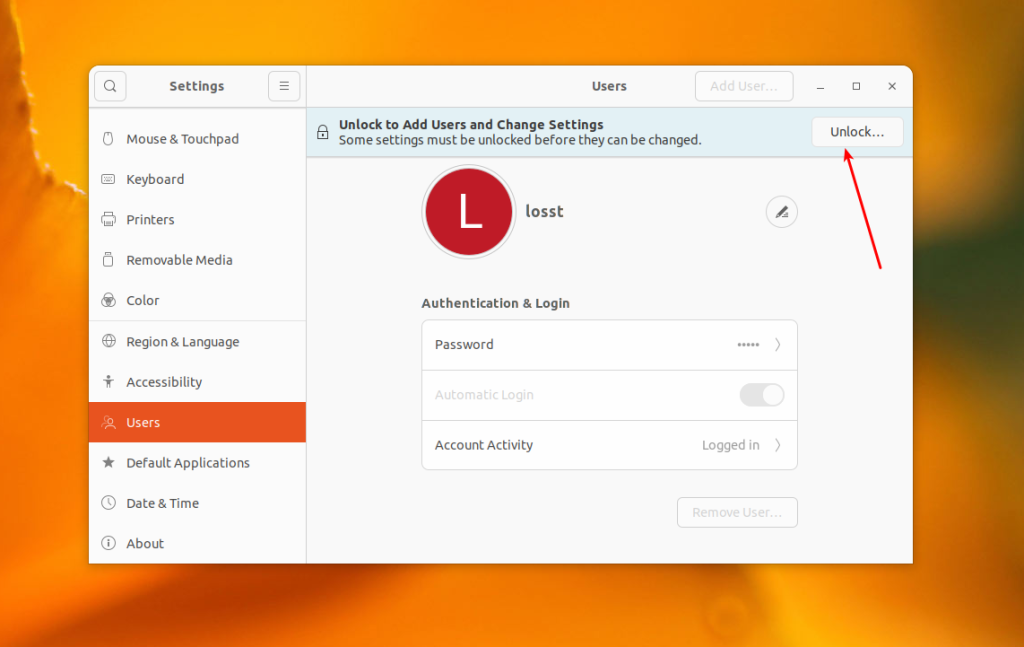
You will not be able to login remotely if there are no active user sessions. Until this feature arrives in Gnome, all you can do is enable auto login. Open the Settings app, go to the Users section, and click Unlock:
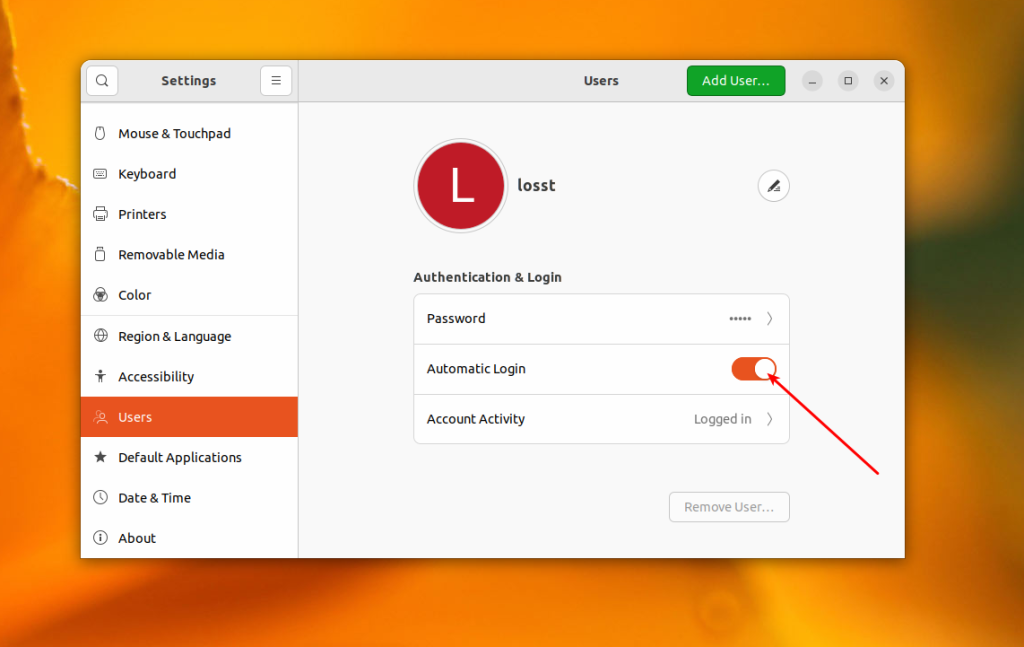
Then enter your password and turn on the Automatic login switch:
5. Set Blank Password for Keyring
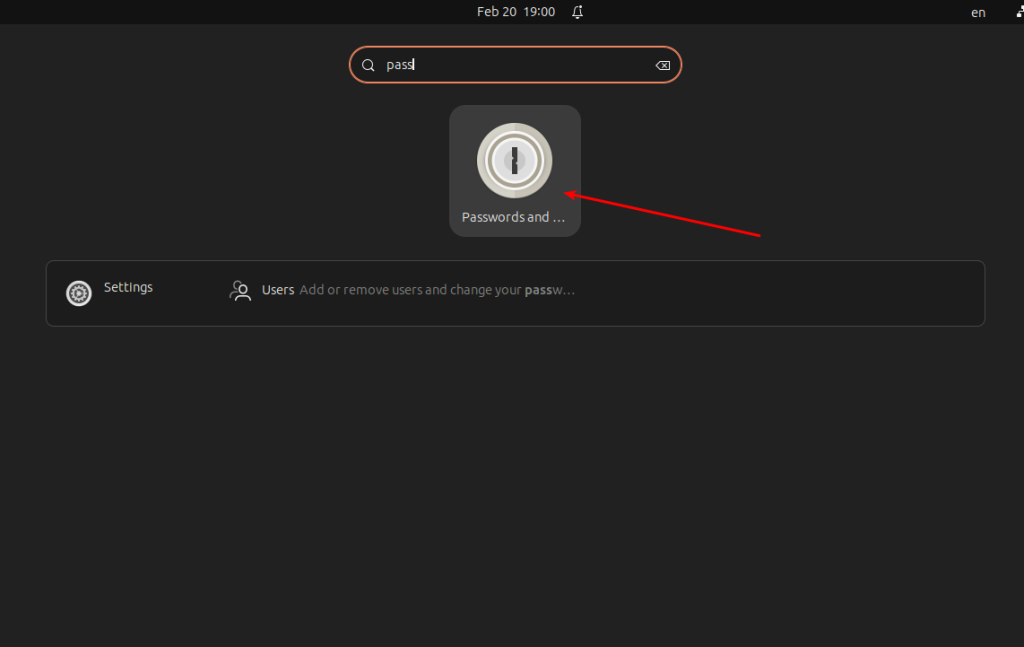
Gnome Remote Desktop stores login credentials in GNOME Keyring. If you have autologin enabled the keyring will not be unlocked by default, credentials will not be available, so G-R-D will not be able to accept connections. Open main menu, then run SeaHourse or Passwords and Keys:
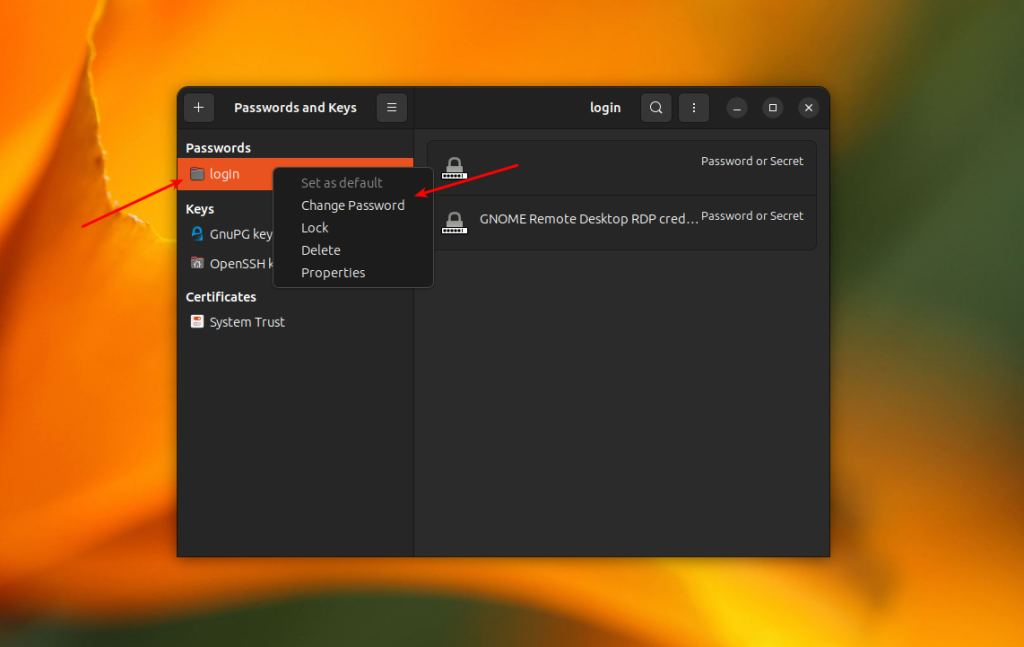
Here right-click on Login item and choose Change Password:
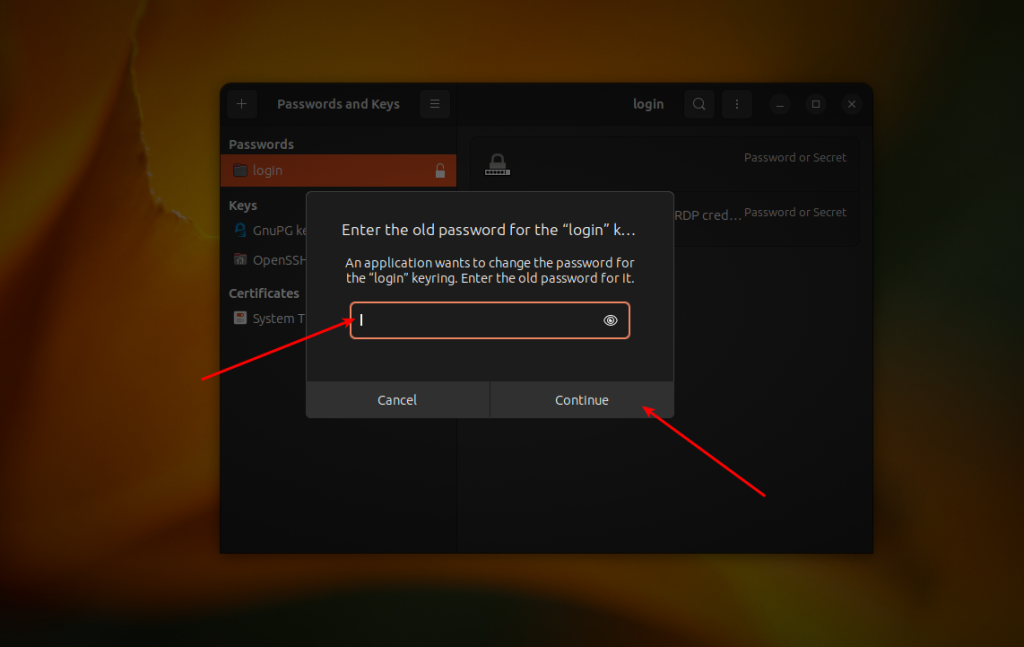
Then enter the current password:
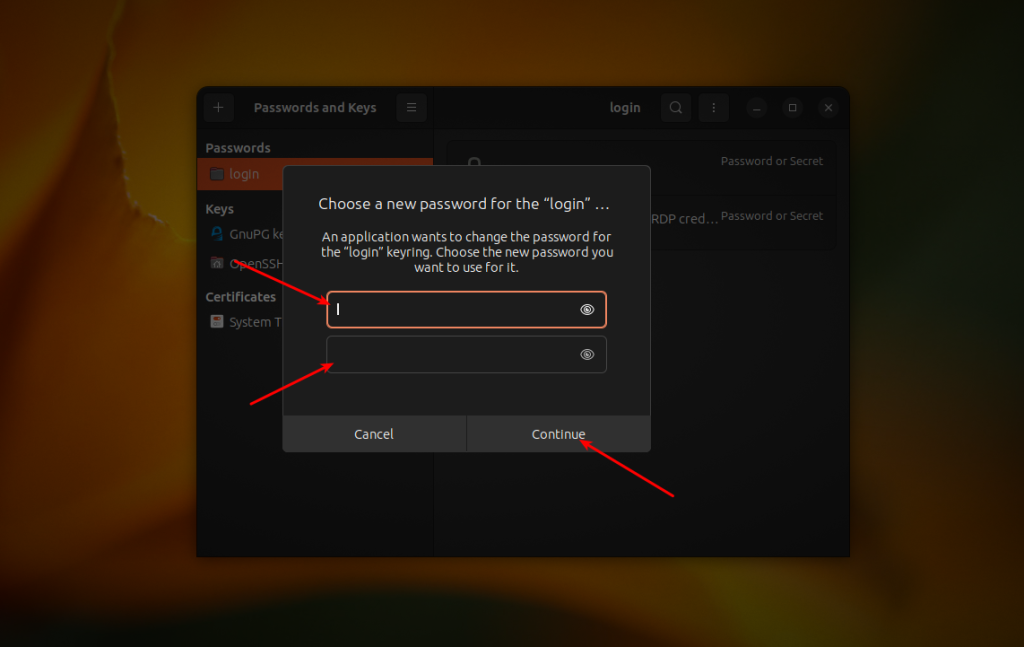
In next form simply press Enter to leave a new password blank:
Confirm the action, and then repeat the same for Default Keyring item if you have one. Now, you can connect to your PC from a remote PC using the login and password.
6. Change Password in Command Line
A password for the remote desktop is created randomly. It is very convenient if you want to provide someone access to your computer to help you solve some issue, etc. But if you want to use the remote desktop feature to access your remote server, you need to be able to change the password in the command line. And that is possible using the grdctl command. The command has the following syntax:
grdctl options command
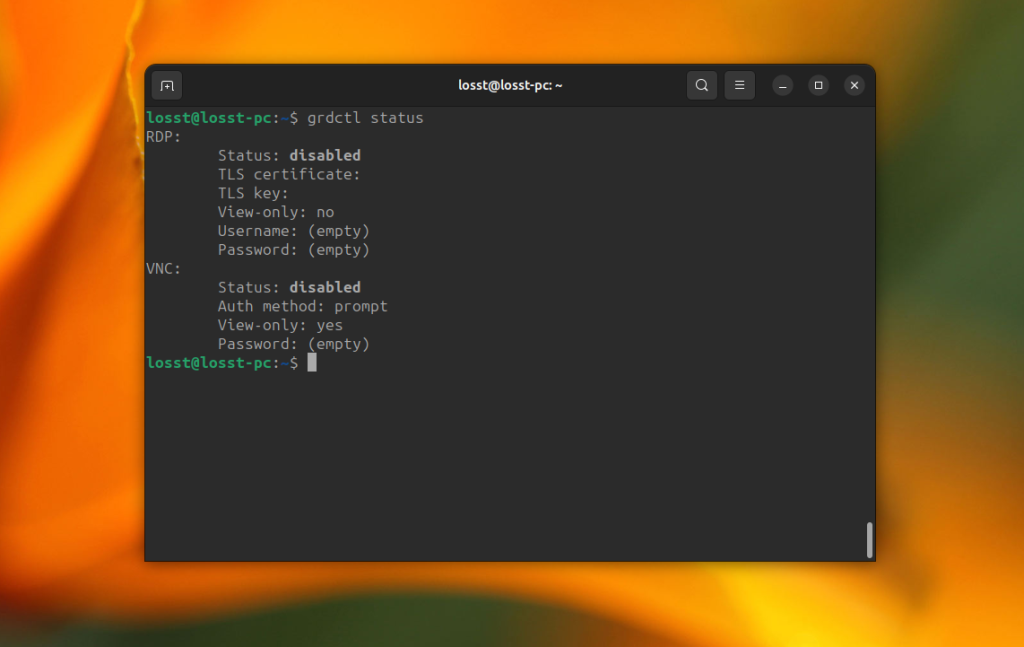
For example, you can get the current status using the status command:
grdctl status
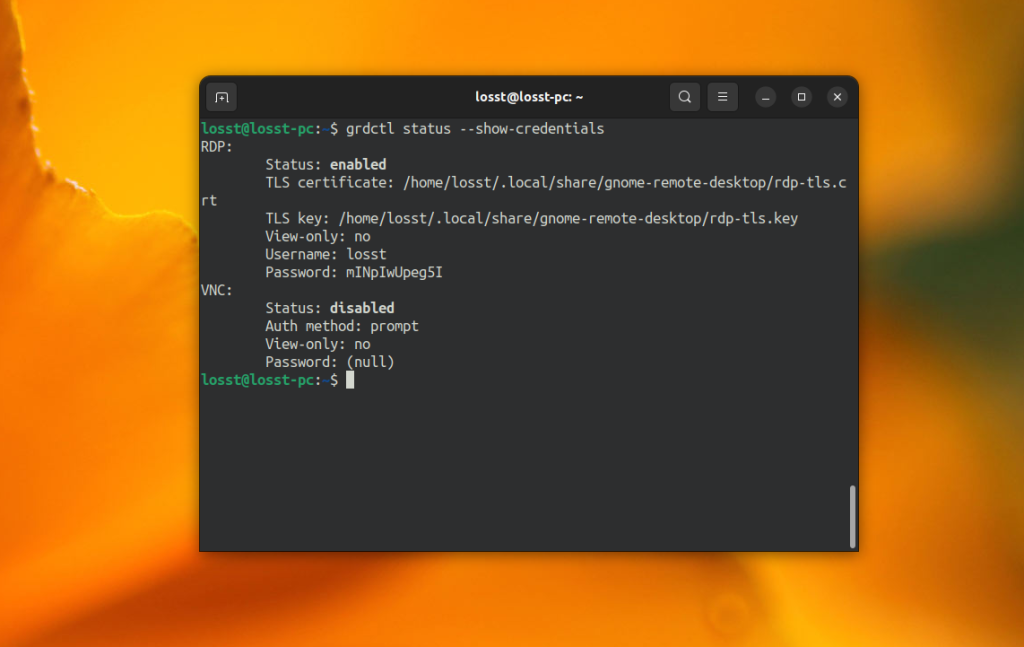
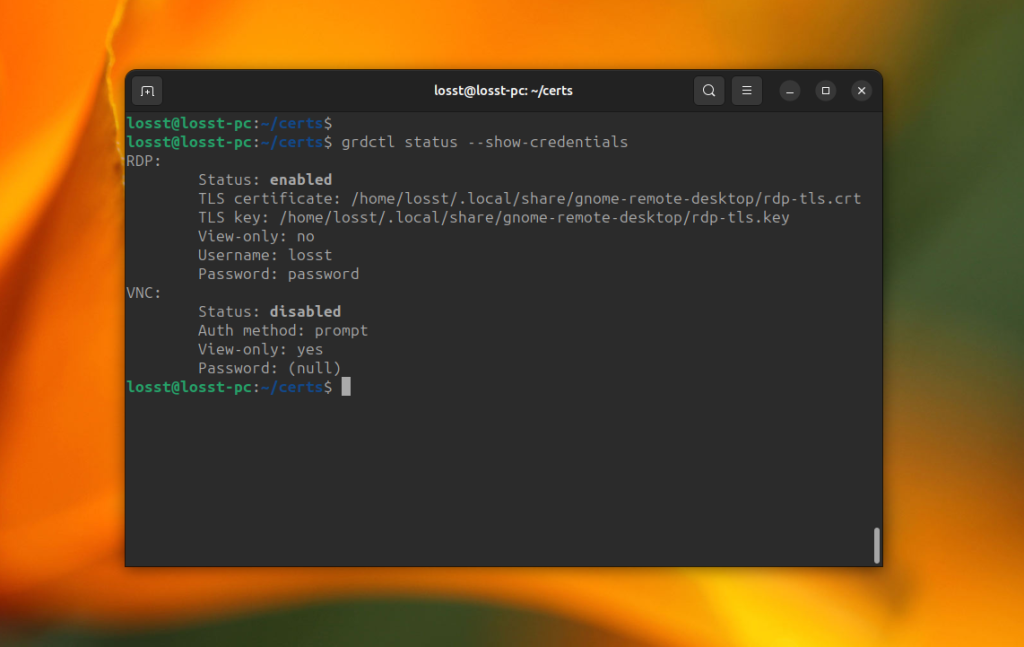
To view your current username and password run grdctl the with --show credentials option:
grdctl status --show-credentials
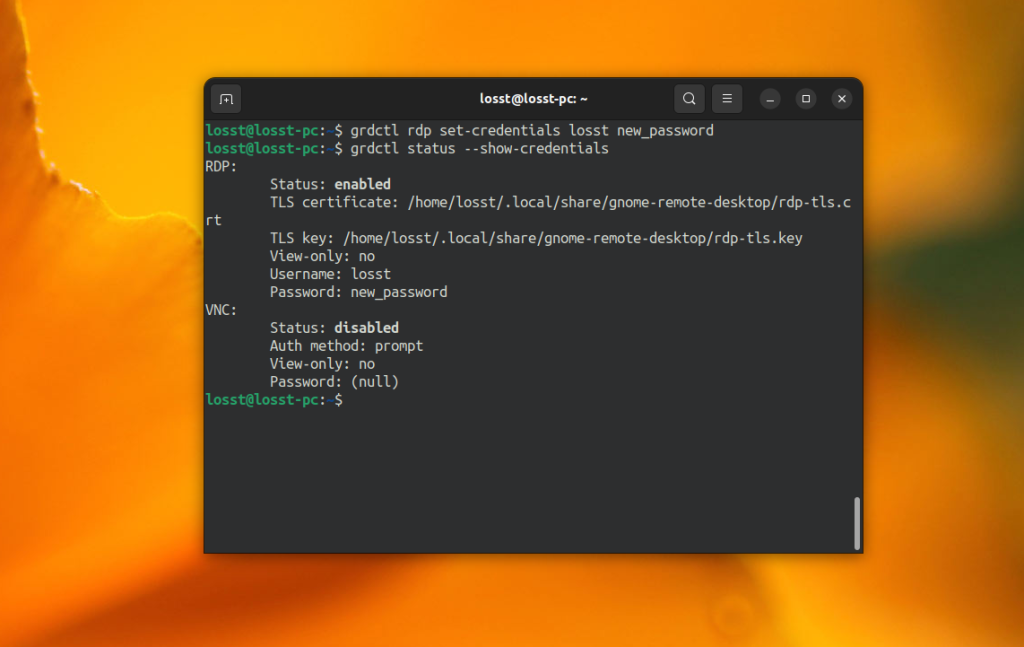
Also, you can set the password using grdctl through SSH. For example:
grdctl rdp set-credentials losst new_password
After this, you can connect remotely using the password "new_password".
How to Enable Gnome Remote Desktop in Command Line (alternative way)
You can configure Gnome Remote Desktop on the command line. However, you still need a running GNOME session. I found this method on Reddit and added some modifications. However, you can check the original post here in case something changed. All commands in this section are meant to be executed via SSH.
1. Enable Autologin
If there are no active sessions, you can enable autologin in /etc/gdm3/custom.conf. Here you need to set true in AutomaticLoginEnable and then specify your user in the AutomaticLogin option. For example, if your user name is losst the configuration will look like this:
AutomaticLoginEnable = true
AutomaticLogin = losst
2. Unlock Session
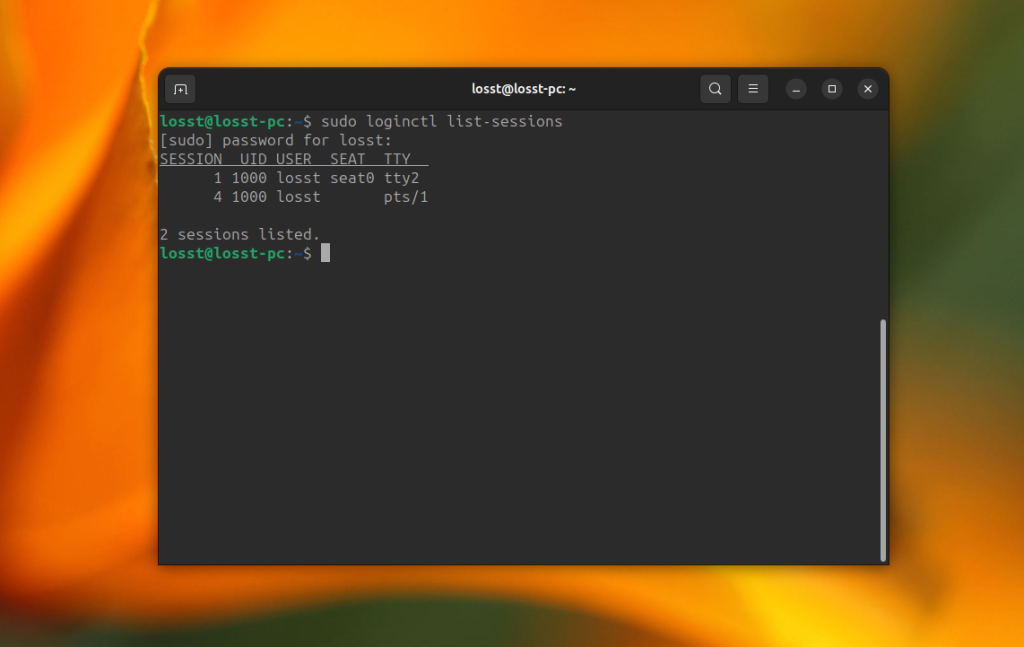
After this, you can reboot your remote server and then login using SSH again. You can list active sessions using the following command:
sudo loginctl list-sessions
If the session is locked, you should unlook it. In the previous example, the session for the user with name losst is placed on TTY2 and has ID 1:
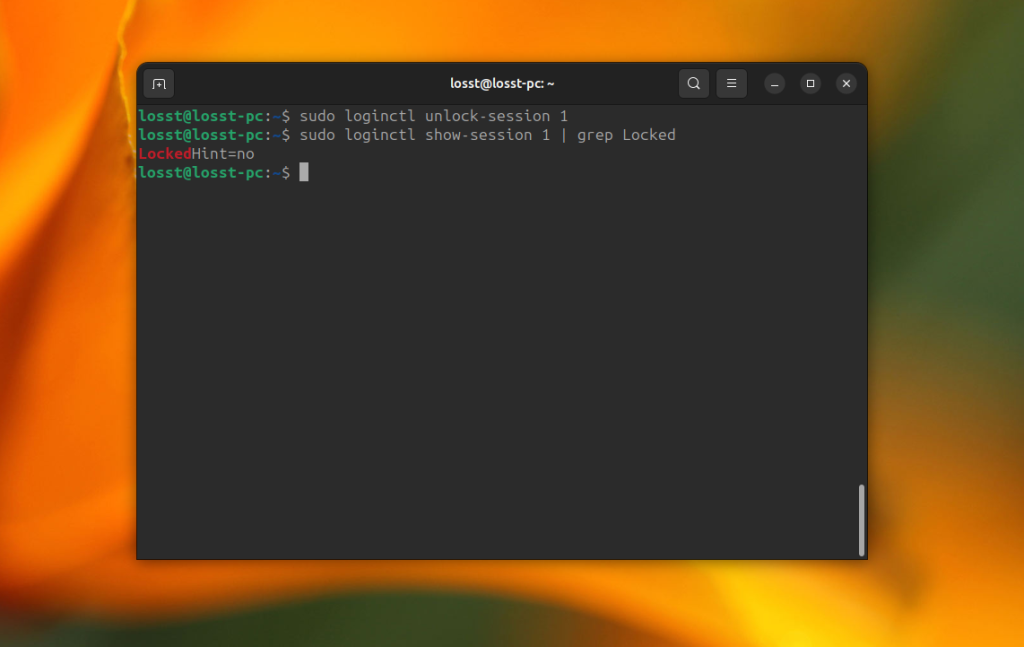
sudo loginctl unlock-session 1
You can check whether a session is locked or not using the following command:
sudo loginctl show-session 1 | grep Locked
3. Unlock Gnome Keyring
Gnome Remote Desktop stores passwords in Gnome Keyring. So you need to unlock it before running any remote desktop-related commands. First stop gnome-keryring-daemon running by systemd using the following command:
systemctl --user stop gnome-keyring-daemon
Also you can stop all running processes of the keyring daemon using killall:
killall -TERM -u "$(whoami)" gnome-keyring-daemon
Then, run the following command, then enter your password and press Ctrl+D twice:
gnome-keyring-daemon --unlock
Alternatively, you can pass the password using echo:
echo -n "password" | gnome-keyring-daemon --unlock
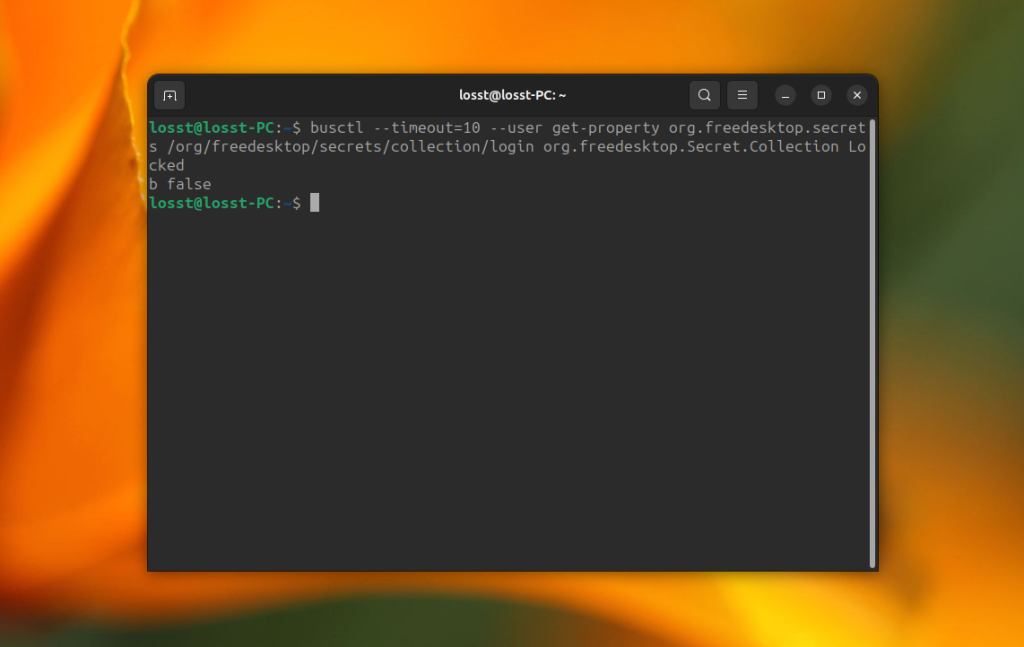
After this you can ensure that login keyring is unlocked using busctl:
busctl --timeout=10 --user get-property org.freedesktop.secrets /org/freedesktop/secrets/collection/login org.freedesktop.Secret.Collection Locked
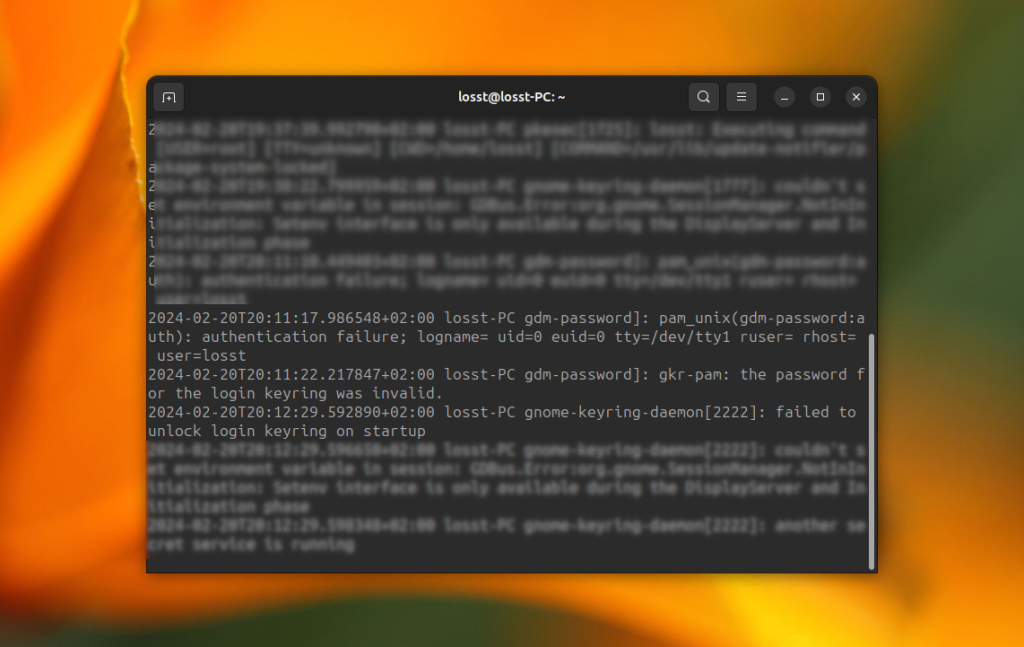
The command should output false if the keyring is unlocked. If you make a typo in password, you will see an error messages in /var/log/auth.log:
But, there is a tricky bug. The gnome-keyring-daemon command with --unlock option is intended to be used for autologin. When it got a wrong password it waits until keyring will be unlocked and then simply changes keyring password to the wrong one as it thinks to match login password. As result you will not be able to unlock your keyring with your old password. To fix this you can remove all keyring files in ~/.local/share/keyring, restart g-k-d or reboot your system and try again commands above. Then new keyring will be created and password that you specify will be used for that keyring. But these actions will remove all password stored in keyring.
Pay attention, that is is first only time unlocking. However, G-R-D needs keyring unlocked permanently, so after logging in graphical interface, set blank password for all password keyrings.
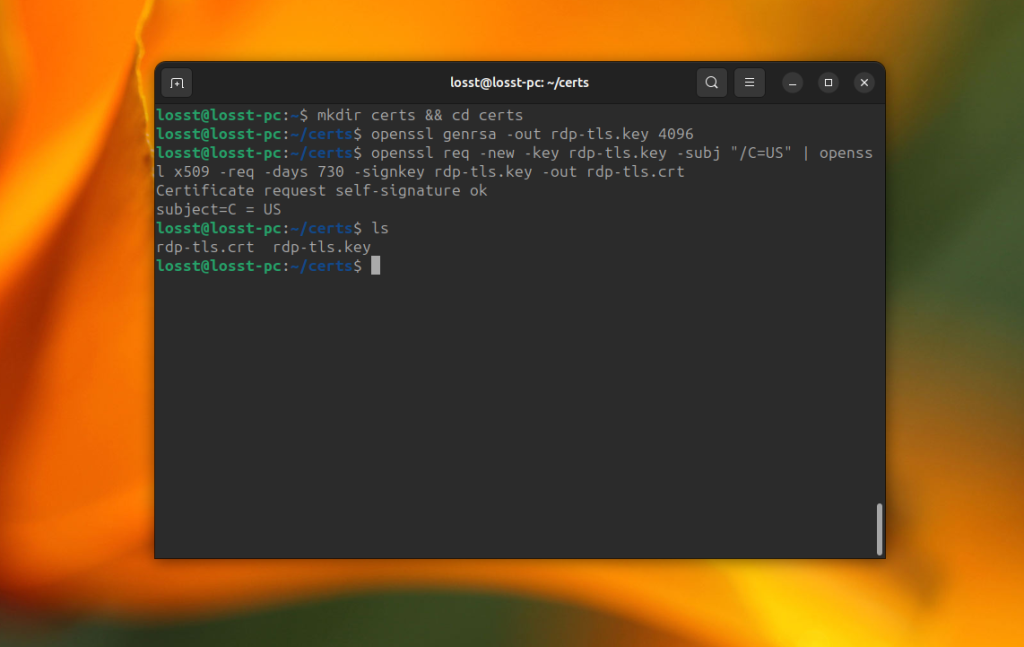
3. Create FreeRDP Certificates
Gnome Remote Desktop uses FreeRDP as a backend, which needs certificates to work correctly. Let's create these certificates:
mkdir certs && cd certs
openssl genrsa -out rdp-tls.key 4096
openssl req -new -key rdp-tls.key -subj "/C=US" | openssl x509 -req -days 730 -signkey rdp-tls.key -out rdp-tls.crt
After this, move the certificates into .local/share/gnome-remote-desktop/ which is located in your user home directory. For example:
mkdir -p /home/losst/.local/share/gnome-remote-desktop/
mv rdp-tls.key rdp-tls.crt /home/losst/.local/share/gnome-remote-desktop/
4. Configure G-R-D
At this moment, you are ready to configure Gnome Remote Desktop. First, check the service status:
grdctl status
Then, add certificates:
grdctl rdp set-tls-cert /home/losst/.local/share/gnome-remote-desktop/rdp-tls.crt
grdctl rdp set-tls-key /home/losst/.local/share/gnome-remote-desktop/rdp-tls.key
Then, set the username and password that will be used to login remotely:
grdctl rdp set-credentials losst password
This command can freeze and do nothing. That could mean that gnome-keyring is not unlocked, and the command should wait until the user enters a password in the GUI. In this case, you should go back to step 3 and unlock the gnome-keyring.
Then disable view-only mode, which is enabled by default:
grdctl rdp disable-view-only
And finally, enable rdp:
grdctl rdp enable
5. Enable Service
Now you know how to enable remote desktop Ubuntu on the command line. After this, you need to add g-r-d systemd service to autostart and make sure that it is running now:
systemctl --user enable gnome-remote-desktop.service
systemctl --user start gnome-remote-desktop.service
Then, you can check the state of the service:
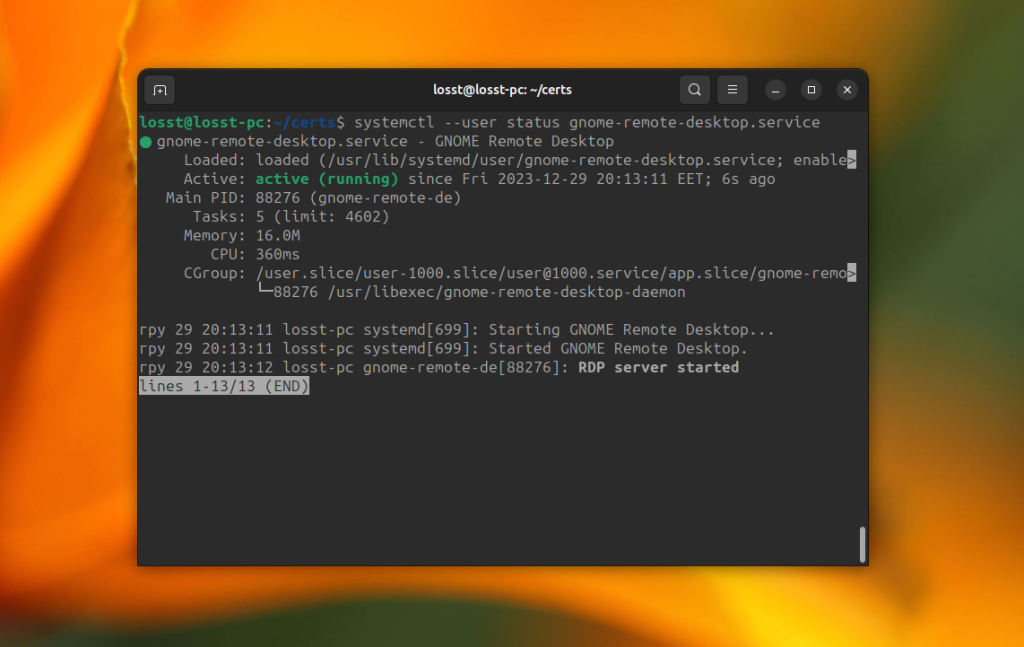
systemctl --user status gnome-remote-desktop.service
Also you can check RDP status and credentials using grdctl:
grdctl status --show-credentials
Now, you can connect to your PC remotely to ensure that a remote desktop Ubuntu 22.04 works well. Additionally, don't forget to install "Allow Locked Remote Desktop" extension from the extensions website in the GUI.
How to Connect to your Remote Desktop in Linux
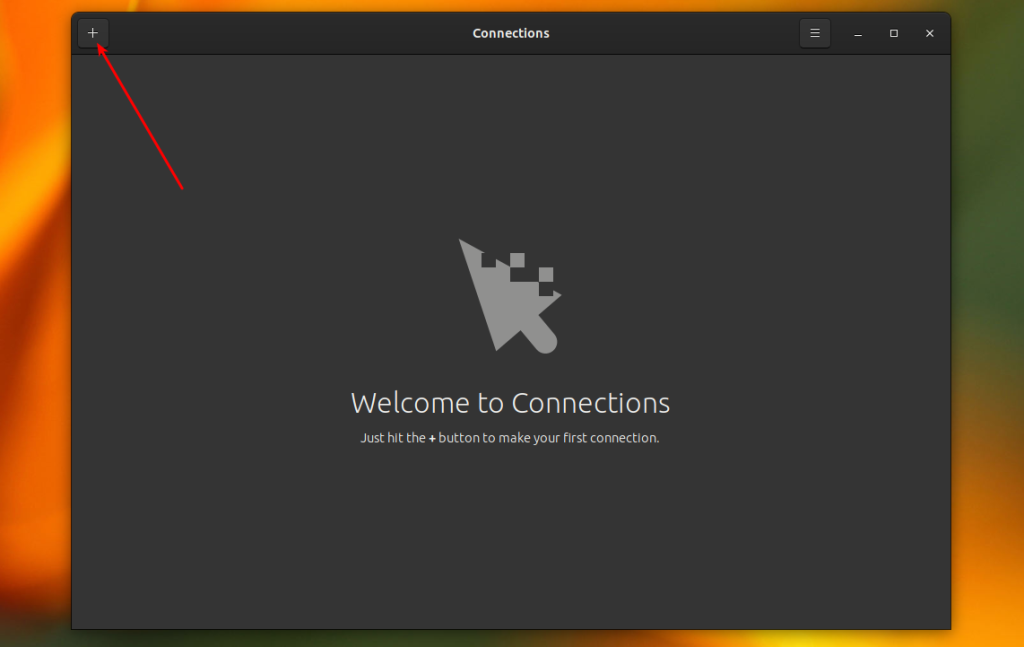
When your remote desktop is configured, you can connect to it using any RDP client. For example, Reminna or Connections. If you want to use Connections, open the app and click on the Plus button:
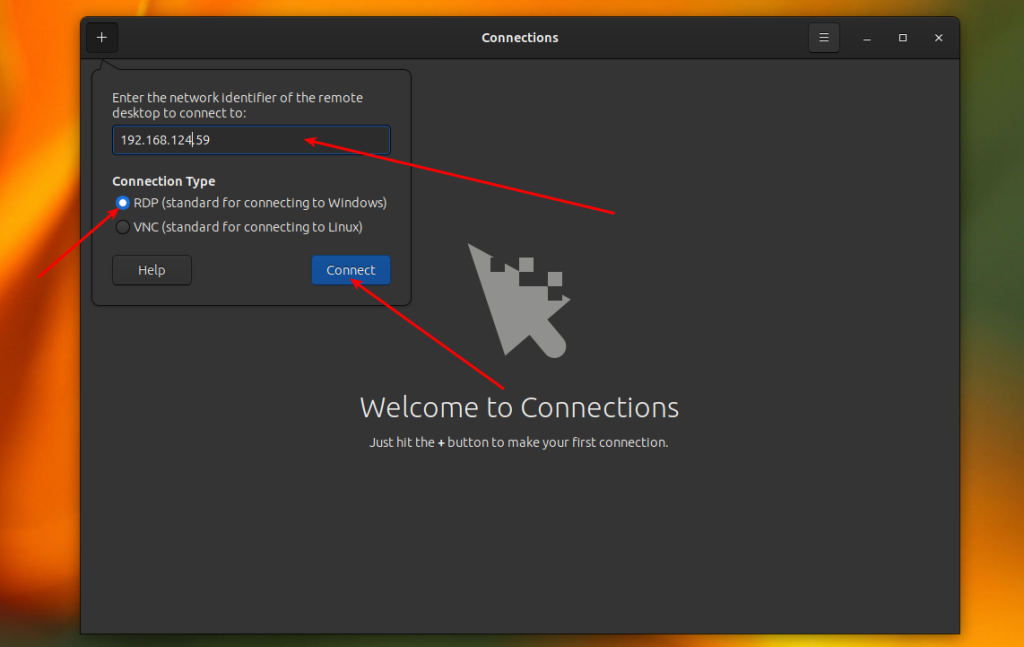
Then, enter the IP address of your remote PC, choose the RDP protocol, and click Connect:
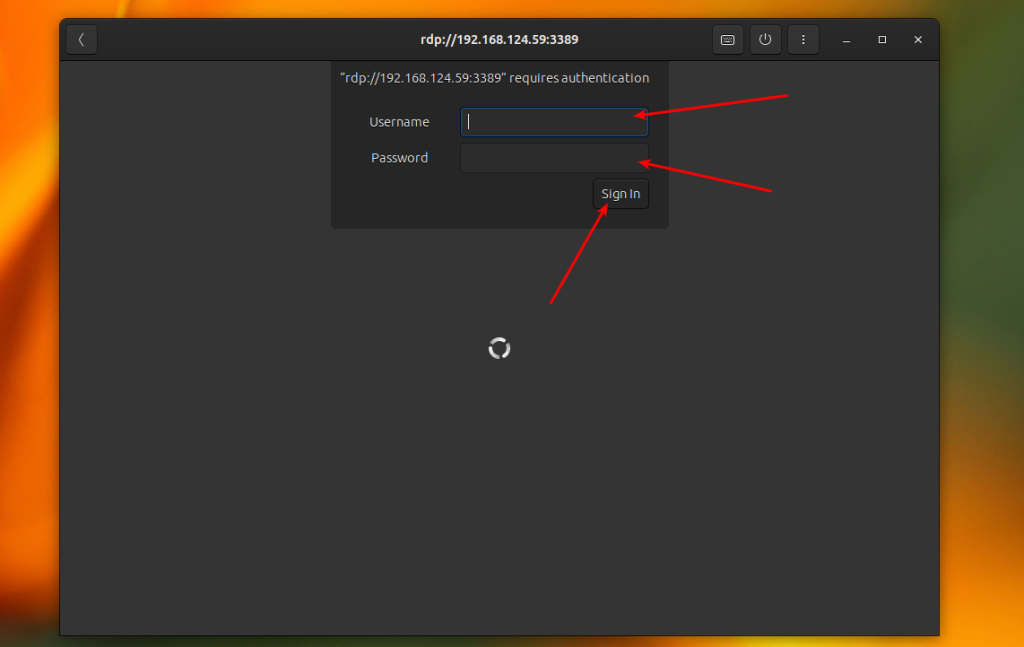
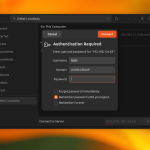
Then enter the username and password specified earlier:
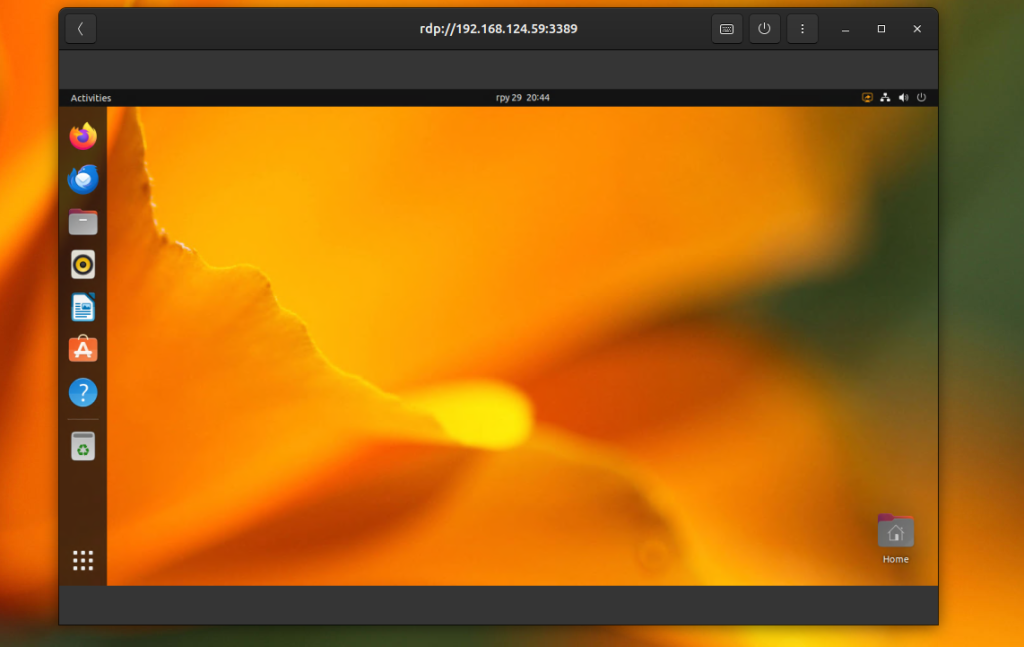
Here is how the remote desktop looks like:
When there are any connected users, you will see a notification in the top right corner of the panel:
How to Access Remote Desktop in Windows
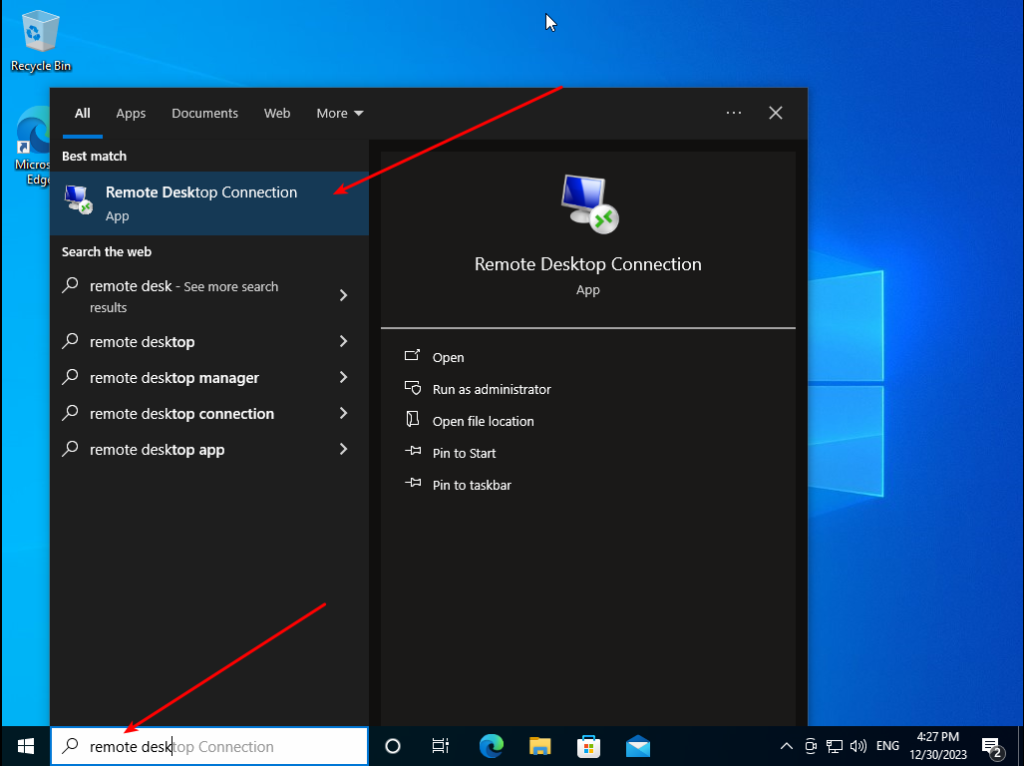
Now, let's look at how to connect to Ubuntu remote desktop from Windows. Use the search input on the left bottom corner to find Remote Desktop Connection app and open it:
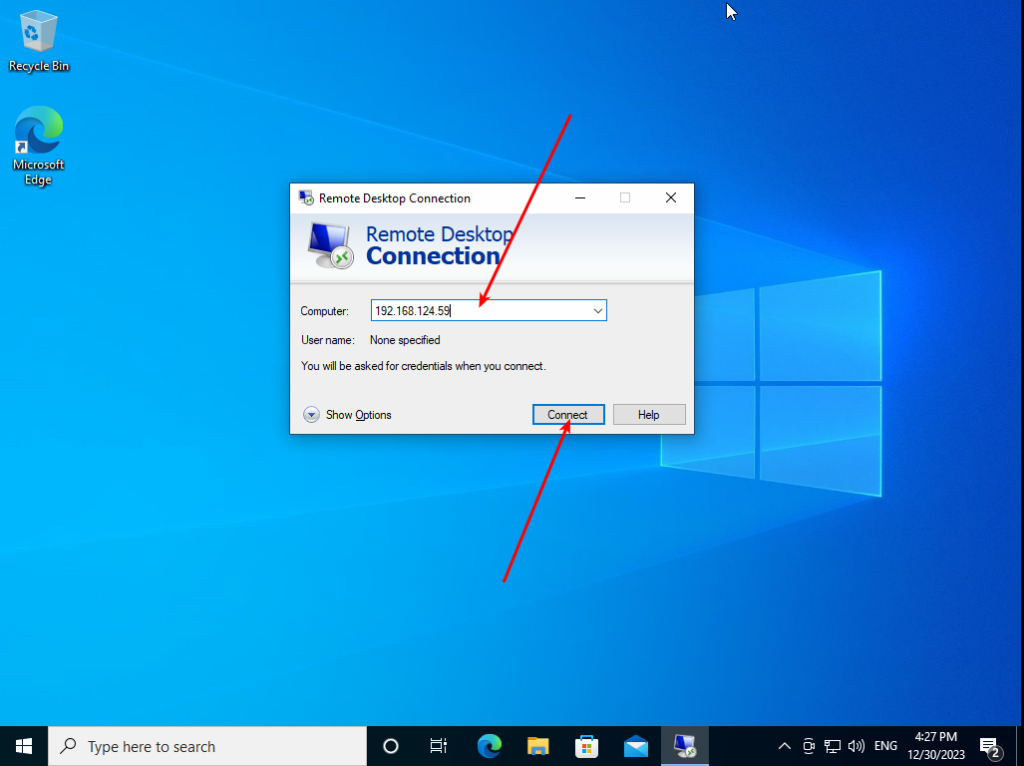
Enter the IP address of your remote PC:
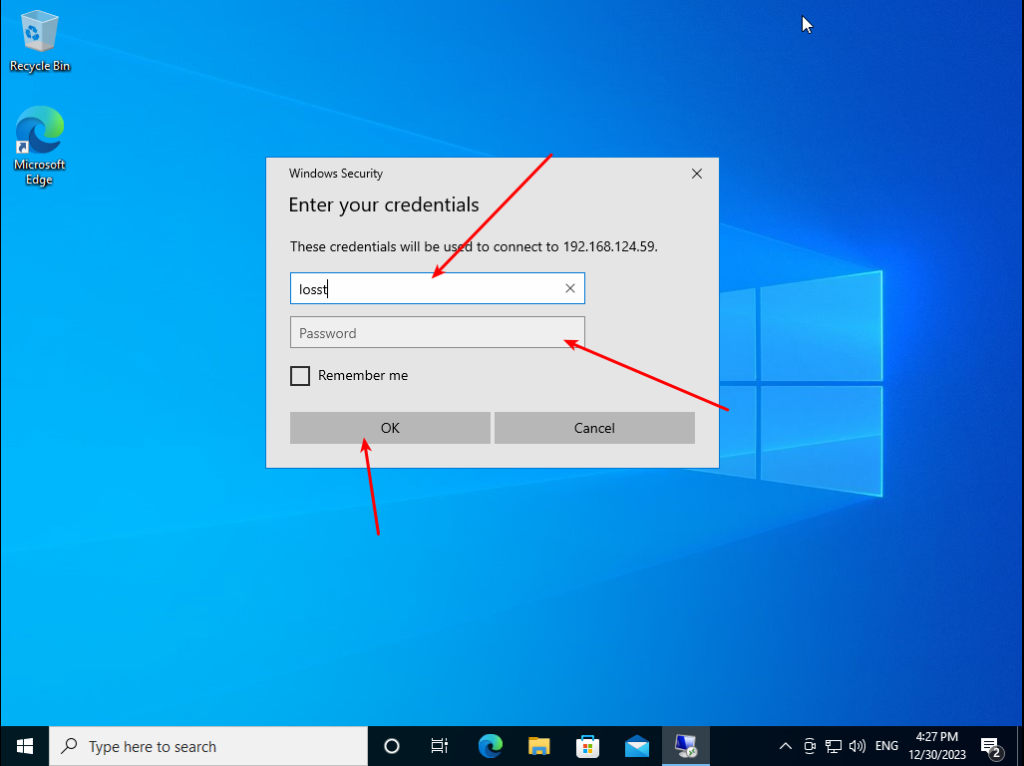
Enter login and password selected earlier:
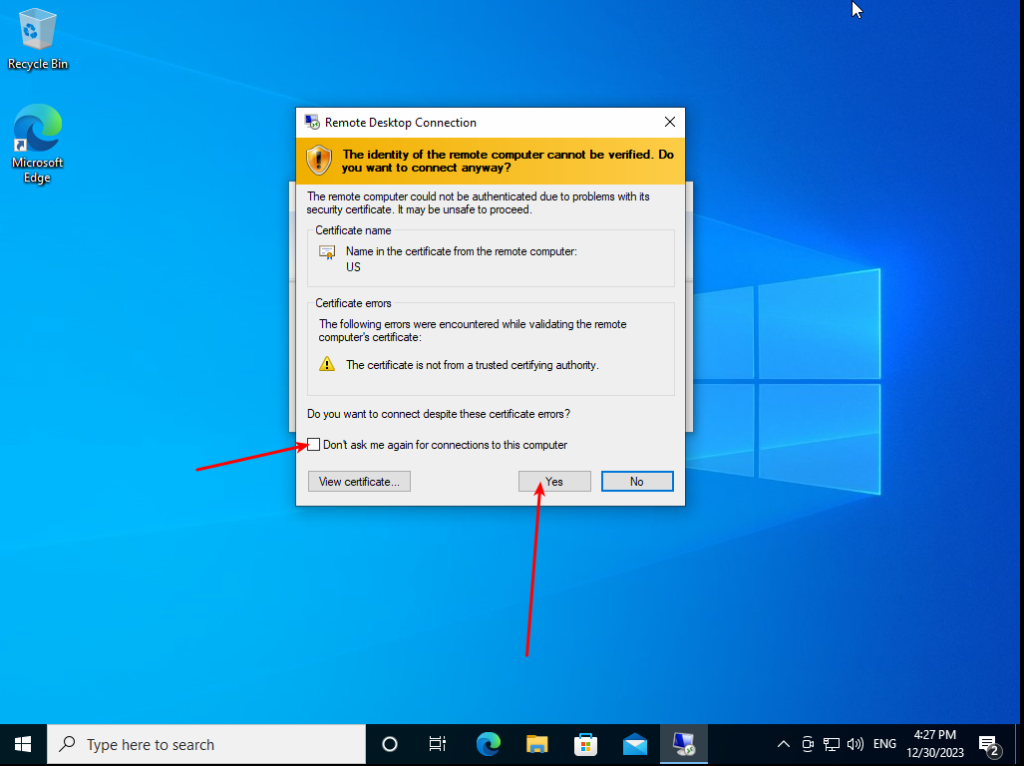
Accept RDP certificate from remote server:
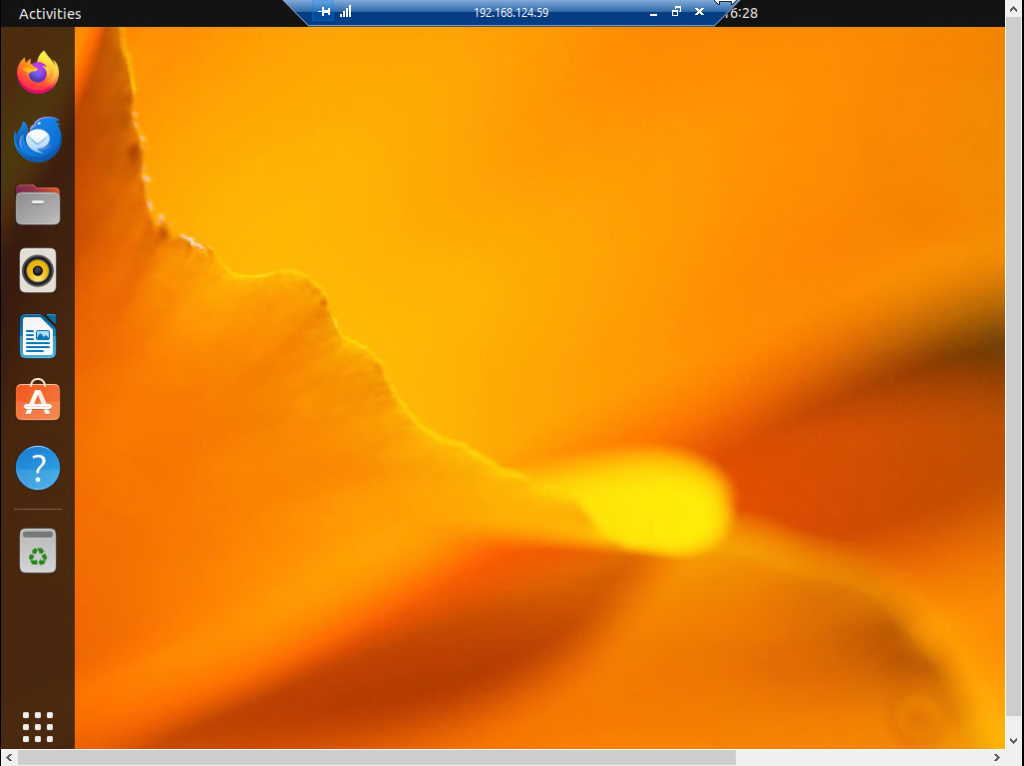
Now you are connected to the remote PC:
How to Reset Gnome Remote Desktop
If something went wrong and you want to reset remote desktop settings and try again, disable RDP:
grdctl rdp disable
Clear credentials:
grdctl rdp set-credentials "" ""
Then, remove RDP certificates:
gsettings set org.gnome.desktop.remote-desktop.rdp tls-cert ""
gsettings set org.gnome.desktop.remote-desktop.rdp tls-key ""
Wrapping Up
In this article, I have shown how to enable remote desktop in Ubuntu with Wayland using the Gnome Remote Desktop service. It works very well, and I hope that it will be improved and have the ability to start new user sessions soon.

