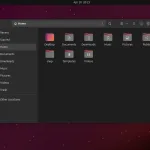
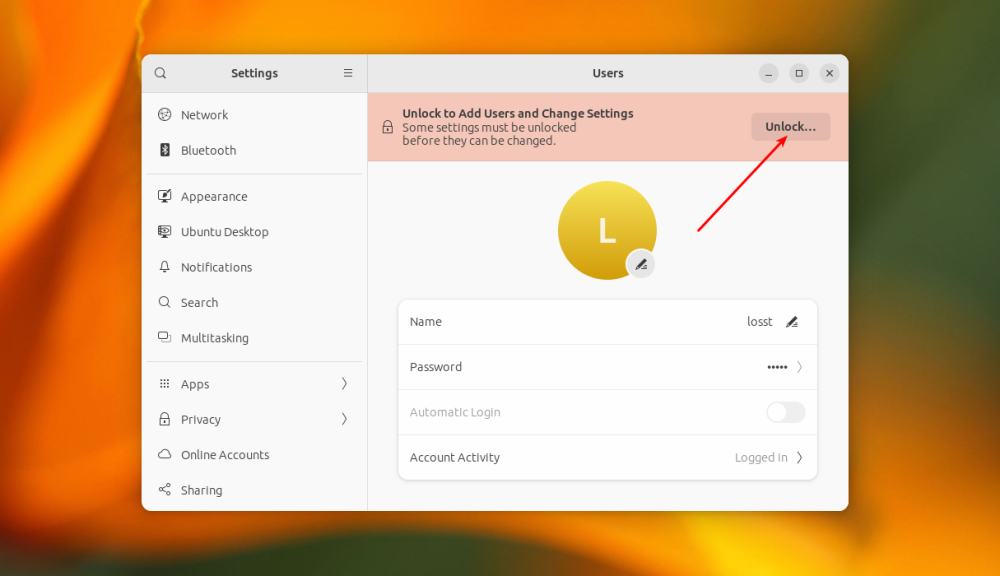
If you don't want to enter your password each time you power on your PC, you can enable autologin in Ubuntu. Open the Settings app, go to the Users section, and click Unlock:
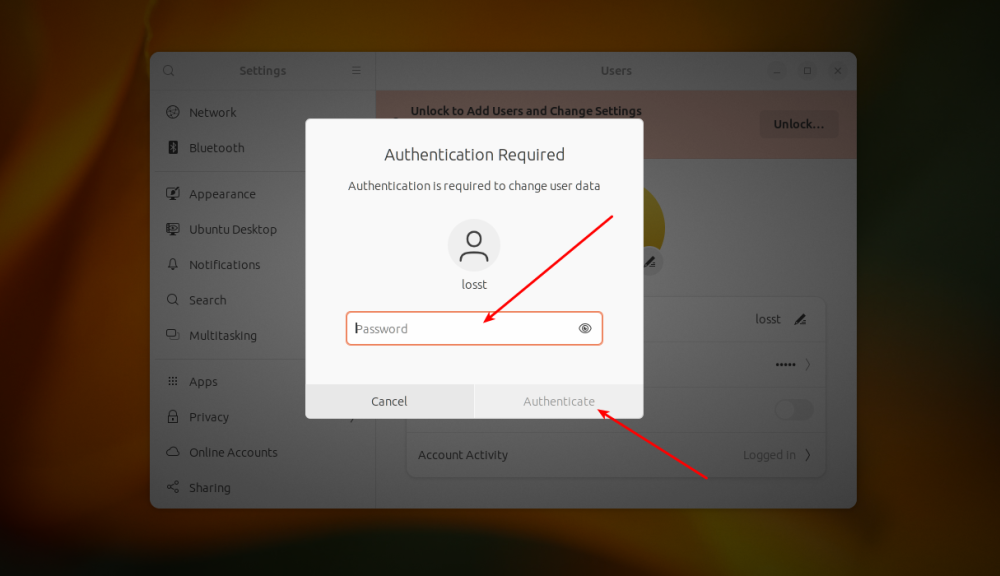
Then enter your password to be able to change the global configuration:
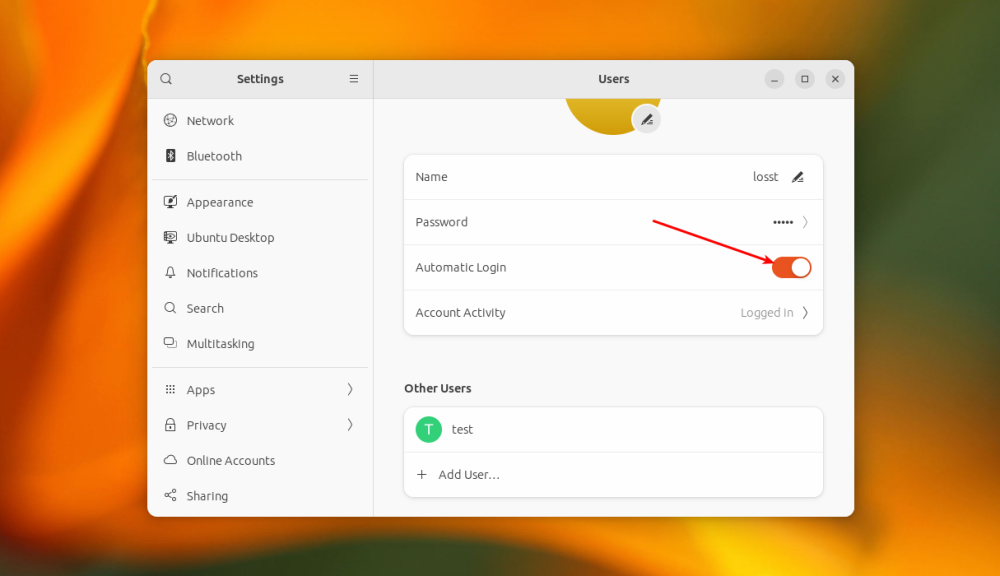
After this, select the user that you want to login automatically and turn on the Automatic login switch:
After this, you can reboot and ensure that your autologin works. If you want to enable automatic login in the command line, you need to add or change the following lines in /etc/gdm3/custom.conf:
/etc/gdm3/custom.confAutomaticLoginEnable=True
AutomaticLogin=losst
In this case, you will not see a list of users, even if you have more than one. However, on the command line, you have more options. For example, you can configure a timeout so that GDM will show you a list of users, and if there is no activity, it will automatically login to the pre-selected one:
/etc/gdm3/custom.confTimedLoginEnable = true
TimedLogin = losst
TimedLoginDelay = 10
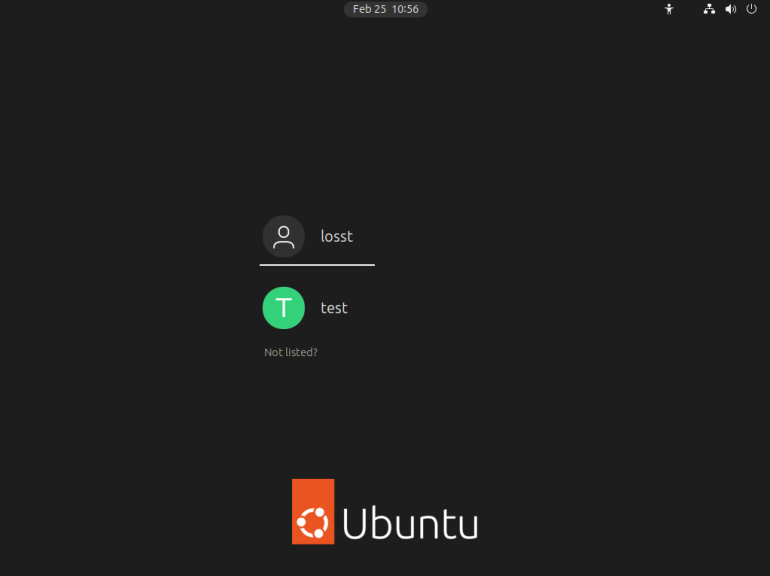
In this example, the system will login the user with the name losst if there is no activity for 10 seconds. You will see a countdown line under the user name:
Note that you can use only AutomaticLogin or TimedLogin at the same time, not both.