MySQL is one of the most used open-source database management systems. Despite the significant popularity gain of PostgreSQL and MariaDB nowadays, the original MySQL is still popular.
I will explain how to install MySQL in Ubuntu 22.04 in this article. Also, I show how to perform the initial configuration to get your MySQL ready for work.
Table of Contents
- How to Install MySQL in Ubuntu 22.04
- Initial Setup MySQL in Ubuntu
- How to Fix Error SET PASSWORD has no significance for user root@localhost
- How to Remove MySQL in Ubuntu
- Wrapping Up
How to Install MySQL in Ubuntu 22.04
You can install only MySQL 8 in Ubuntu 22.04. The 5.7 version is deprecated and there are no packages for it in new Ubuntu versions. MySQL 8 can be installed from the official repository or the developers' repository. At the moment of writing, there are the same versions of packages, but they can change in the future.
Official Repositories
Update lists of the packages before installing everything from official repositories using this command:
sudo apt update
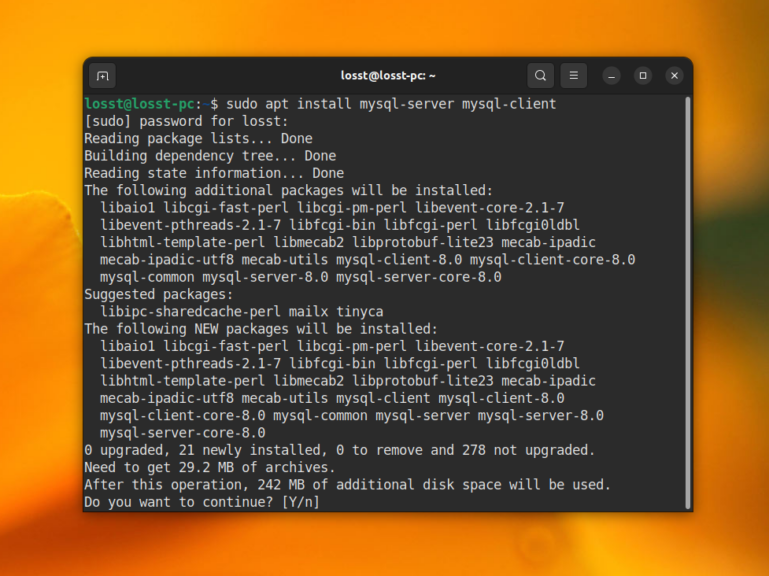
After this, run the following command to install the MySQL server and client:
sudo apt install mysql-server mysql-client
Developers Repositories
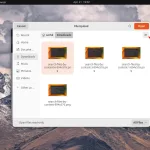
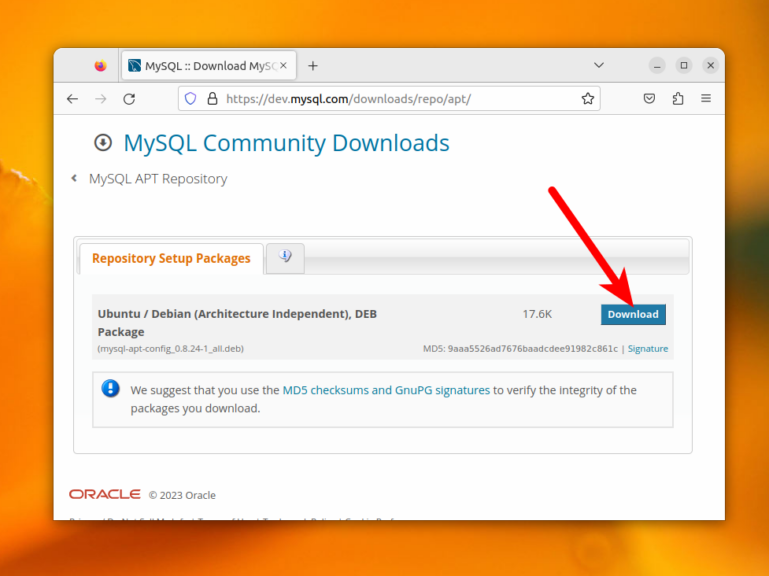
Installing MySQL in Ubuntu 22.04 from the developers' repository is more difficult. First, you have to add the repository to your system. Download a deb file with its configuration from theofficial site:
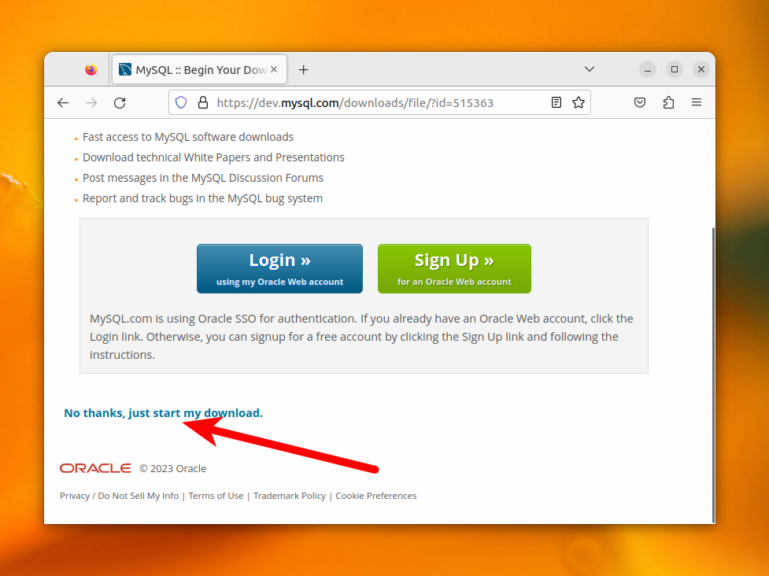
The site may ask you to sign up. But it is not necessary, just click on the Not thanks, just start my download link:
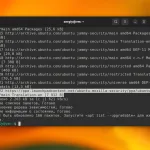
Then, install the downloaded package:
sudo dpkg -i ~/Downloads/mysql-apt-config
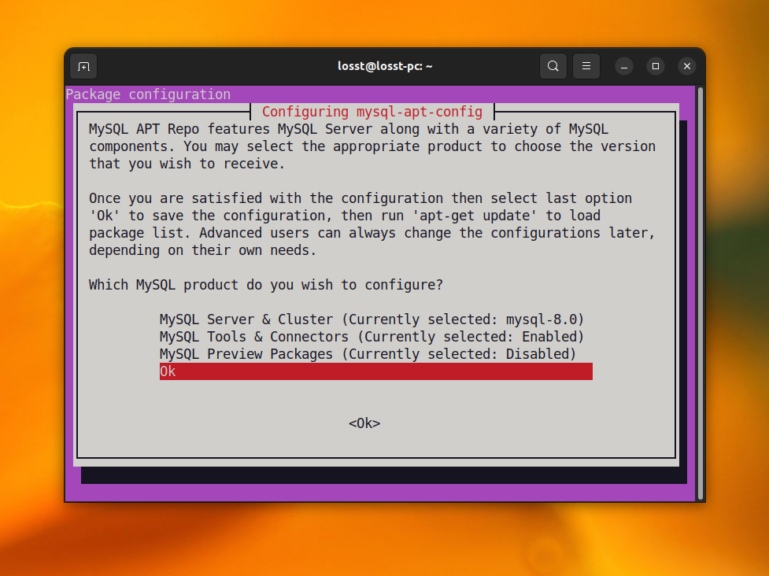
During installation, you should answer a few installer questions. In the first step select Ok and press Enter. In the second step, you can configure component versions. There is only one version available, so you can leave it as is. Just select Ok using the arrow keys and press Enter:

Pay attention, that you should select the Ok item when you want to finish the configuration. Otherwise, you may get the impression that the program is stuck in a loop. When the repository is installed, update the lists of packages:
sudo apt update
And then, install MySQL:
sudo apt install mysql-server mysql-client
Initial Setup MySQL in Ubuntu
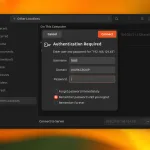
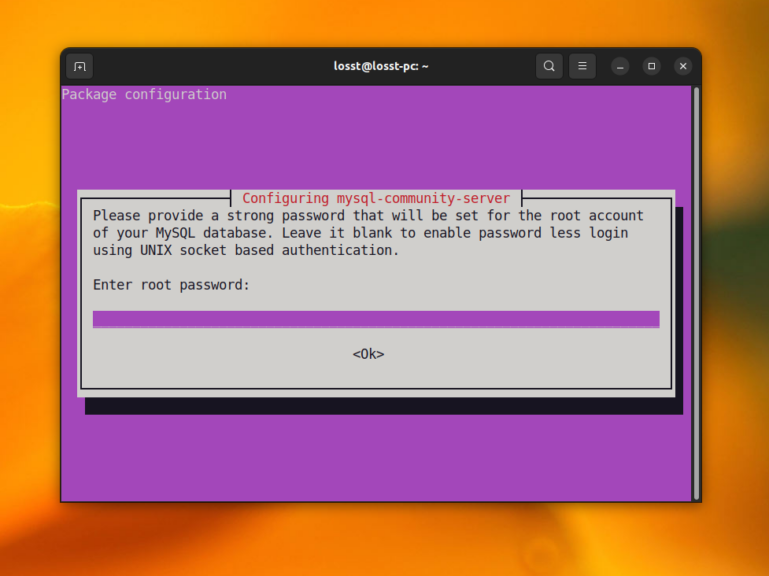
If you have decided to install MySQL from the developers' repository, it can ask you a few questions. In the first step, the installer can prompt a password for your root user. You can leave it empty, but it may make a few troubles in the future. So enter the password:
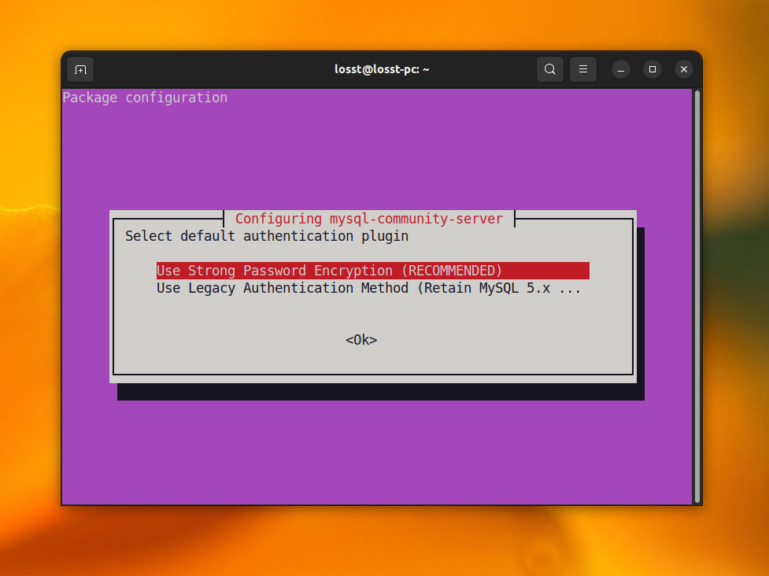
Then, enter the password one more time for confirmation. Then, it may inform you that MySQL can use a new authorization method:

In the next step, the installer will ask whether it should use a new authorization method or roll back to an old mechanism. MySQL client libraries are already compiled with new mechanism support, so you can use it:
If you haven't set the root password during the installation process or the installer doesn't prompt the password, you should set it when installation is complete. Use this command:
mysqladmin password -u root -p
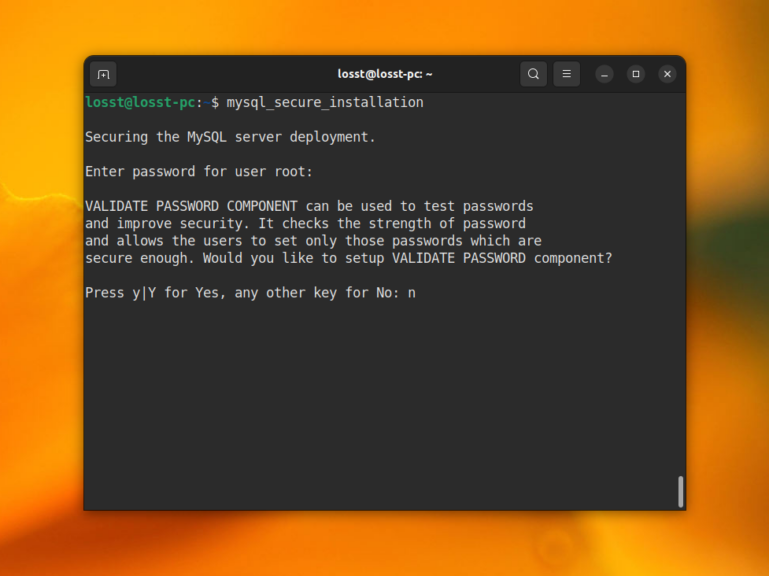
The command will prompt you to type the password and confirmation. After this, run the mysql_secure_installation command to secure your MySQL server:
mysql_secure_installation
First, the utility will ask for a root password. After this, you should set whether the MySQL password validation plugin should be enabled. If you don't know what it is, you don't need it. This plugin does not allow setting very weak passwords for MySQL users and can make some troubles for beginners. So, you can answer n at this step:
Then, the utility will ask whether you want to change the root password. You have configured it before, so here you can answer n too:
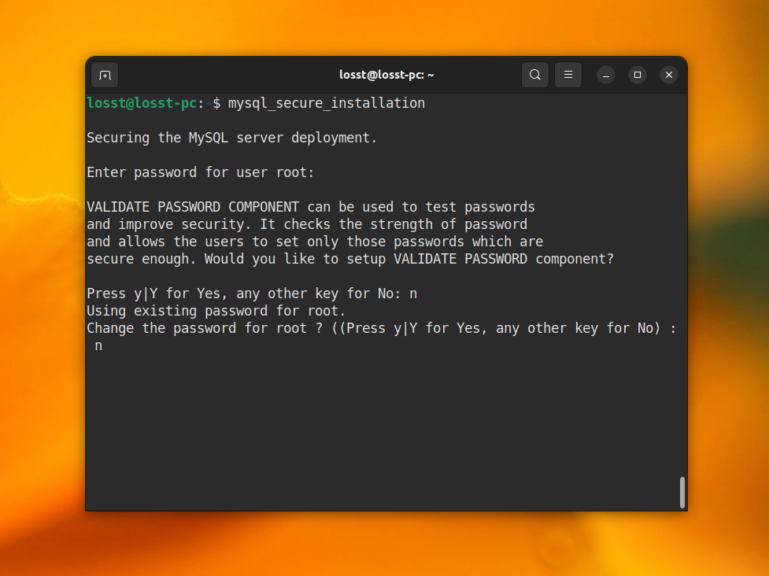
Finally, answer y for all next questions:
- Remove anonymous users
- Disallow root login remotely - this refers only to remote connections, connections for localhost are not remote.
- Remove test database and access to it.
- Reload privilege tables now.
That's it. Note, that you can't use sudo for connecting to MySQL in the command line. If you attempt to do this, you will get an Access Denied error. You should use the MySQL client command with the -p option and enter a root password for each session:
mysql -u root -p
How to Fix Error SET PASSWORD has no significance for user root@localhost
If you haven't configured a root password for MySQL during installation or later, the Unix socket authentication method will be used. In this case, only a Linux superuser or user with sudo privileges can log in as MySQL root user. When you attempt to change root password in mysql_secure_installation, you will get this error:
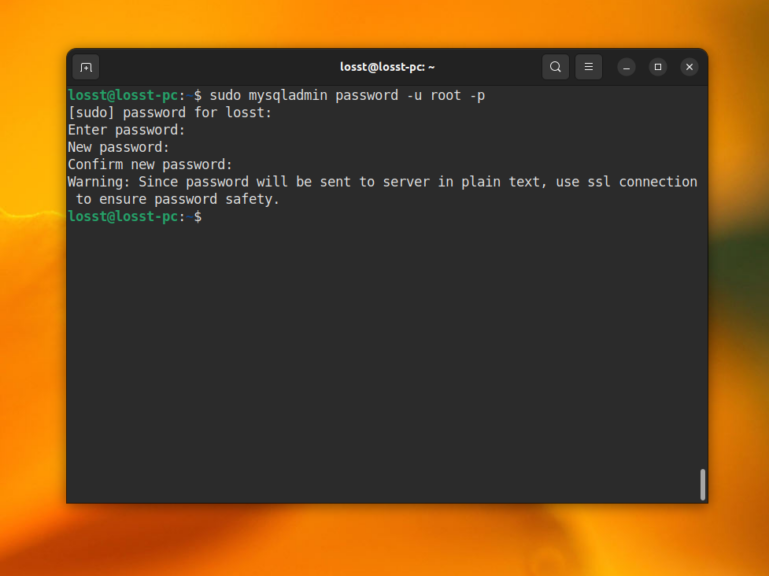
Indeed, Unix socket authorization does not support saving passwords because it authorizes users without using a password. It just checks whether the current user is a superuser. But you can't skip the password setup, the utility will prompt a new root password again and again. The simplest way to set the password is mysqladmin command:
sudo mysqladmin password -u root -p
Also, you can set the password using SQL query. Just open MySQL CLI client and change the authorization method and password to fix this:
sudo mysql
Then, execute this query:
Next, you can close the MySQL client using the following command:
After this, you can run mysql_secure_installation, enter the new root password there, and complete the initial setup without any issues.
Note, that you can't connect to MySQL in the command line without the password. If you want to rollback this behavior, you should change the authentication method for the root user by executing this SQL query:
How to Remove MySQL in Ubuntu
It is pretty easy. If you want to remove only the package and preserve the configuration use the following command:
sudo apt remove mysql-server mysql-client
If you want to completely remove MySQL in Ubuntu 22.04, use the purge command:
sudo apt purge mysql-server mysql-client
Wrapping Up
In this article, I have explained how to install MySQL in Ubuntu 22.04, and how to perform the initial setup. As you can see, the installation process has a few important moments that should be done correctly. So, now, you know how to avoid them.